How to Whitewash Brick
Whitewashing brick creates a fresh, timeless look while preserving natural texture. This technique brightens spaces and softens rough surfaces. Proper preparation, paint selection, and application methods ensure durability.
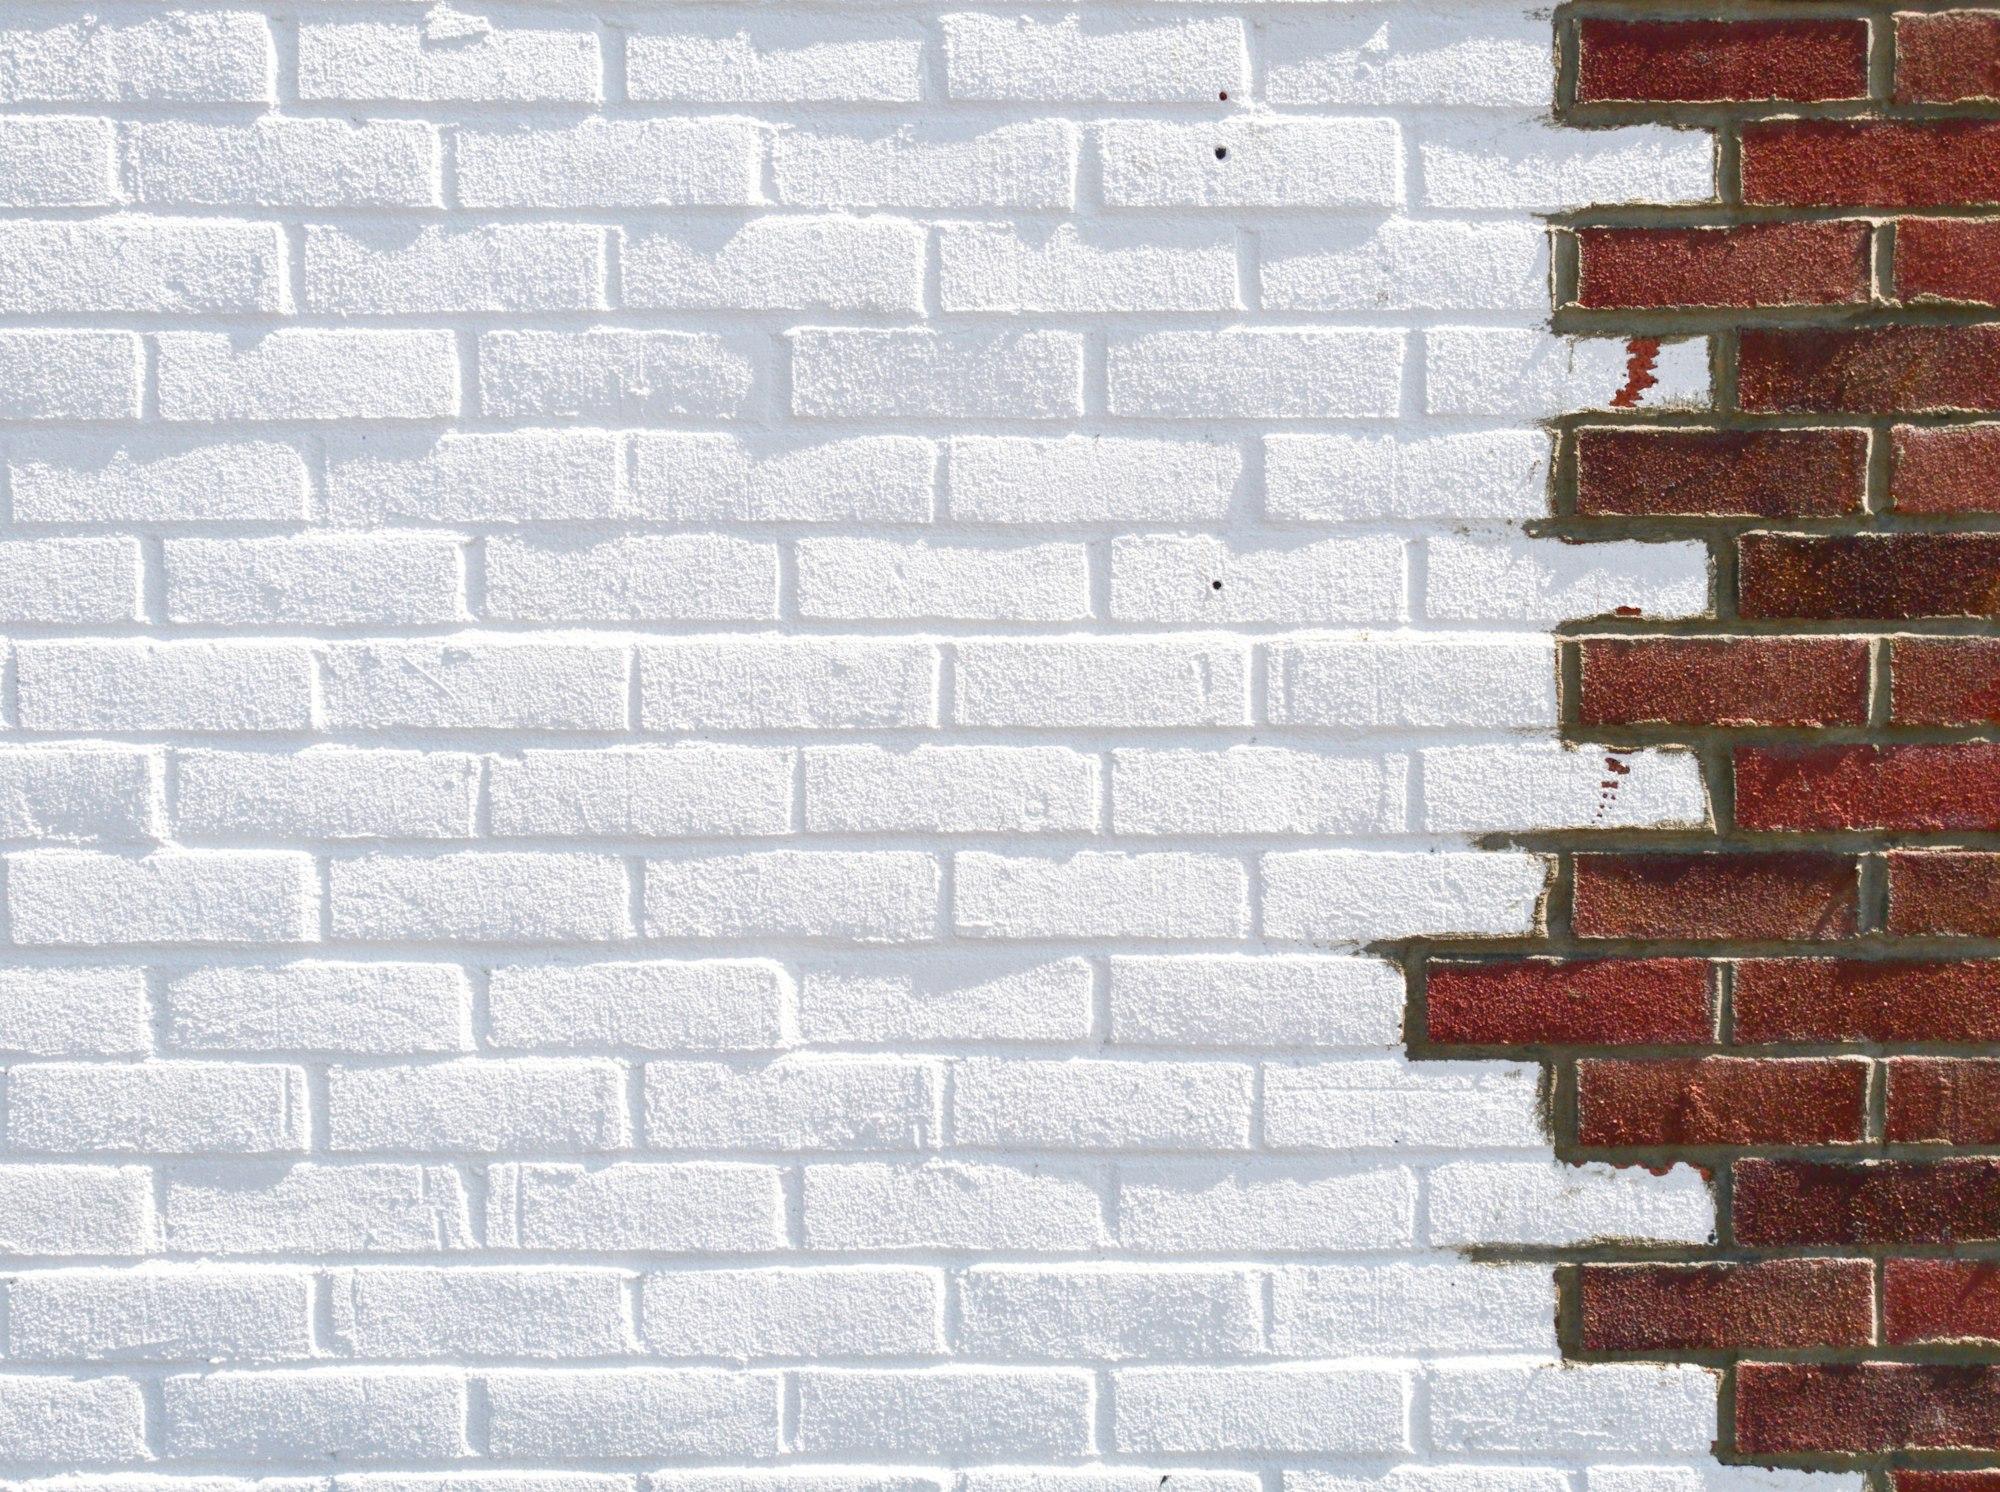
Whitewashed brick
Adding a whitewash finish to brick surfaces can give them a fresh and timeless look. This technique involves applying a thin layer of paint to the brick, allowing some of the natural texture and color to show through. However, before you embark on this project, it's important to understand the pros and cons of whitewashing brick.
Pros and Cons
Benefits of Whitewashing Brick
One of the main advantages of whitewashing brick is the aesthetic appeal it brings. The soft, white finish can brighten up any room and create a clean and modern look. Additionally, whitewashing brick can help to soften the appearance of rough or mismatched brick, making it a great choice for updating older homes.
Another benefit of whitewashing brick is that it allows the texture and character of the brick to shine through. Unlike solid paint, which covers the brick completely, a whitewash finish creates a translucent effect that highlights the natural variations in color and texture, giving the surface a unique and rustic charm.
Moreover, whitewashing brick can also provide a sense of versatility in design. The light color of the whitewash can serve as a neutral backdrop, allowing homeowners to easily change up the decor and color scheme of a room without clashing with the brick.
Drawbacks
While whitewashing brick can offer numerous benefits, it's important to consider the drawbacks as well. One potential drawback is that the whitewash finish is not as durable as a solid paint coating. Over time, it may fade or peel, especially in high-traffic areas or in areas that are exposed to moisture.
Furthermore, removing a whitewash finish can be more challenging than removing traditional paint. Since the whitewash penetrates the porous surface of the brick, it can require more effort and possibly harsher chemicals to completely remove it.
It's also worth noting that the application process for whitewashing brick can be more labor-intensive compared to painting. Achieving the perfect whitewash effect may require multiple coats and meticulous attention to detail, which can be time-consuming for DIY enthusiasts or costly if hiring a professional.
Choosing the Right Paint
When it comes to whitewashing brick, selecting the right paint is crucial for achieving the desired result. It's important to choose a paint that is specifically designed for brick surfaces and is breathable, allowing the brick to release any moisture or vapor buildup.
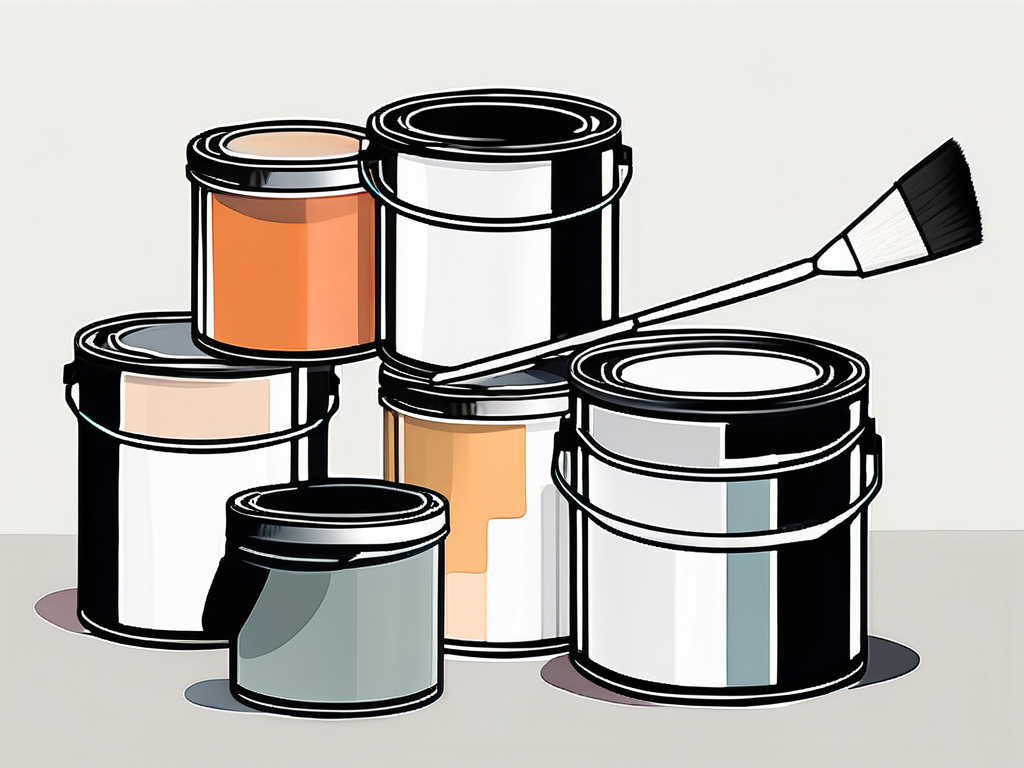
An ideal choice for whitewashing brick is a lime-based paint. Lime wash not only provides a beautiful, matte finish but also has natural mold and mildew resistance properties. Furthermore, it allows the brick to breathe and maintains the overall integrity of the surface.
Alternatively, you can opt for a latex paint that is formulated for masonry surfaces. Make sure to choose a paint color that matches your desired whitewash effect. You can go for a pure white for a clean and modern look or choose a slightly off-white or cream color for a more aged and vintage appearance.
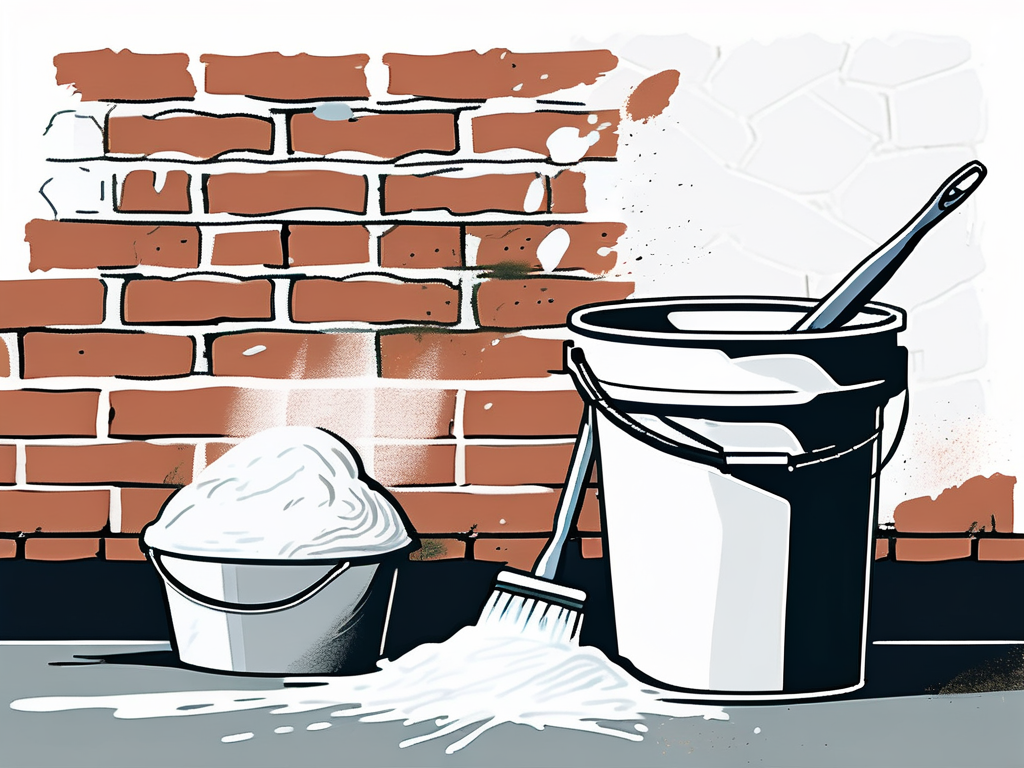
Before applying any paint to your brick surface, it's essential to properly prepare the area. Start by cleaning the brick thoroughly to remove any dirt, dust, or debris. You may need to use a wire brush or pressure washer to ensure the surface is clean and free of any loose particles.
Once the brick is clean and dry, consider applying a primer before painting. A primer will help the paint adhere better to the surface and can also improve the coverage of the topcoat. Be sure to choose a primer that is suitable for both masonry surfaces and the type of paint you will be using.
Making Your Whitewashed Brick Last
To ensure that your whitewash finish stands the test of time, proper maintenance is essential. By following a few simple tips, you can keep your whitewashed brick looking fresh and vibrant for years to come.
Whitewashed brick surfaces exude a timeless charm and add a touch of elegance to any space. The soft, muted finish of whitewash complements various design styles, from rustic farmhouse to modern industrial. Beyond its aesthetic appeal, whitewashing also serves a practical purpose by protecting the brick from the elements and extending its lifespan.
Maintenance Tips
- Regularly clean the whitewashed surface using a mild detergent and water. Avoid abrasive cleaners or scrub brushes that can damage the paint.
- Inspect the whitewashed surface periodically for any signs of wear or damage. Touch up any areas that have peeled or faded with additional whitewash paint.
- Monitor the moisture levels around the whitewashed brick. Address any water leaks or moisture issues promptly to prevent damage to the paint.
Additionally, consider applying a clear sealant over the whitewash to provide an extra layer of protection against UV rays and moisture. This simple step can help prolong the life of your whitewashed brick and maintain its lustrous appearance for years to come.
Factors That Affect the Lifespan
- The quality of the paint and the surface preparation.
- The exposure of the brick to sunlight, moisture, and other environmental factors.
- The level of traffic and use in the area.
Furthermore, the choice of whitewash paint color can impact the longevity of the finish. Lighter shades may require more frequent touch-ups compared to darker hues, as they are more prone to showing dirt and wear over time. Consider these factors when selecting a whitewash color to ensure a durable and low-maintenance finish on your brick surfaces.
Step-by-Step Guide
Preparing Your Brick Surface
Before you start whitewashing, it's important to properly prepare the brick surface. This will ensure that the paint adheres well and the finished result is smooth and even.
- First, clean the brick surface thoroughly to remove any dirt, dust, or oil. Use a stiff brush or a power washer for effective cleaning. Take your time to ensure that every nook and cranny is free from debris.
- Repair any cracks or damages in the brick mortar. Fill the cracks with a suitable mortar repair product and allow it to dry completely. This step is crucial to maintain the structural integrity of the brickwork and prevent any further damage.
- If desired, apply a primer to the brick surface. This step is optional but can help the paint adhere better and improve the overall finish. Choose a primer specifically designed for masonry surfaces to ensure maximum effectiveness.
Now that your brick surface is clean and prepared, it's time to move on to the next step.
Applying the Paint
Once the preparation is complete, you can start applying the whitewash paint to the brick surface. This is where the magic happens, transforming your brick into a stunning focal point.
- Dilute the whitewash paint according to the manufacturer's instructions. This will create a more translucent effect and allow the natural texture of the brick to show through. Experiment with different dilution ratios to achieve the desired look.
- Starting from the top of the brick surface, use a paintbrush or a roller to apply the whitewash paint in even strokes. Take your time and work methodically to ensure an even application.
- Work in small sections to ensure that the paint is applied consistently and to avoid visible lines or streaks. This will give your whitewashed brick a seamless and professional finish.
- If desired, you can use a rag or a sponge to create additional texture or to remove some of the paint, giving a more distressed and aged appearance. This technique adds character and depth to the whitewash, making it look like it has stood the test of time.
- Allow the first coat to dry completely before applying additional coats for a more opaque finish. Two or three coats are usually sufficient, but you can adjust the number of coats based on your desired look. Remember to follow the drying time recommended by the paint manufacturer between each coat.
Whitewashing brick can be a rewarding and transformative project that breathes new life into your brick surfaces. By understanding the pros and cons, choosing the right paint, and following the proper steps, you can achieve a beautiful and long-lasting whitewash finish. So, why not give your brick a fresh and stylish makeover with this timeless technique?
Remember, the beauty of whitewashing is that it allows the natural variations in the brick to shine through, creating a unique and charming aesthetic. Each brushstroke tells a story, adding depth and character to your space. Whether you're whitewashing a fireplace, an accent wall, or an entire exterior, the process remains the same. Take your time, enjoy the journey, and revel in the transformation that awaits.
Furthermore, it's worth noting that whitewashing is not limited to traditional red bricks. This versatile technique can be applied to various types of brick, including clay, concrete, and even stone surfaces. So, don't hesitate to experiment and explore different possibilities to create a truly personalized and captivating look.
Visit Spoken to compare prices on all your home essentials. Spoken helps you uncover the most cost-effective options without compromising on quality. Don't let rebranding tactics lead to overpaying. Check out products on Spoken and ensure you're making a smart shopping decision for your home makeover. Happy whitewashing!
Quick facts
What kind of paint do you use to whitewash brick?
For whitewashing brick, use a latex paint diluted with water. A 50/50 mix of white latex paint and water is common, but you can adjust the ratio for more or less opacity. Some prefer using lime wash for a more traditional look. Always clean the brick thoroughly before applying any paint or wash solution.
Is whitewashing brick a good idea?
Whitewashing brick can be a good idea for updating the look of a space without fully covering the brick's texture. It brightens rooms and can make spaces appear larger. However, it's a relatively permanent change and can be difficult to reverse. Consider the architectural style and your long-term plans before whitewashing.

Irina Calin
Software Engineer at Spoken
Irina is a developer at Spoken. She is passionate about design, loves curating & collecting photography of all sorts and is a big fan of colorful decor. She says it matches her personality. Her favourite furniture piece is the Camaleonda Sofa by Mario Bellini.
Read more