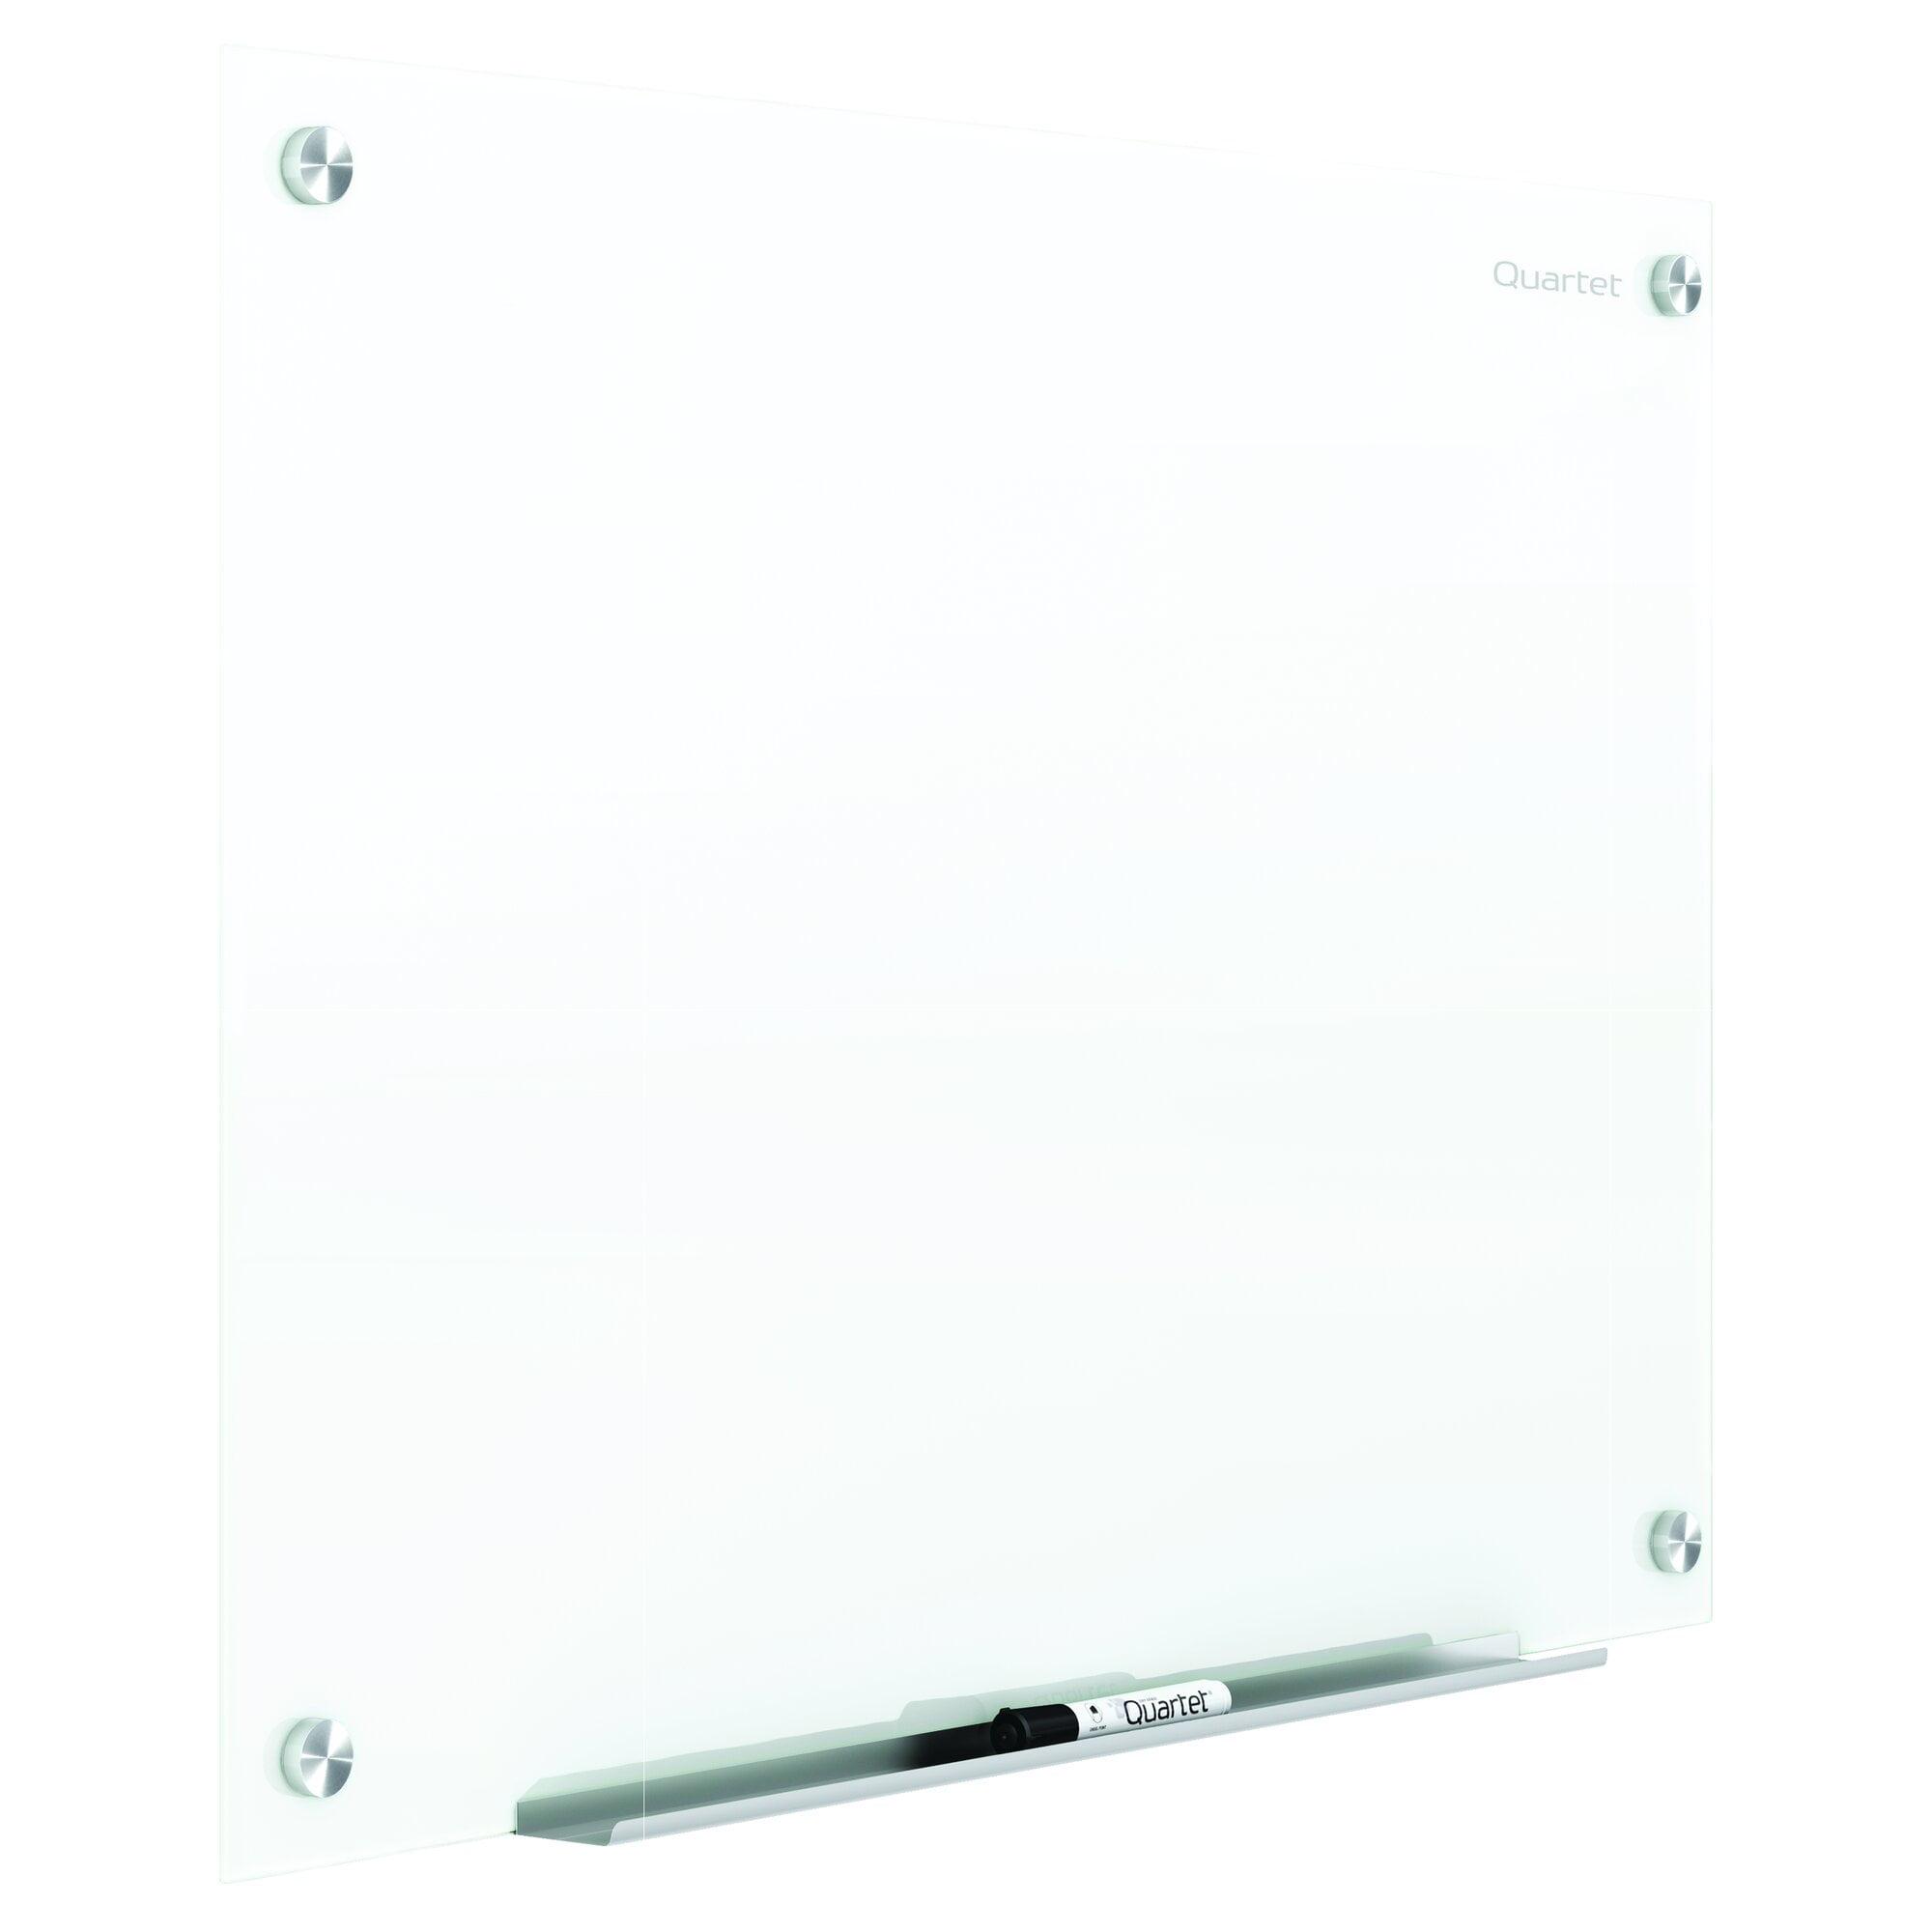
Quartet Brilliance Glass Dry-Erase Board, 36" x 24" (3' x 2')
Quartet Brilliance Glass Dry-Erase Board, 36" x 24" (3' x 2')
| Store | |
|---|---|
Amazon Quartet Magnetic Glass Dry Erase White Board, 36" x 24" Whiteboard, Frameless, Brilliance White High Contrast White Glass (G23624W) | $93.48 (new) $65.20 (used)as of 12:12 01/03 |
Shoplet | $95.87 |
WebstaurantStore | $104.99 |
Walmart Quartet Brilliance Glass Dry-Erase Board, 36" x 24" (3' x 2') | $109.99 |
Newegg | $110.99 |
More like this product
View allMore Decorative Objects
Reviews
Mounting process poorly designed
I like the board. I am an engineer. The mounting template could have been designed to make the installation simpler. The board is heavy (glass). The sheet rock anchors would work better if they were the next side larger. The horizontal distance would be better located if they were 16 inch on center to match stud spacing. I use magnets from old computer hard drives and they work great. Weak magnets would not work well. I installed it by myself. would be easier for two people.
Love it
I love this dry erase board. Installation was ver easy with the help of my son holding it while I marked where holes would be needed. The supplied hardware is sufficient and looks nice.
Whiteboard
Easy to install and looks great!
First let me tell you these are GORGEOUS. That being said...I am not one to write about products ...
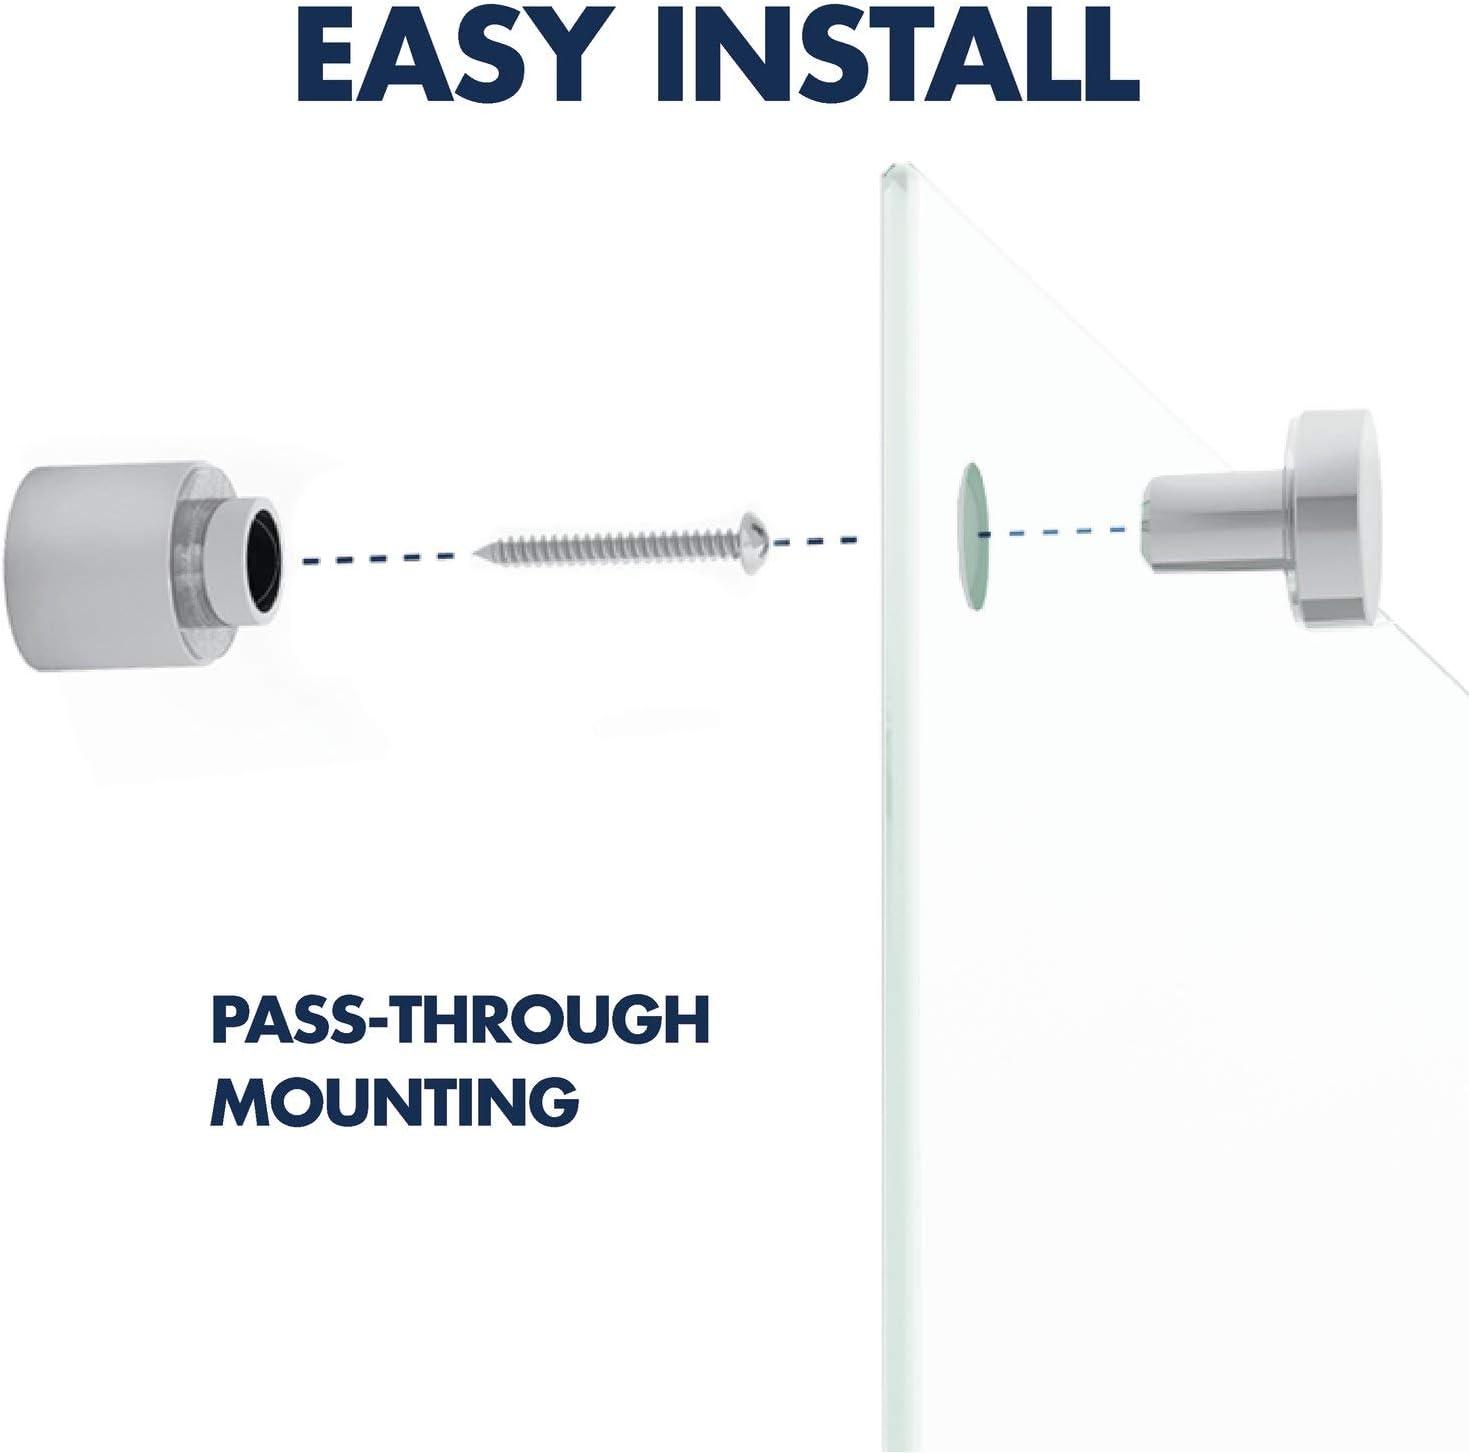
First let me tell you these are GORGEOUS. That being said...I am not one to write about products at length but this one needs some explaining in regards to installation. I pray this helps you. When I opened the box...everything looks so simple. I am a 52 male with every tool under the sun. Of course the instructions never tell you what you REALLY need to install...so here I go. You will need a drill with the PROPER size bits. You will need a Level. You will need Vaseline or Coconut oil... And a good second person that loves you even when you get mad. Instructions tell you to hold the unit on the wall and mark the holes with a pen ....After installing 2 of these I learned the trick. First off....Make sure you take off the corner spacers before putting on wall to mark. The first one...I left the spacers on...and they held the unit away from the wall a little making the holes OFF. Take the spacers off. While you are holding the unit on the wall...have a second person level the unit while your holding it and "Eye Ball" if it looks good. You only get one shot at this. If all looks good...while your holding it tight to the wall....have your second person use a thin SHARPE and make a circle in all 4 holes. NOT JUST A DOT. Make a circle. I found out on the first one that just a dot does not work. Then take the unit down and open up the hardware. Everything looks simple enough...THAT SHOULD BE A WARNING. So the next step is to install the hangers through the sheet rock. #1 URGENT....We are ONLY GOING TO INSTALL THE TOP 2. Do not Do the bottoms yet. #2 DO NOT JUST SHOOT THE ANCHORS IN.....Make sure you PRE DRILL the hole. #3 URGENT....ONLY INSTALL THE TOP 2. This is Critical. I tried on the first anchor just to shoot the anchor in like shown, but even with the correct phillips bit it just stripped. You must predrill each hole. So after you have predrilled each hole...Gently with your drill install the top 2 anchors. After those top 2 Anchors are in...then go get the top 2 cylinder pieces. Screw them in with the correct size drill bit nice and snug. Do not over tighten. After you have the top 2 complete...Grab your jar of vaseline...and on the first two bolts put just a dab on the end. On the first unit...I didn't do this and the bolts bound up...and I almost stripped one of them. The dab of Vaseline...or any similar lubricant made these bolts screw in with ease. Now...Do the top right one first. Hold the unit up to the hole and get the first bolt in. Screw it in 3/4 of the way. You must leave play in this until all bolts are in. Now screw in the top left bolt. The unit should now be secure hanging on the wall with just the top 2 complete...but not tightened all the way. Now we address the bottom. If you are like me...and look at the bottom holes you will now understand why we did not put the anchors in. Everything is a little "Off". So now...analyze where the NEW Center of each hole is and use your drill bit to Predrill where the next Anchor goes. Do this for both of the bottom holes. Then...put the anchors in...and then put the mounting cylinders in. What is nice...is with the two not tight on the top...you can pull the unit out just enough to get what you need behind the unit. And I used my drill with the proper length bits to tighten everything right through the glass holes. After that...get your vaselined bolts and put the bottom 2 in. There should be enough play for you to move the unit around 1/4" even if it is all not perfectly aligned. After all 4 bolts are in...then tighten them all up. DONE. I hope this helps. I typed this because of all the issues I ran into after mounting the first one. If you screw up...and try backing out a screw...of course the entire Anchor comes out as seen in the photo. On my first one...the 4th hole was so off....I ended up NOT mounting everything to the wall. The 4th Cylinder is just floating...mounted to nothing. Again. They are done....and look great. I hope this helps somebody. First Photo is of the Garbage Anchors that if you don't predrill the hole they will strip and are useless after that. Photo #2 First one done...and starting to mount second. Photo #3 Dab of vaseline on the end of each bolt made life great. Photo #4 Second Unit hanging before mounting second Top Bolt. Photo #4 First unit...With 4th Mount so far off...I had to just float the mount and not secure it. Photo #5 If you have to try and back one of these out...this is what you get. Photo #6 All done....Look great.
I purchased the 4' x 3' glass whiteboard a little over a month ago. So far, I have not seen any g...
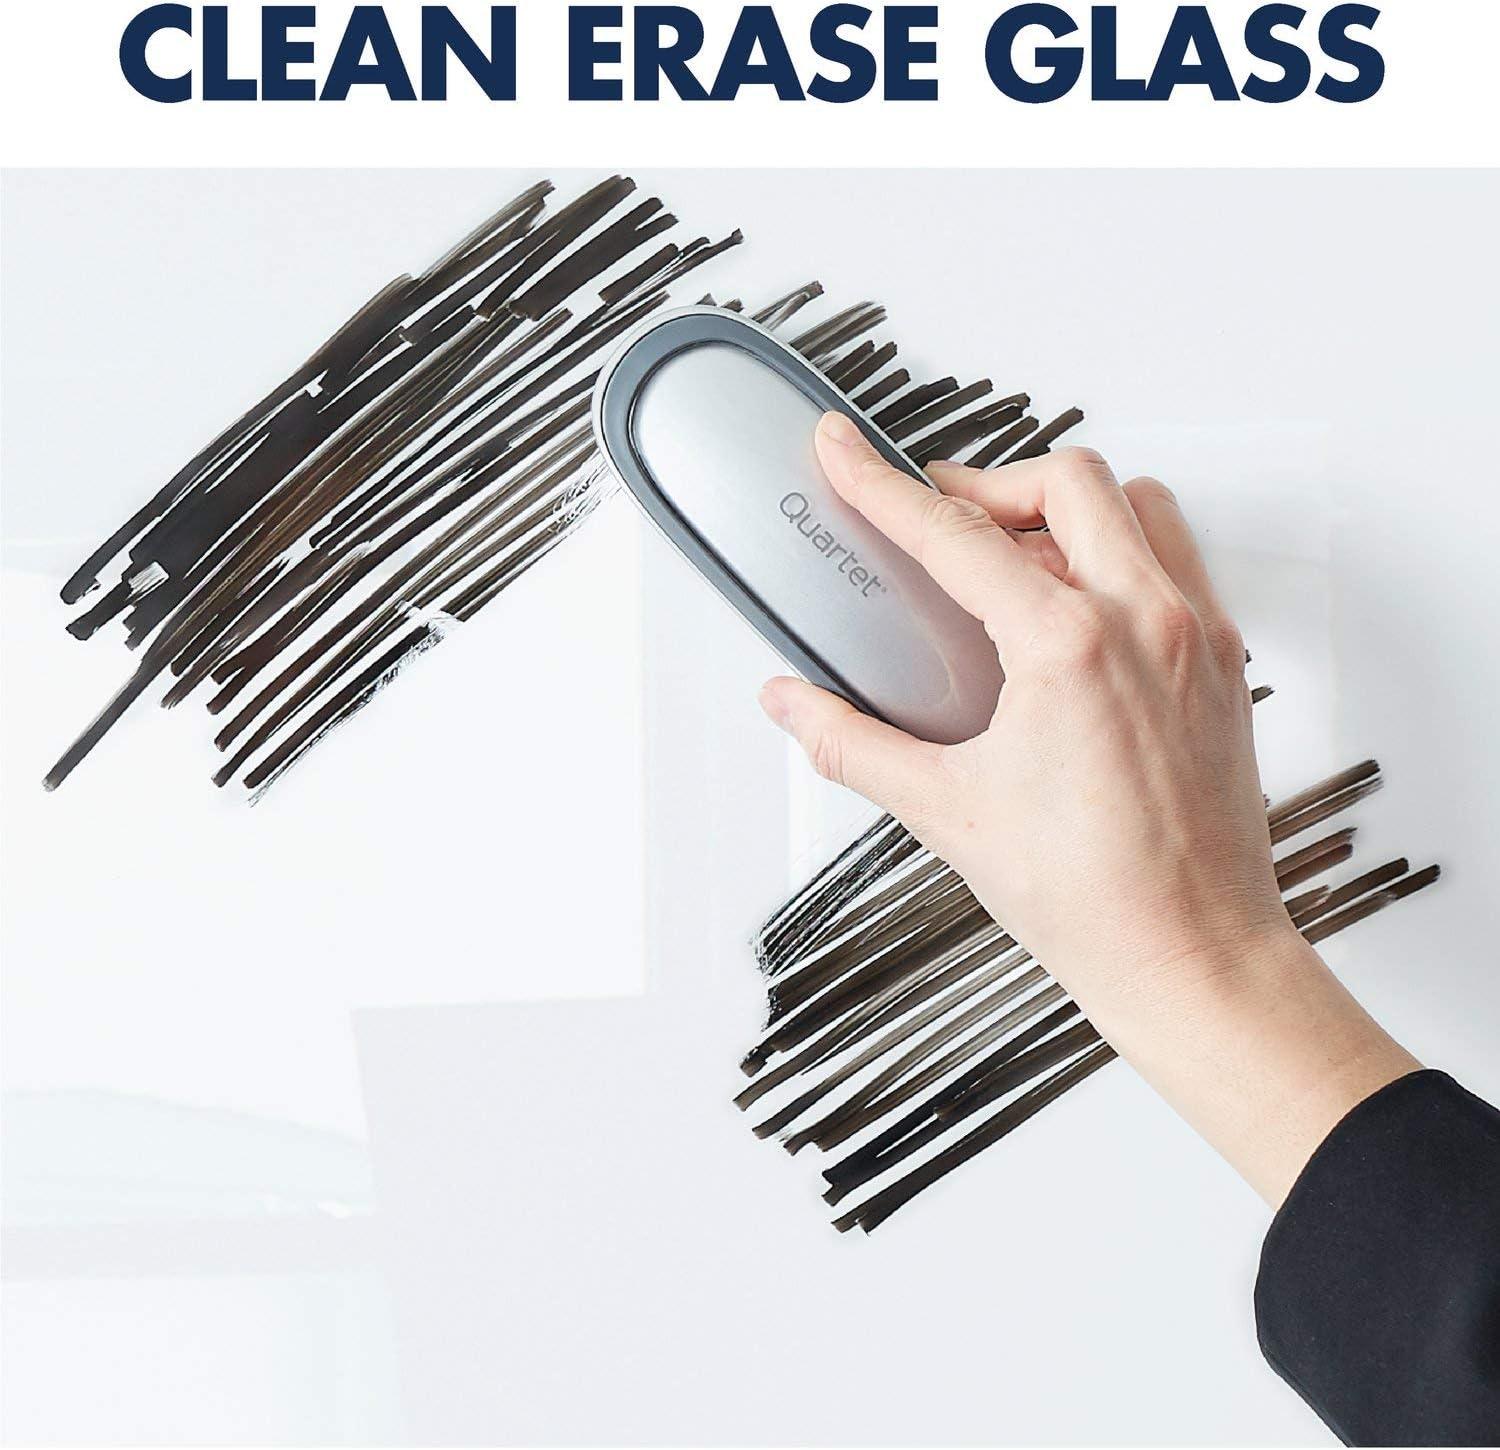
I purchased the 4' x 3' glass whiteboard a little over a month ago. So far, I have not seen any ghosting like I would see on normal whiteboards. I use standard (not the neon) Expo Dry Erase Markers and Erasers. The markers show up a little duller than a normal whiteboard, but they are perfectly legible. The Expo Erasers whips the majority of the ink off in one pass. You have to go over the area multiple times if you want it to completely go away. Helpful installation tip, the prospect of holding the whiteboard up and marking out where I needed to put the screw holes seemed to be a giant pain. Trying to use a tape measure to mark all four holes out also seemed like a pain. So what I did was first cut off one side of the cardboard box that the whiteboard came in. I held it up against the whiteboard and marked off the mounting holes. I then used the held the cardboard template against the wall to mark where I needed to drive. Using the template was much easier than holding up a heavy whiteboard. The only downfall was that the marker tray seems to not sit flush against the bottom of the board. I believe it is slightly bent. It is held in place by a tight fit as well as a magnetic strip.
Works wonderfully with the right pens - you either want the Quartet Dry-Erase Paint Markers in Ne...
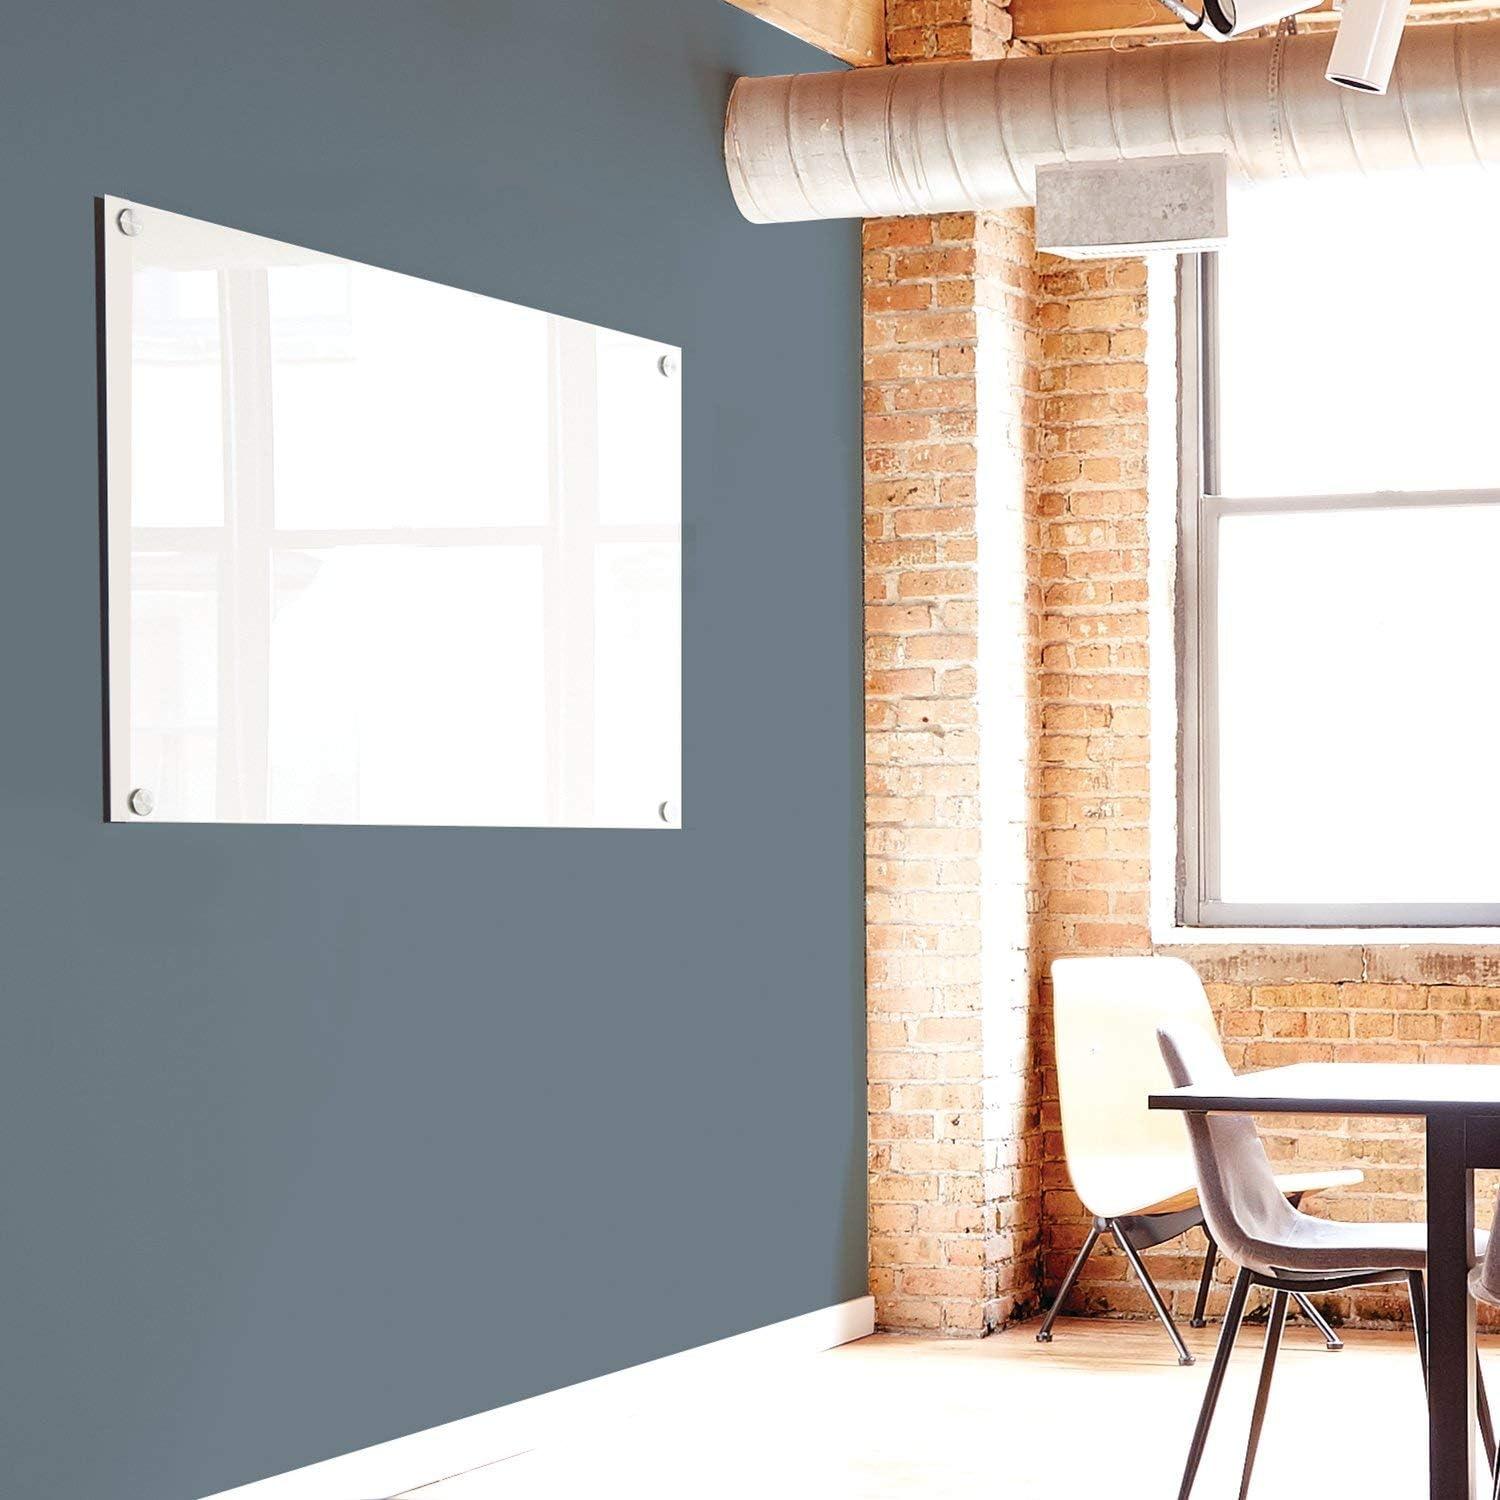
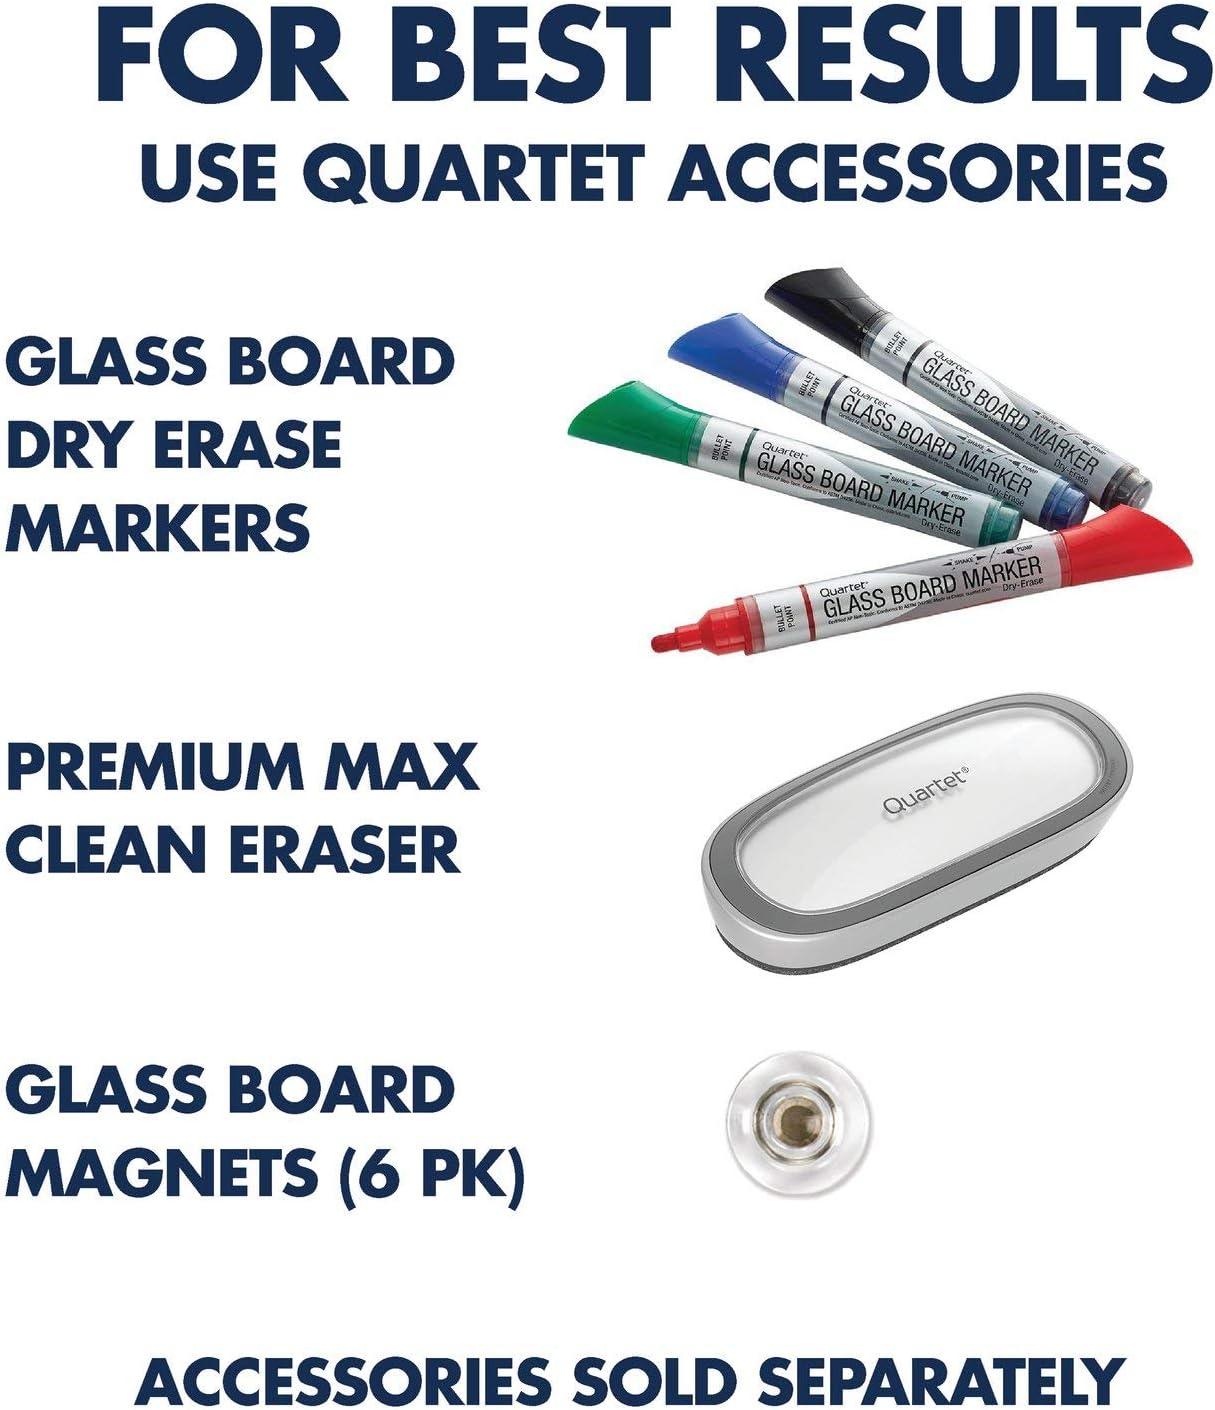
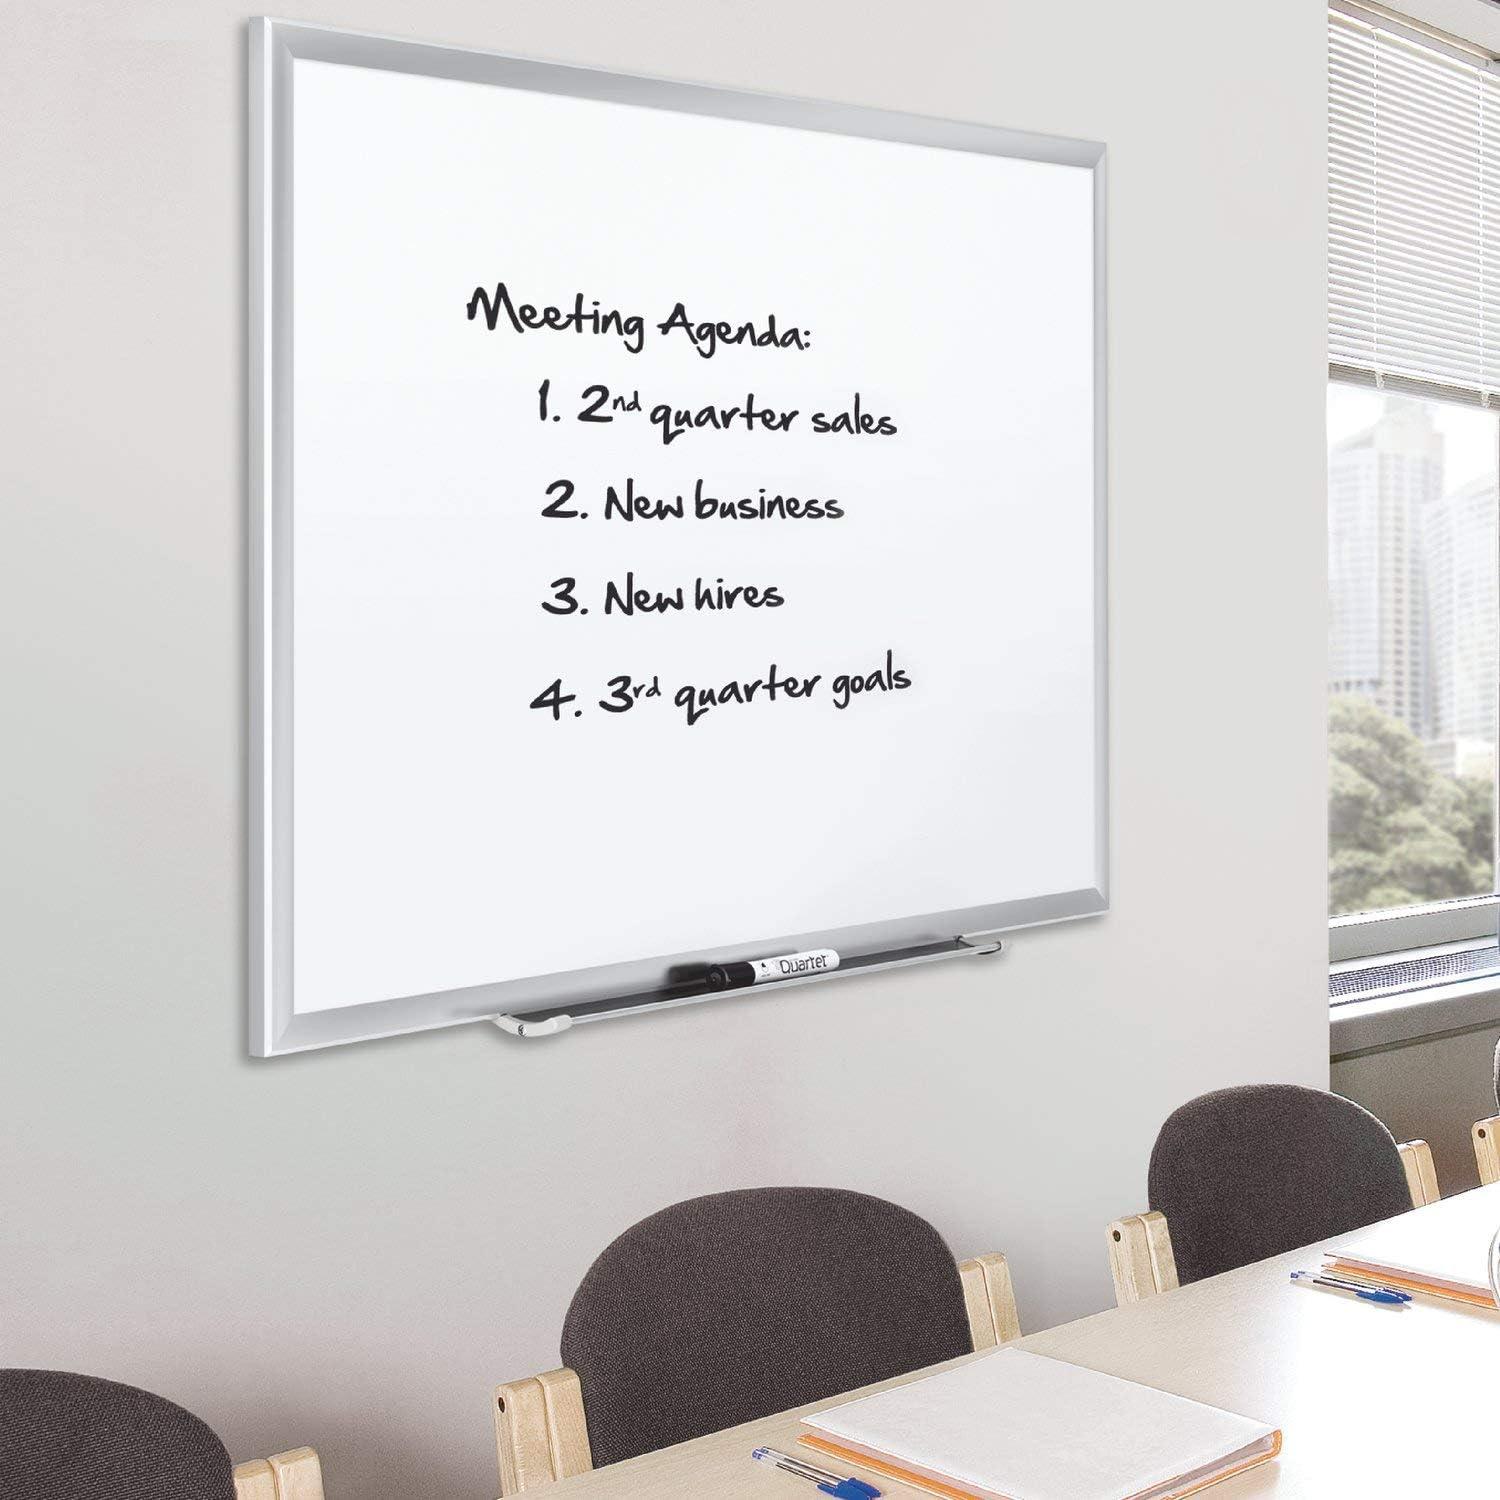
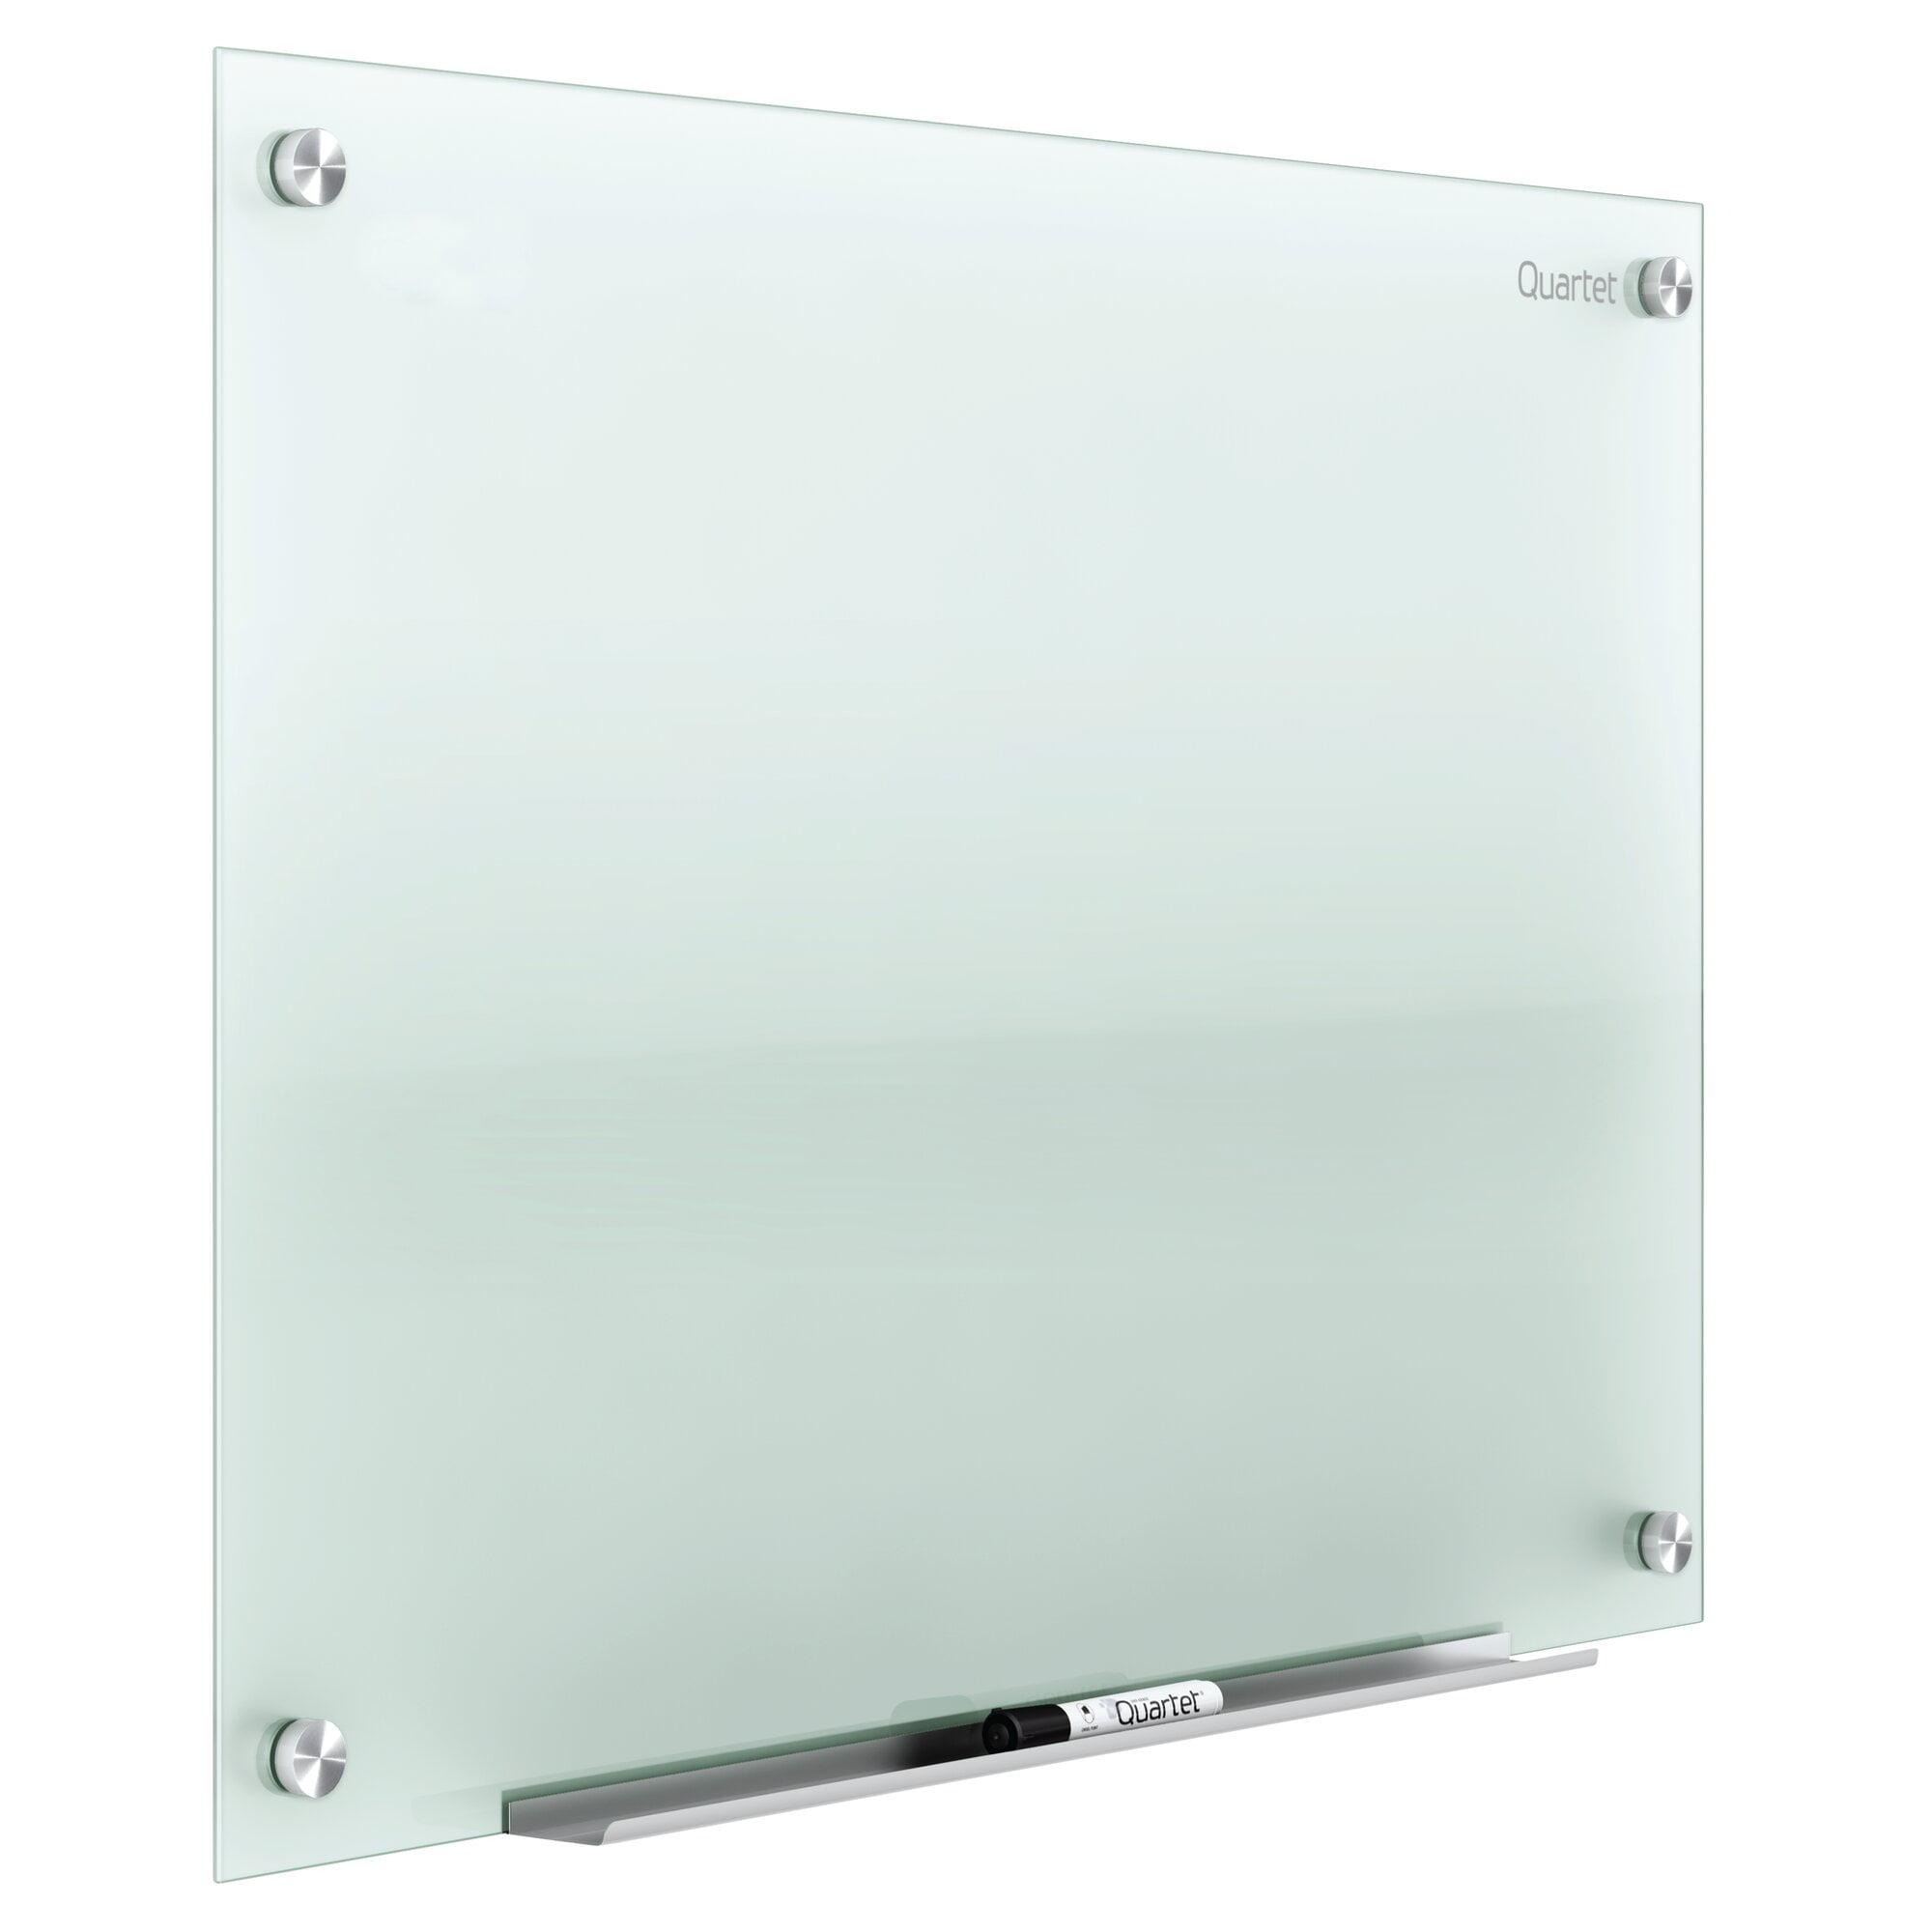
Works wonderfully with the right pens - you either want the Quartet Dry-Erase Paint Markers in Neon colors or the Expo Neon Dry Erase Markers. I recommend the Expo because they're not as "wet" when writing with them and require no shaking or messing about...they feel like regular dry-erase pens and are more convenient to really work with.Expo Neon Dry Erase Markers, Bullet Tip, 5-Pack, Assorted Colors However, the colors of the Quartet paint pens are slightly more vivid if that's what really matters for you...just note you have to shake them / press-down to get the pain initially flowing. Only slightly inconvenient...not a big pain or anything.Quartet Glo-write Neon Dry-Erase Markers, Bullet Tip, Assorted Colors, 4 Pack (79551) The board itself looks excellent on my home office wall. Way cooler than a regular whiteboard which would have been an eyesore in my decor. The included magnets aren't super strong, but they easily hold they few notes you'd ever care to put up on this thing, just not a crazy ream of papers. It's a nice bonus feature. Mounting has to be very precise and you definitely need two people. But once up, it "floats" off the wall and looks amazing.
Customer pictures
Overview
This is the lowest price we've seen, typically ranging from $123 to $181.
Quartet Brilliance Glass Dry-Erase Board, 36" x 24" (3' x 2') at Walmart
,Quartet Magnetic Glass Dry Erase White Board, 36" x 24" Whiteboard, Frameless, Brilliance White High Contrast White Glass (G23624W) at Amazon
.Description
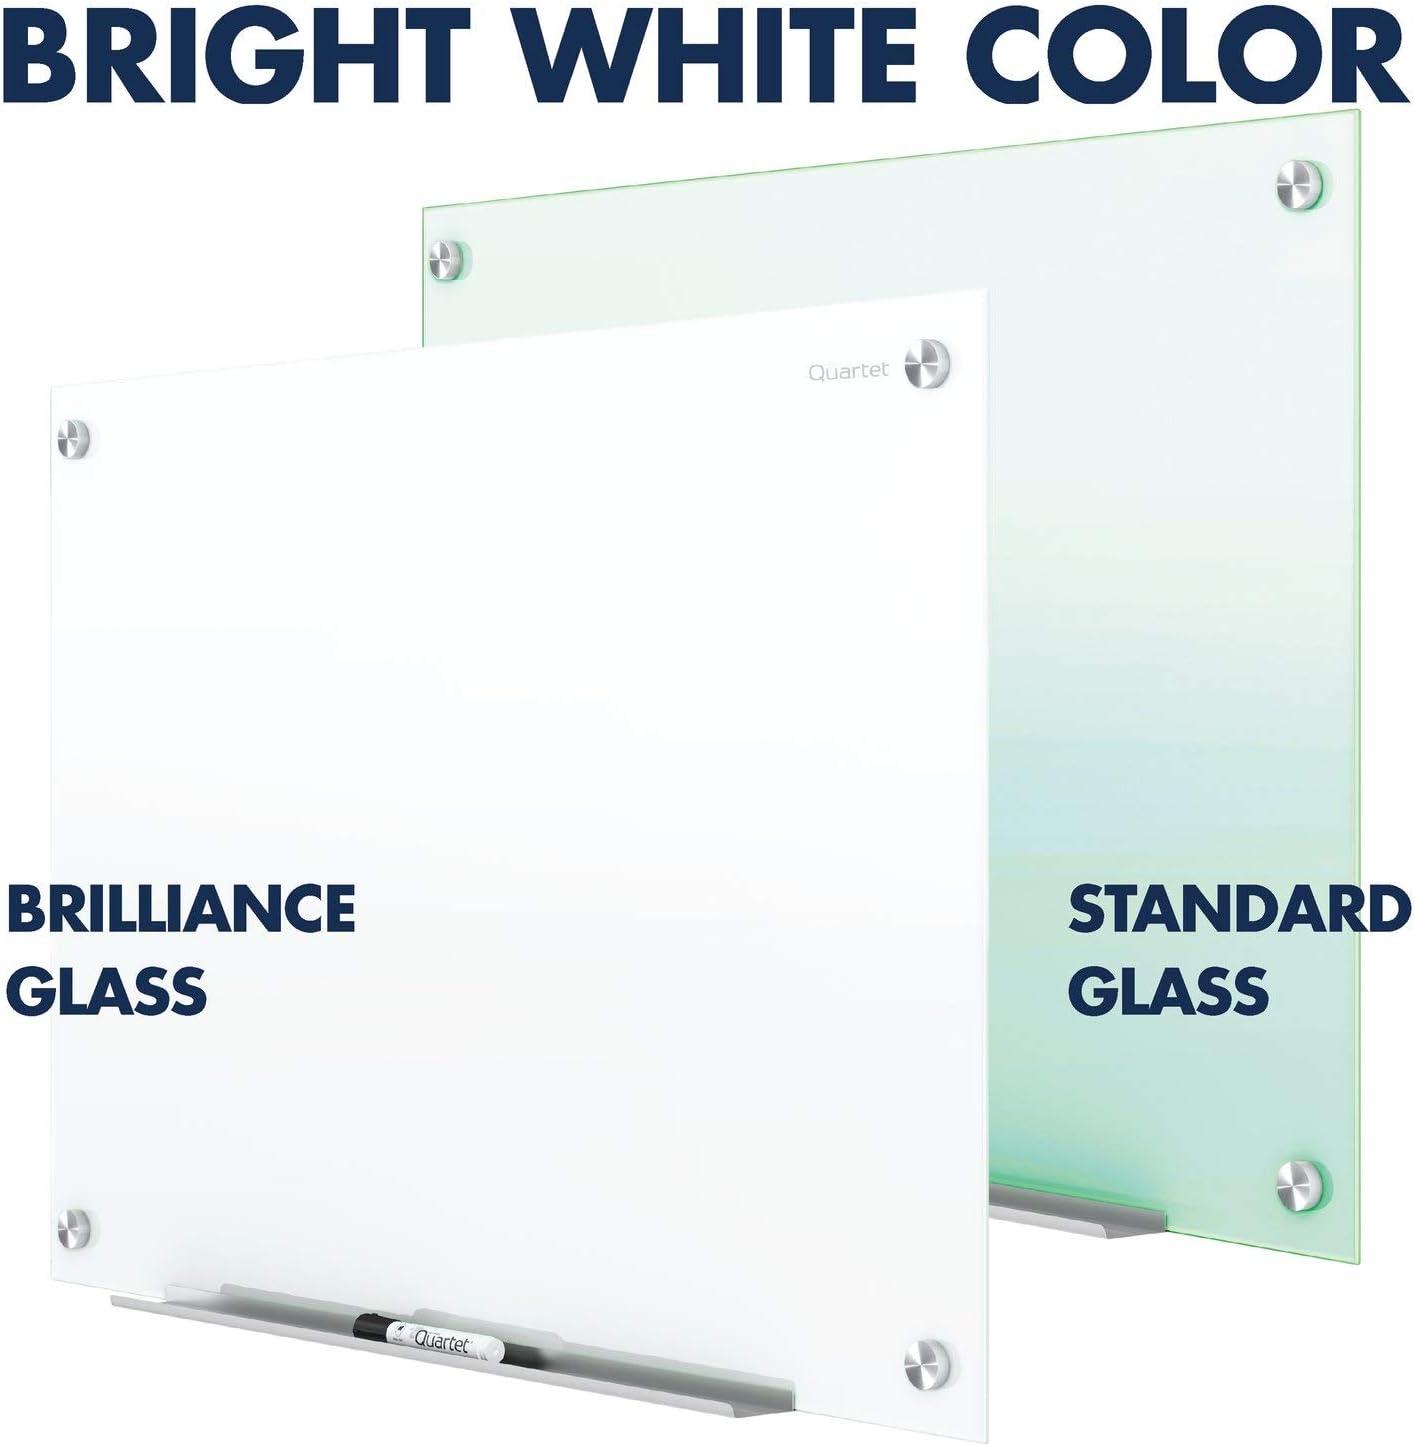
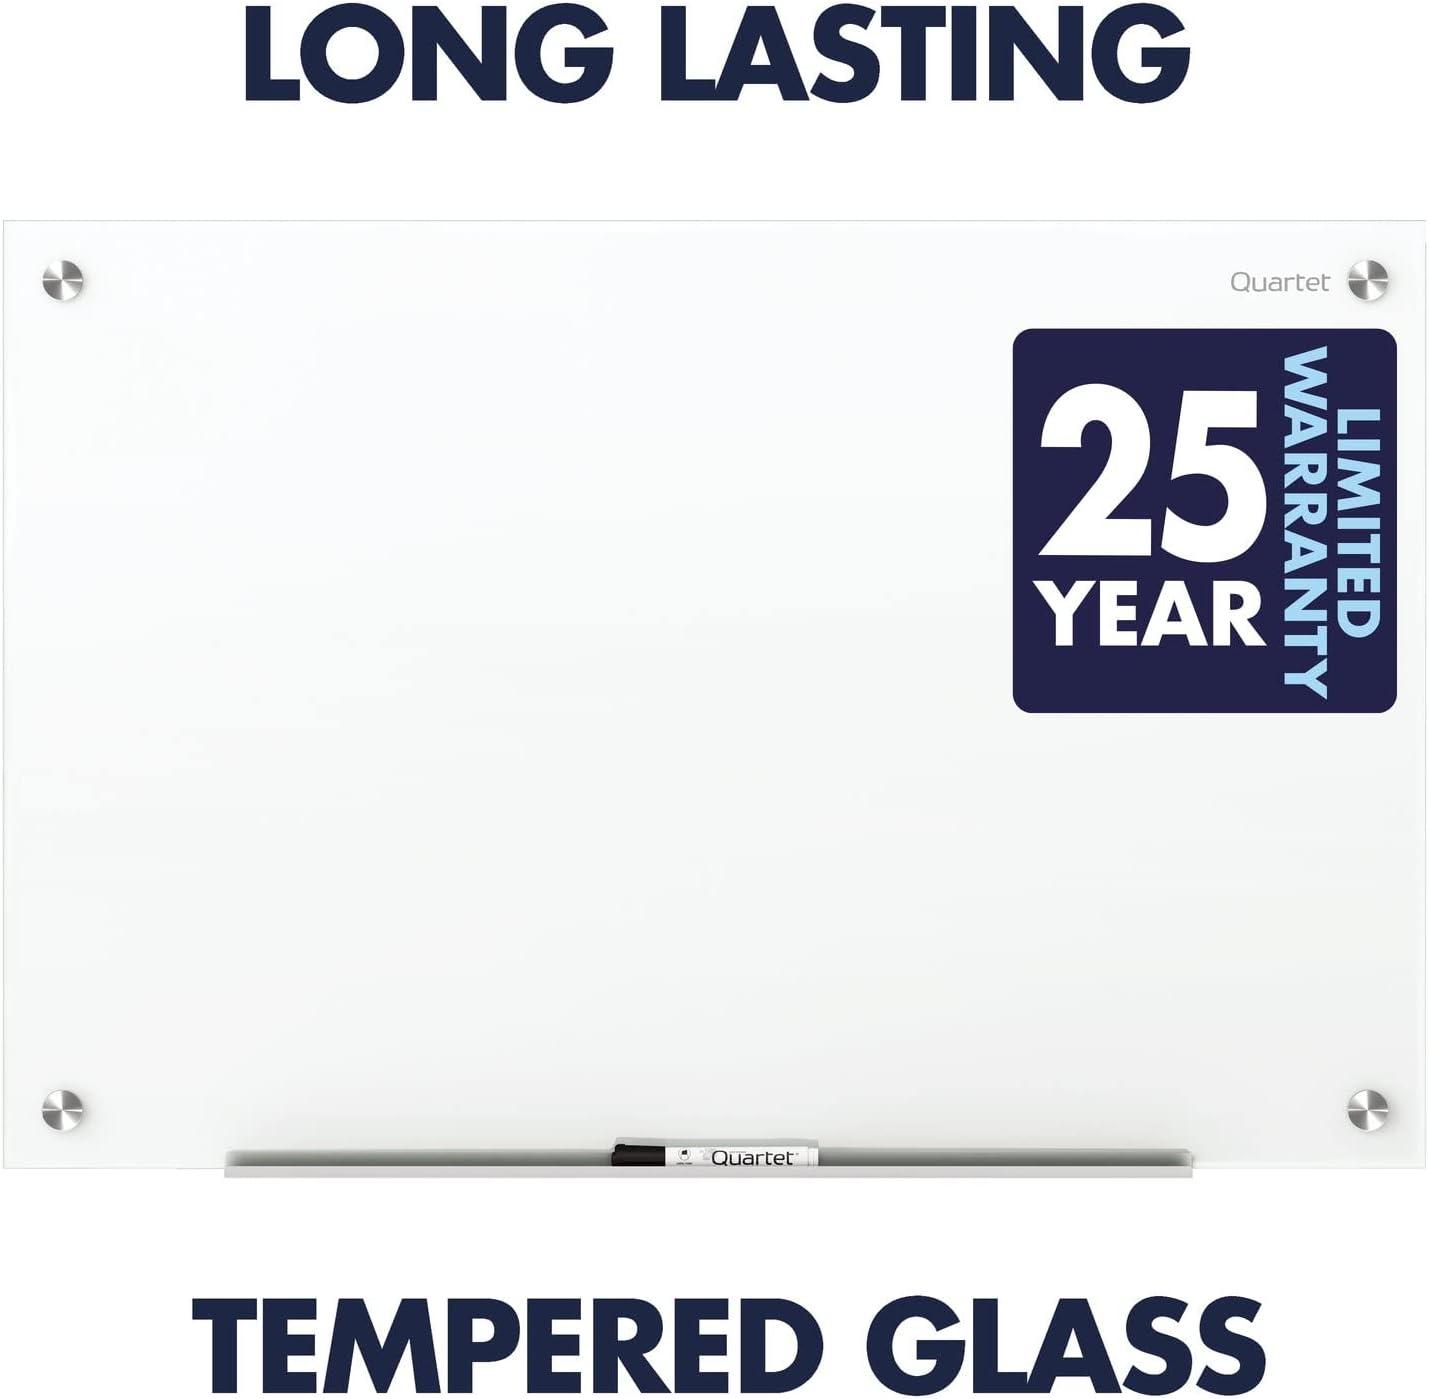
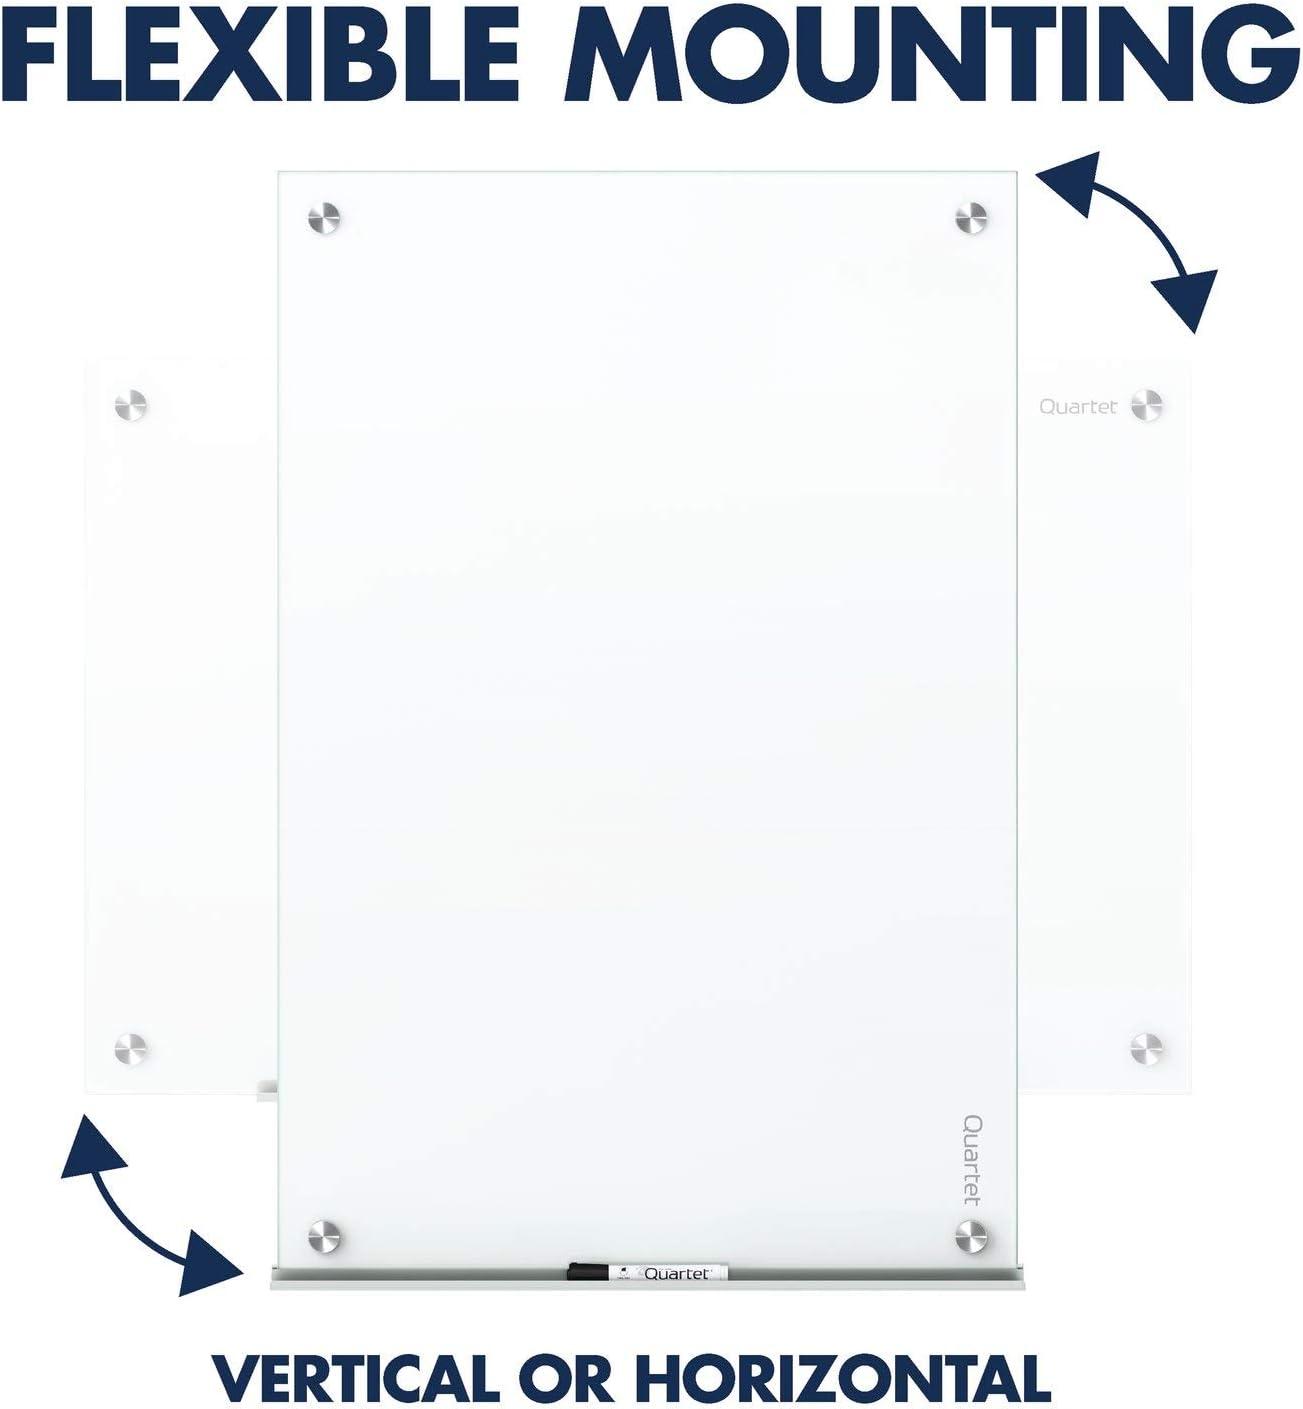
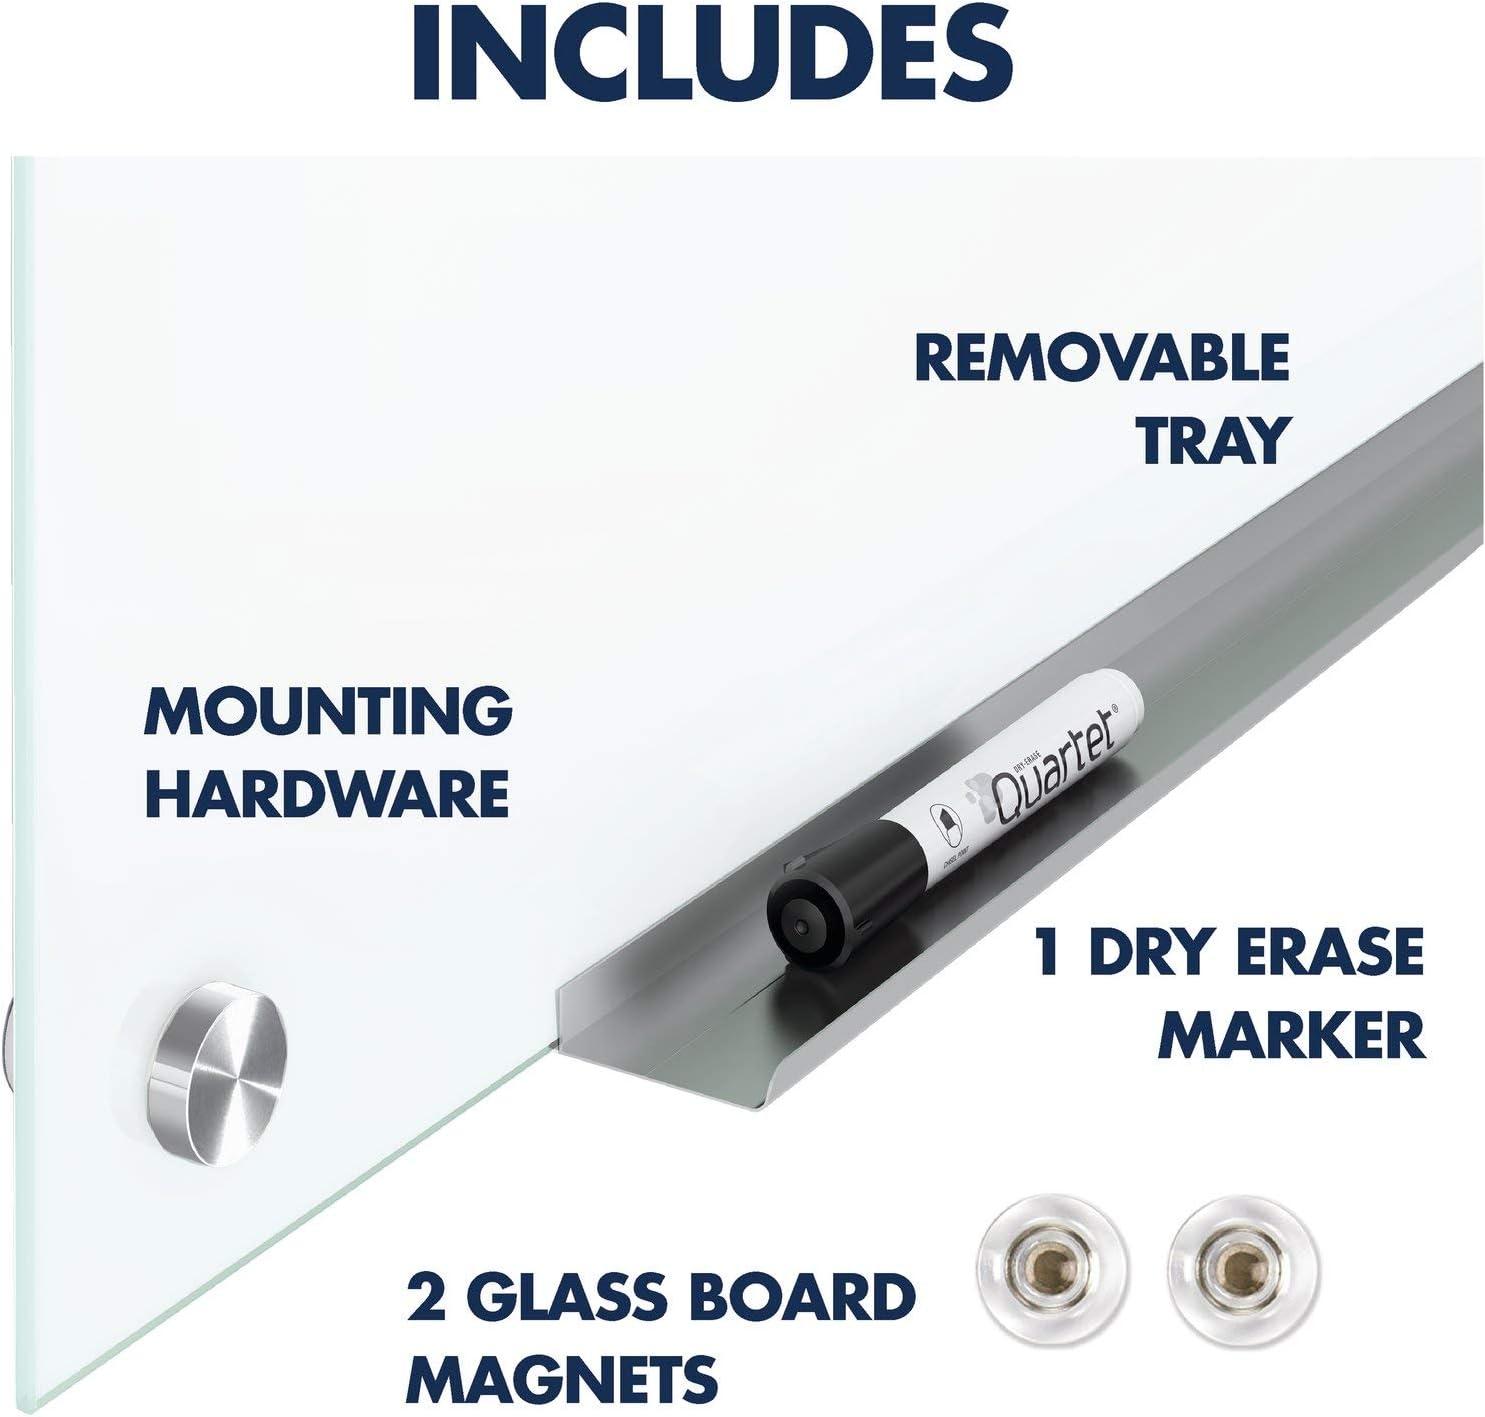
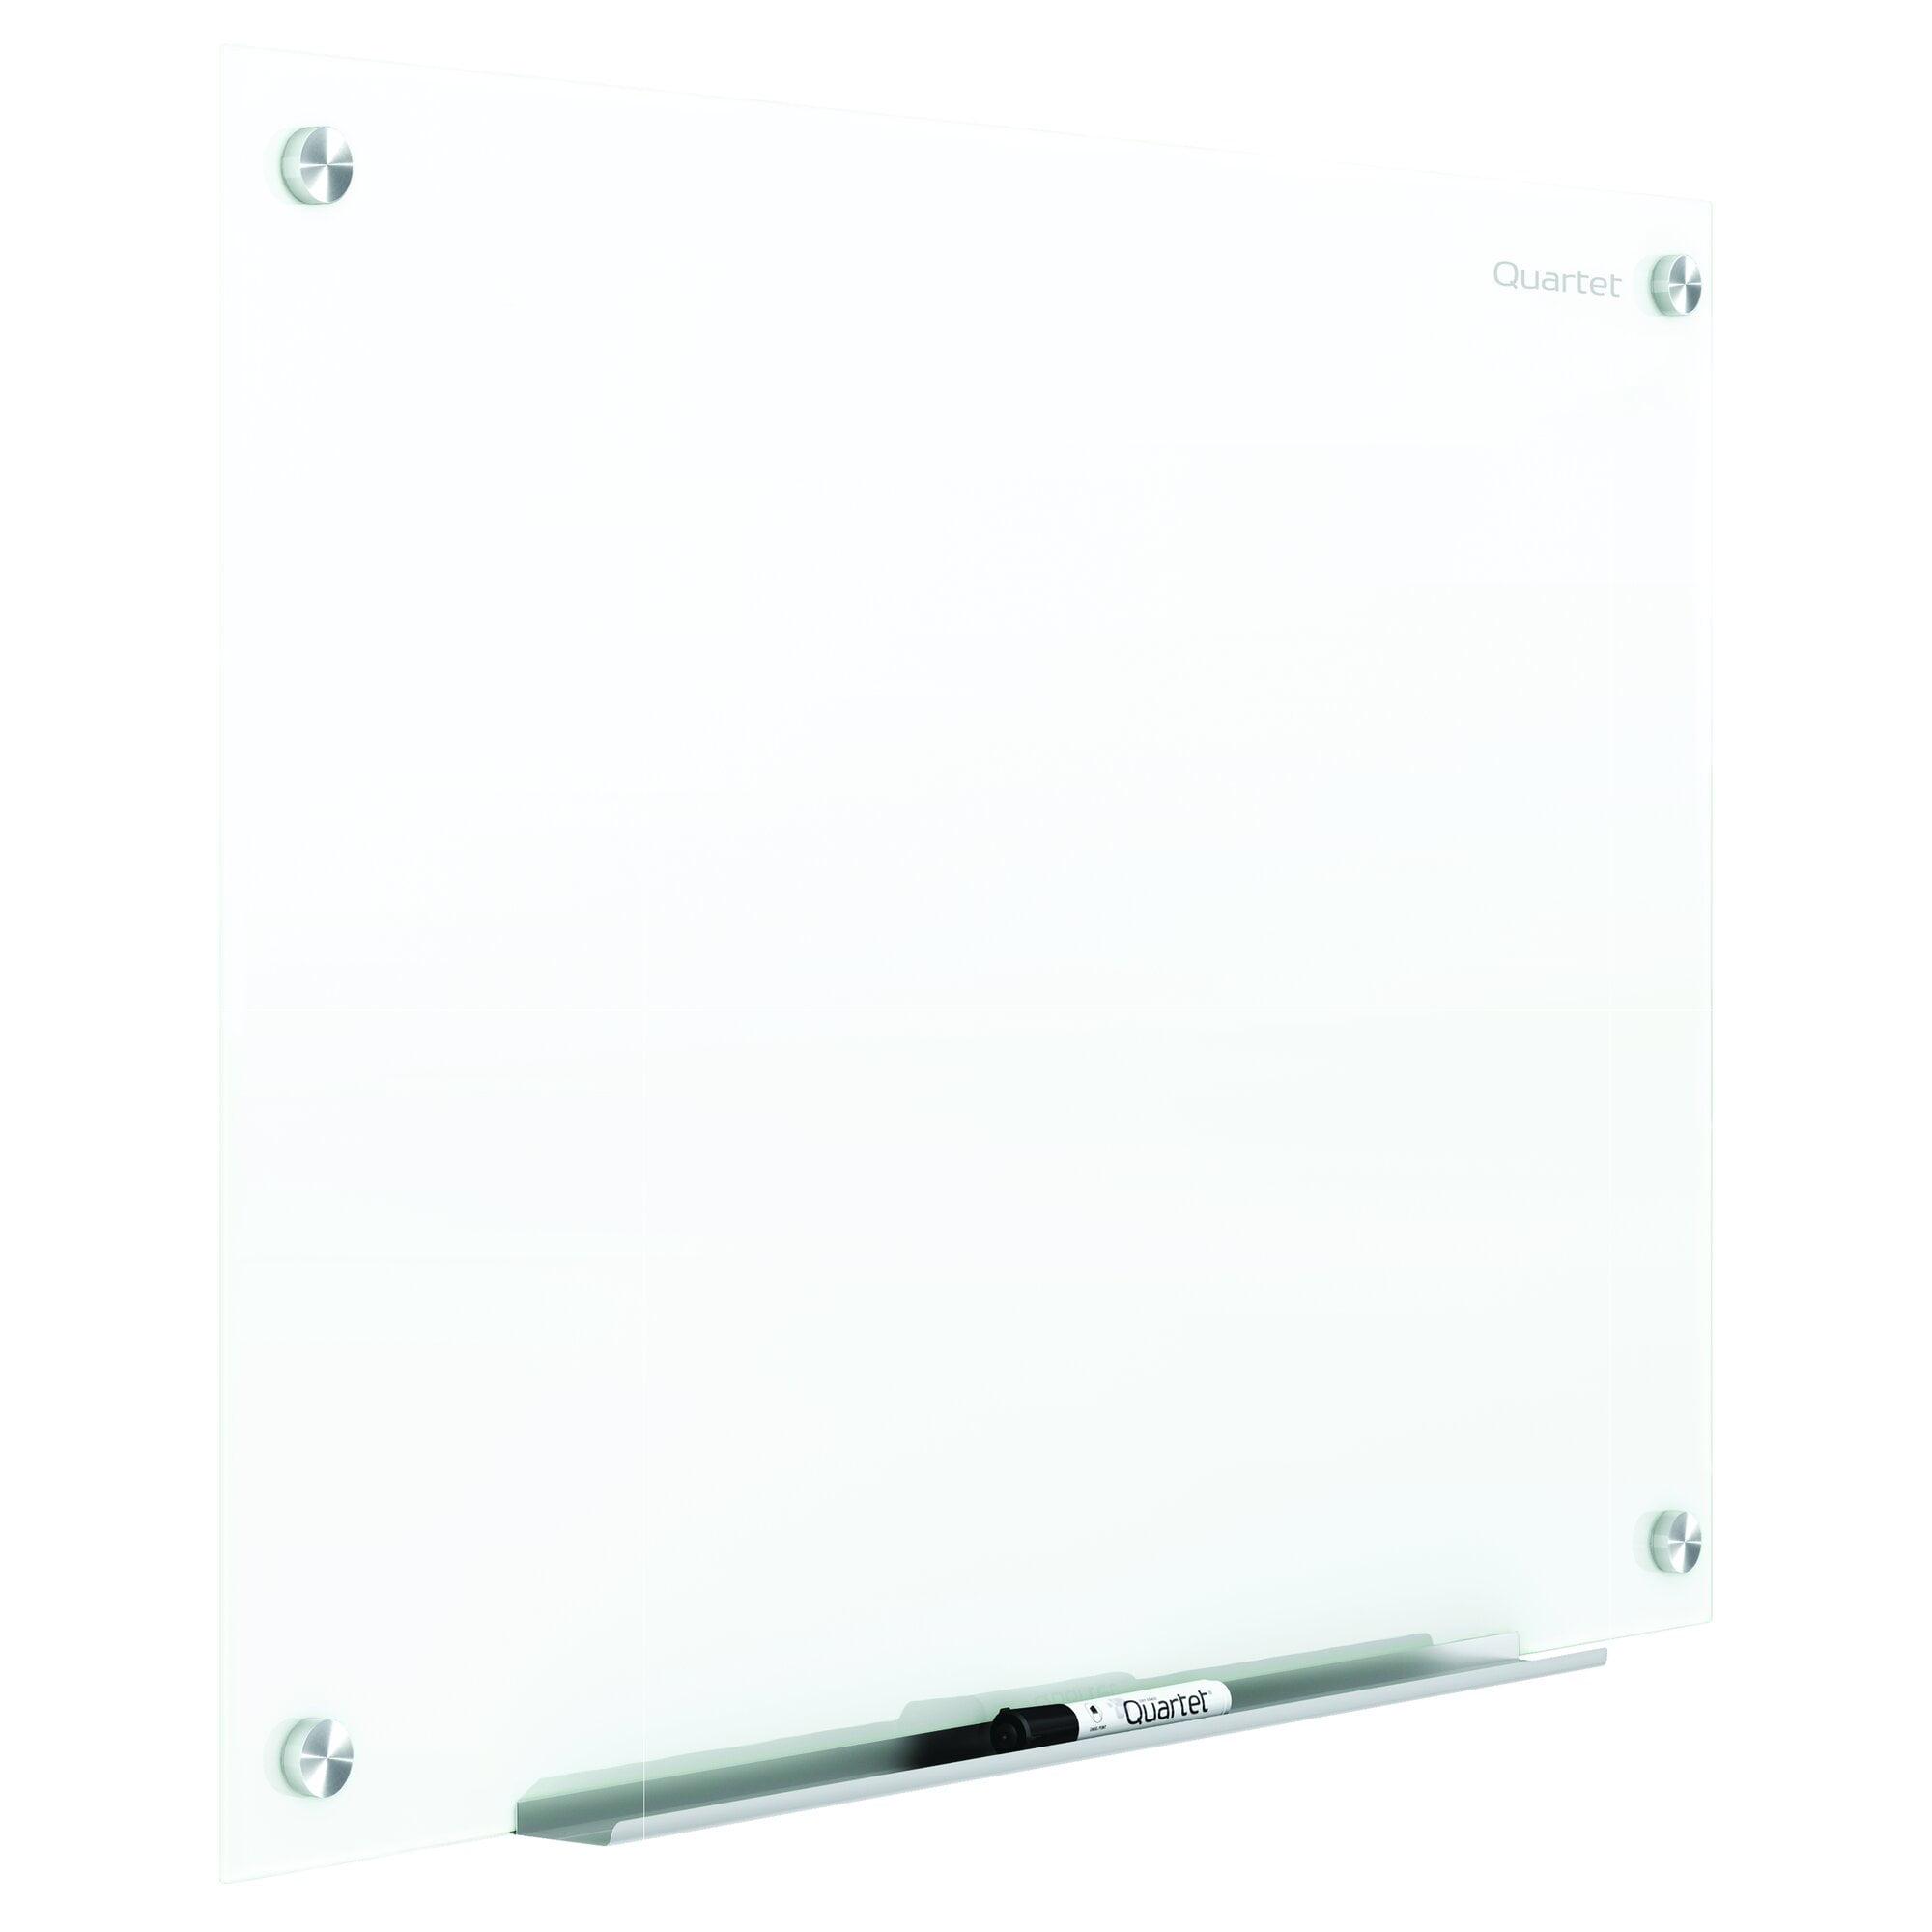
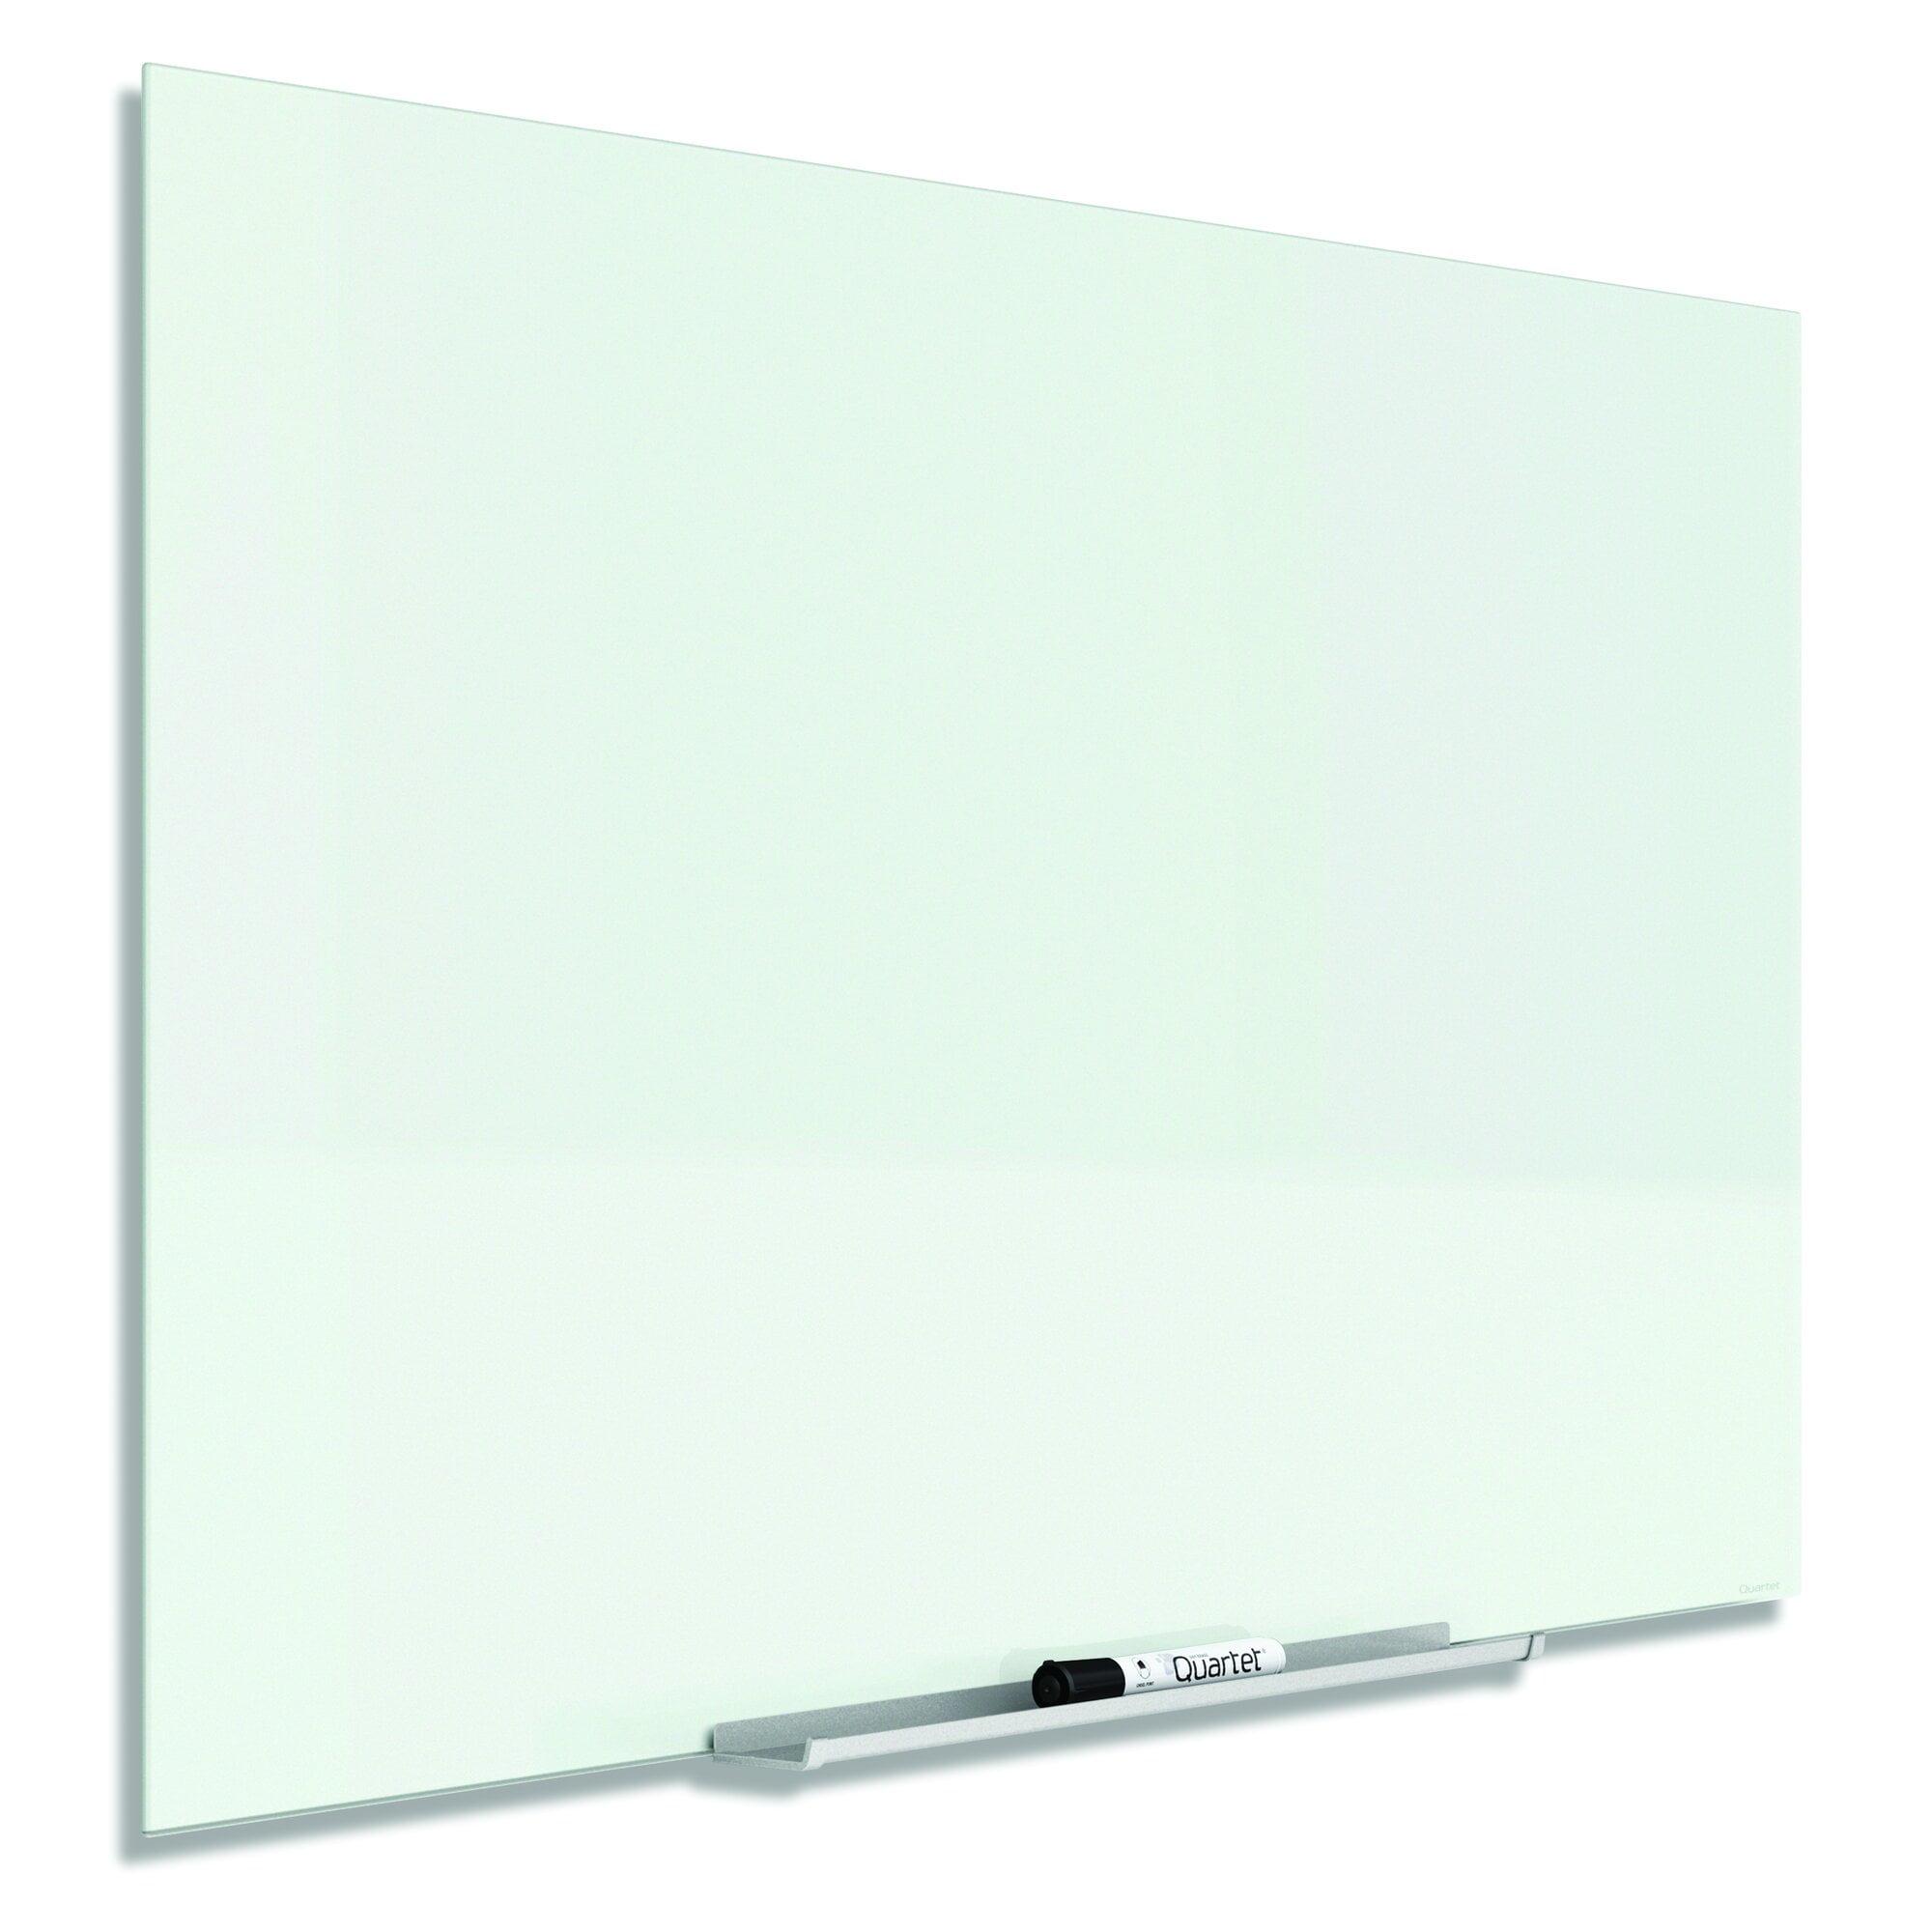
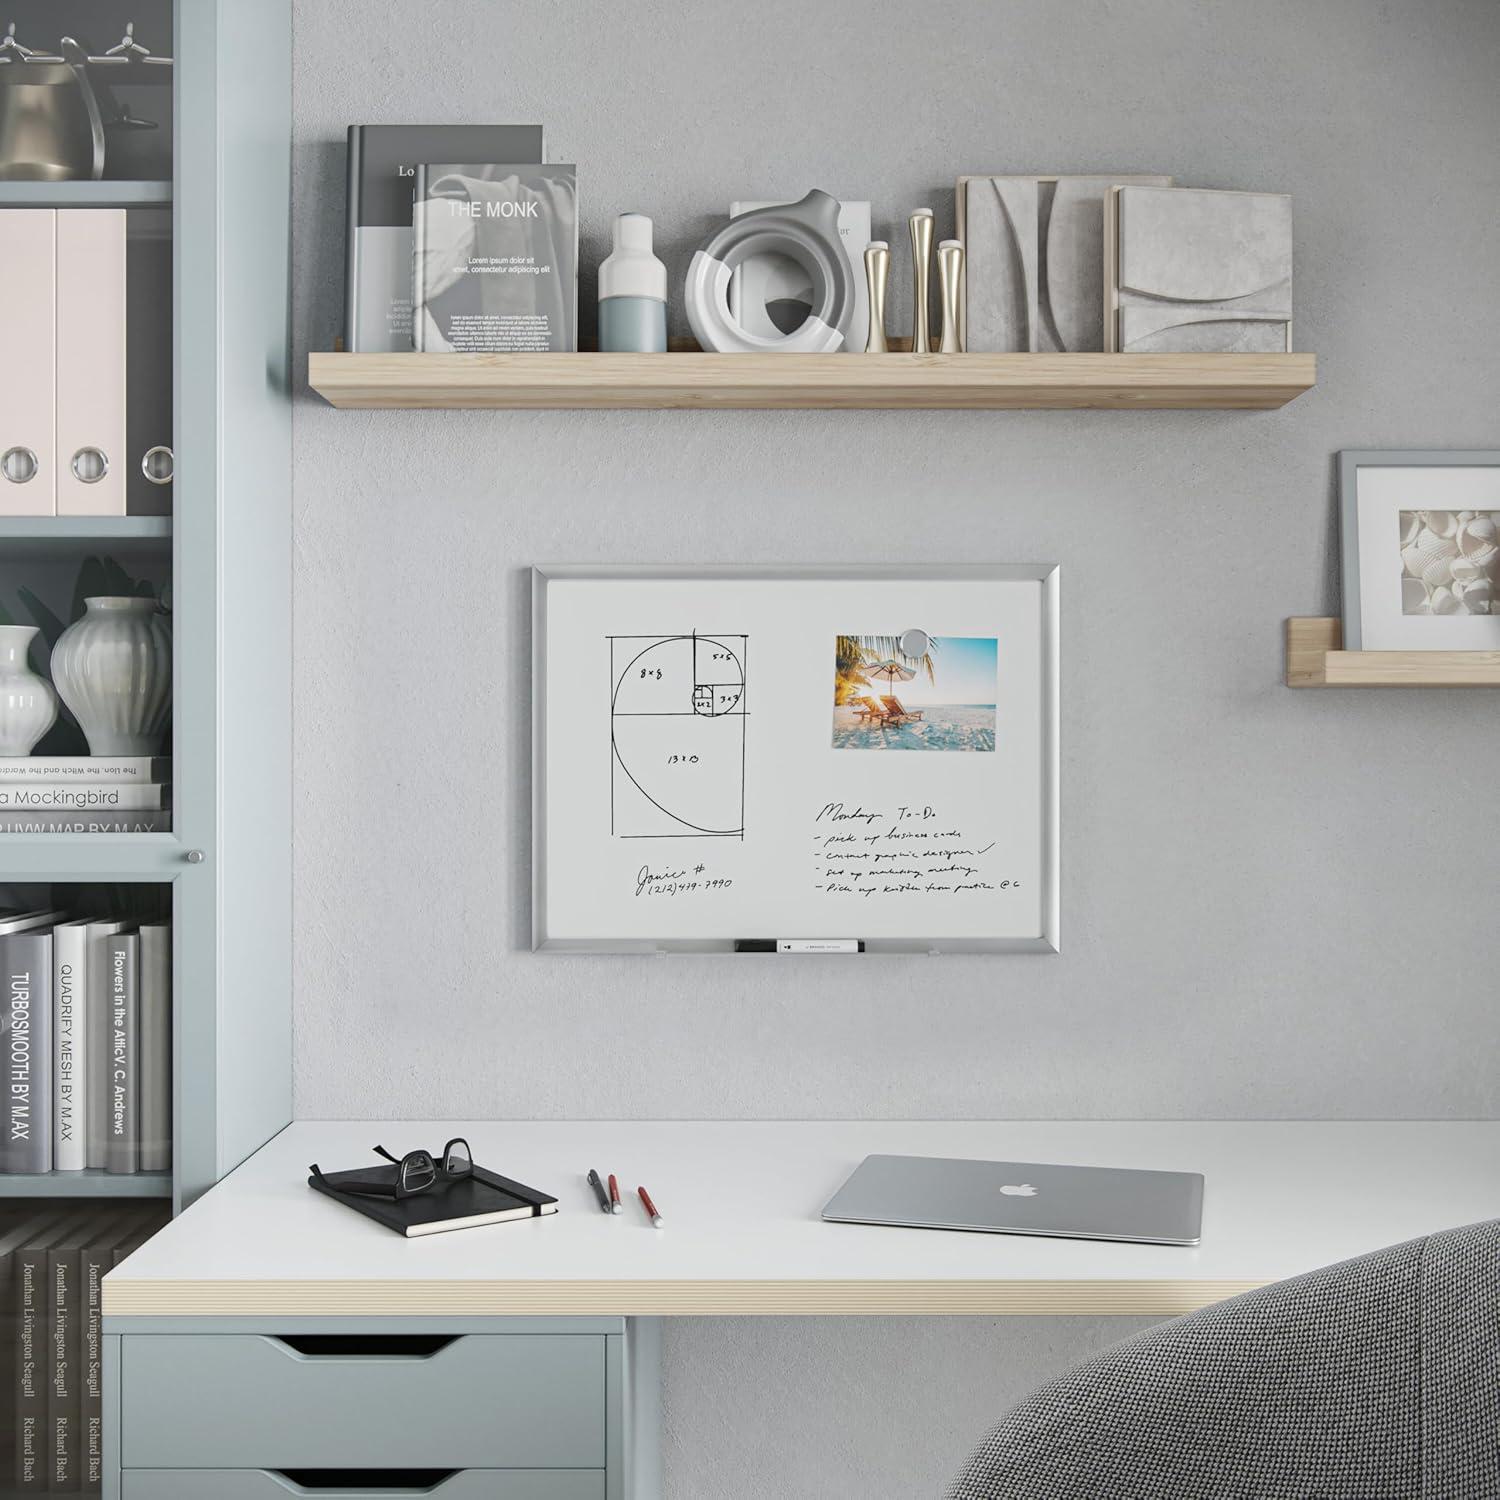
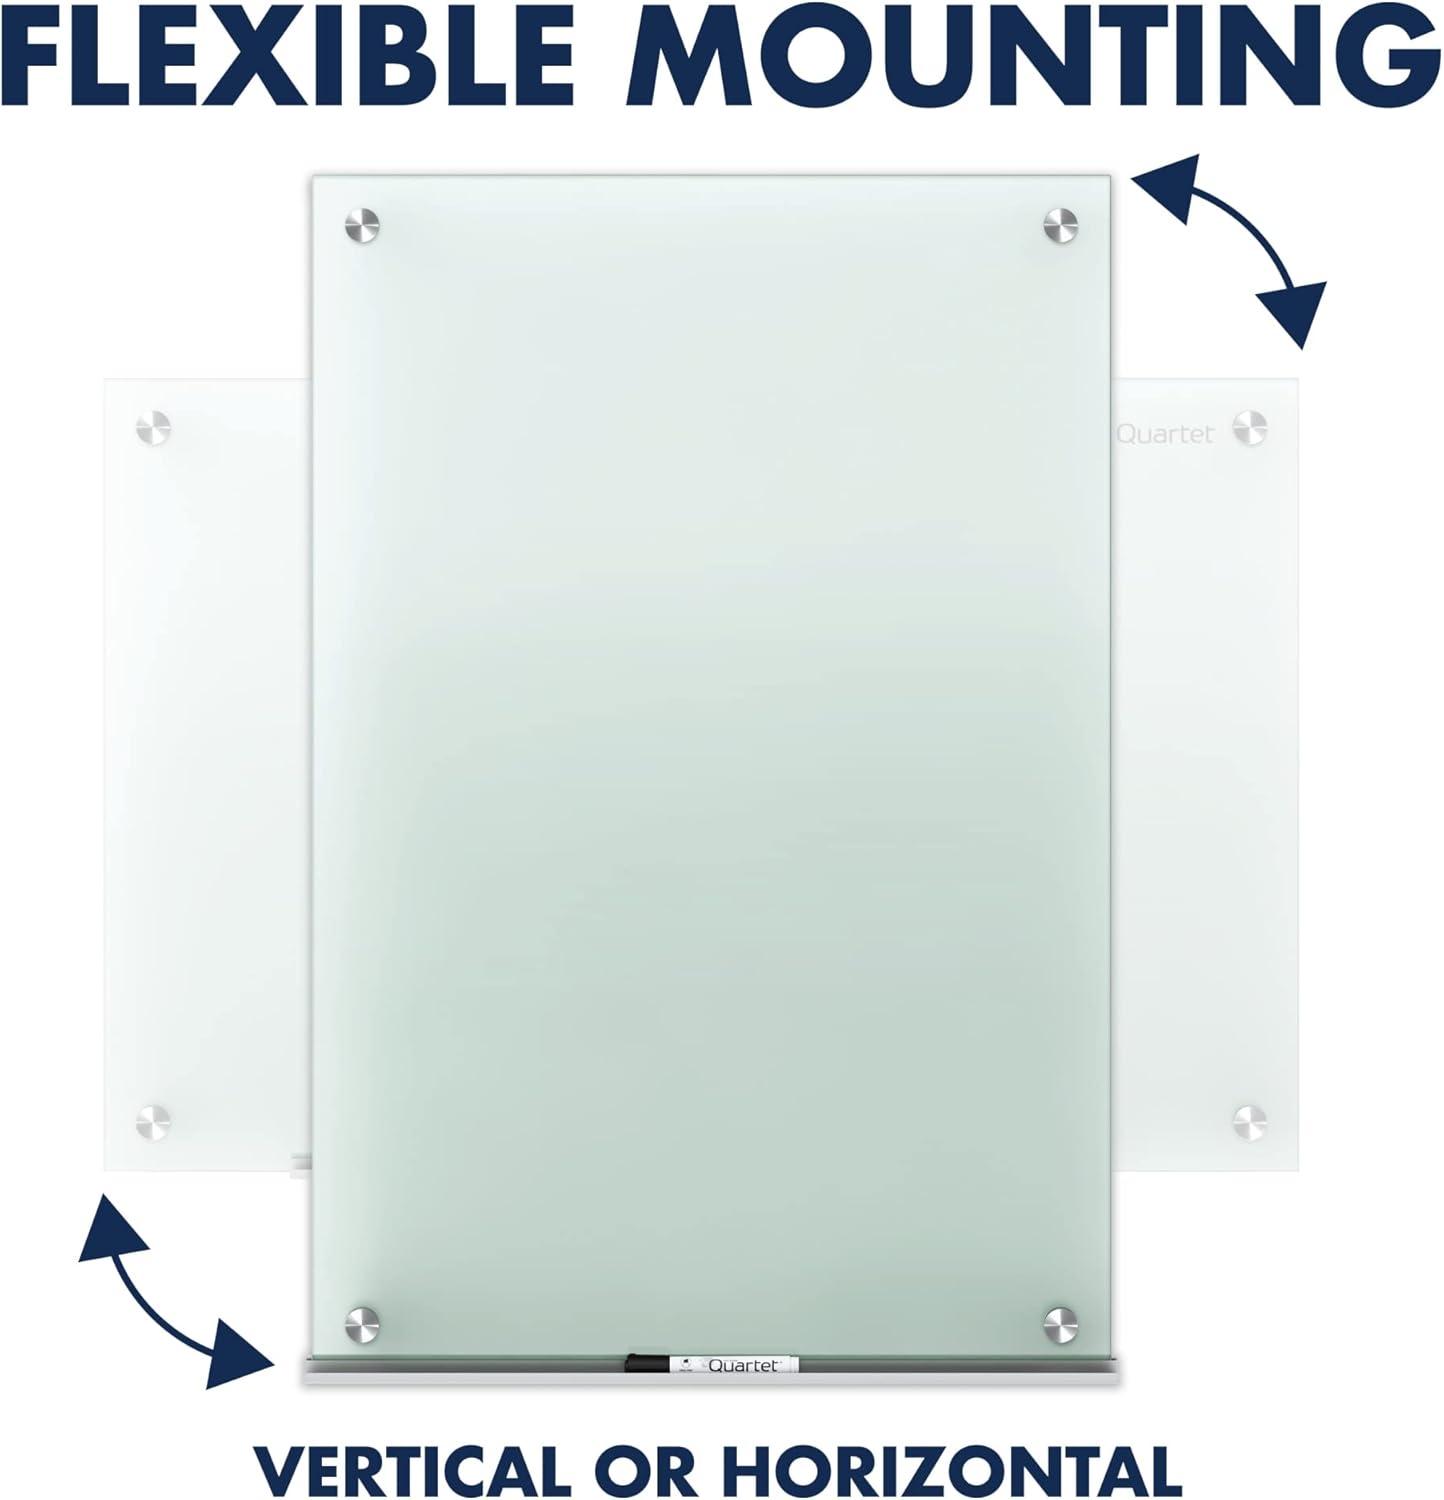
Elevate your workspace with this 36" x 24" white magnetic tempered glass dry erase board. Its frameless, modern design offers a sleek look, while the scratch-resistant, stain-resistant surface ensures durability. Perfect for heavy use, it includes a removable pen tray, magnets, and a marker for convenience.
