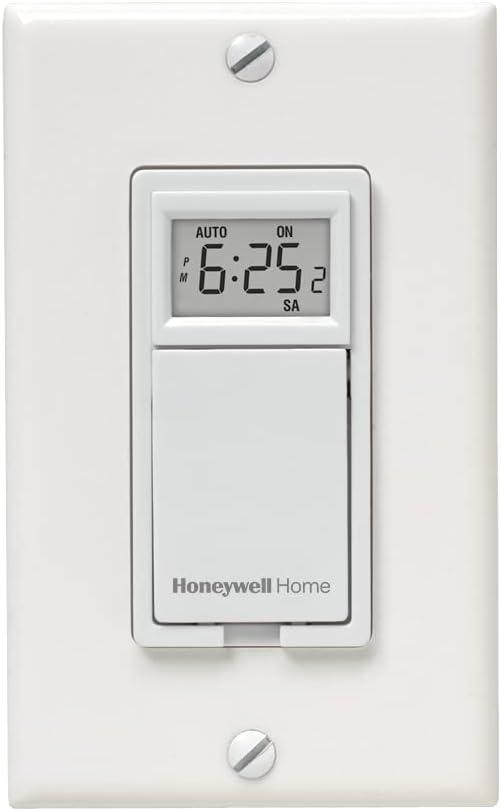
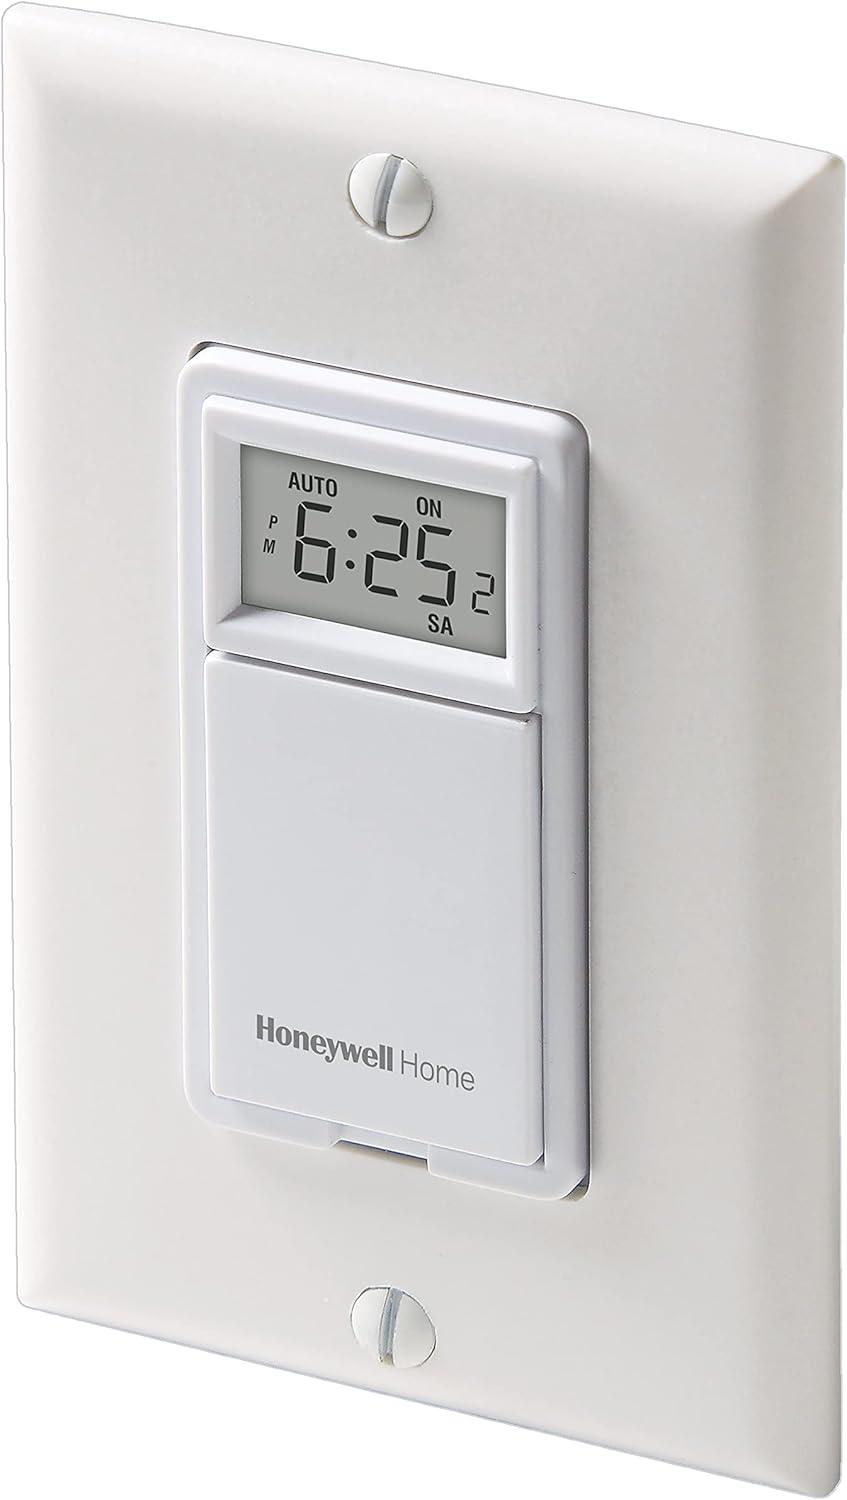
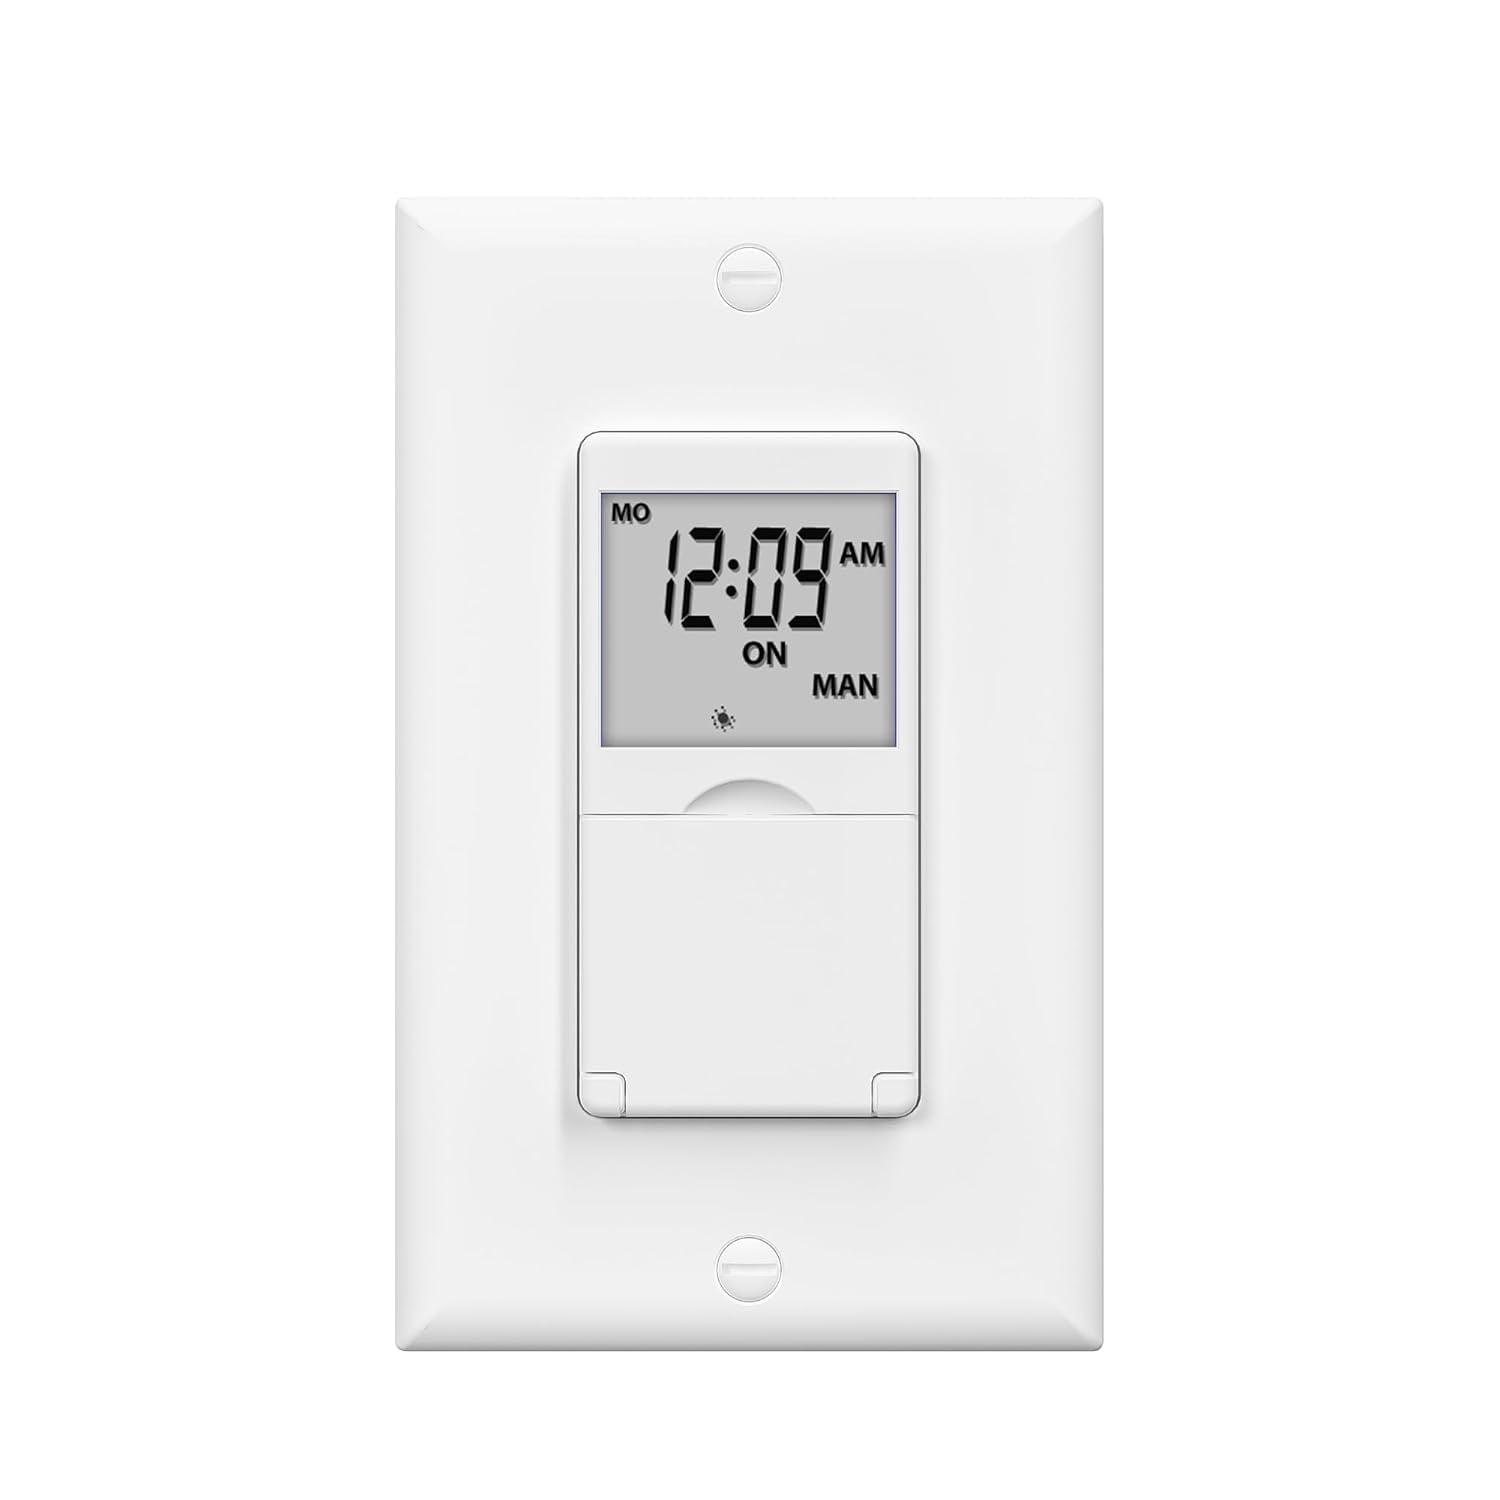
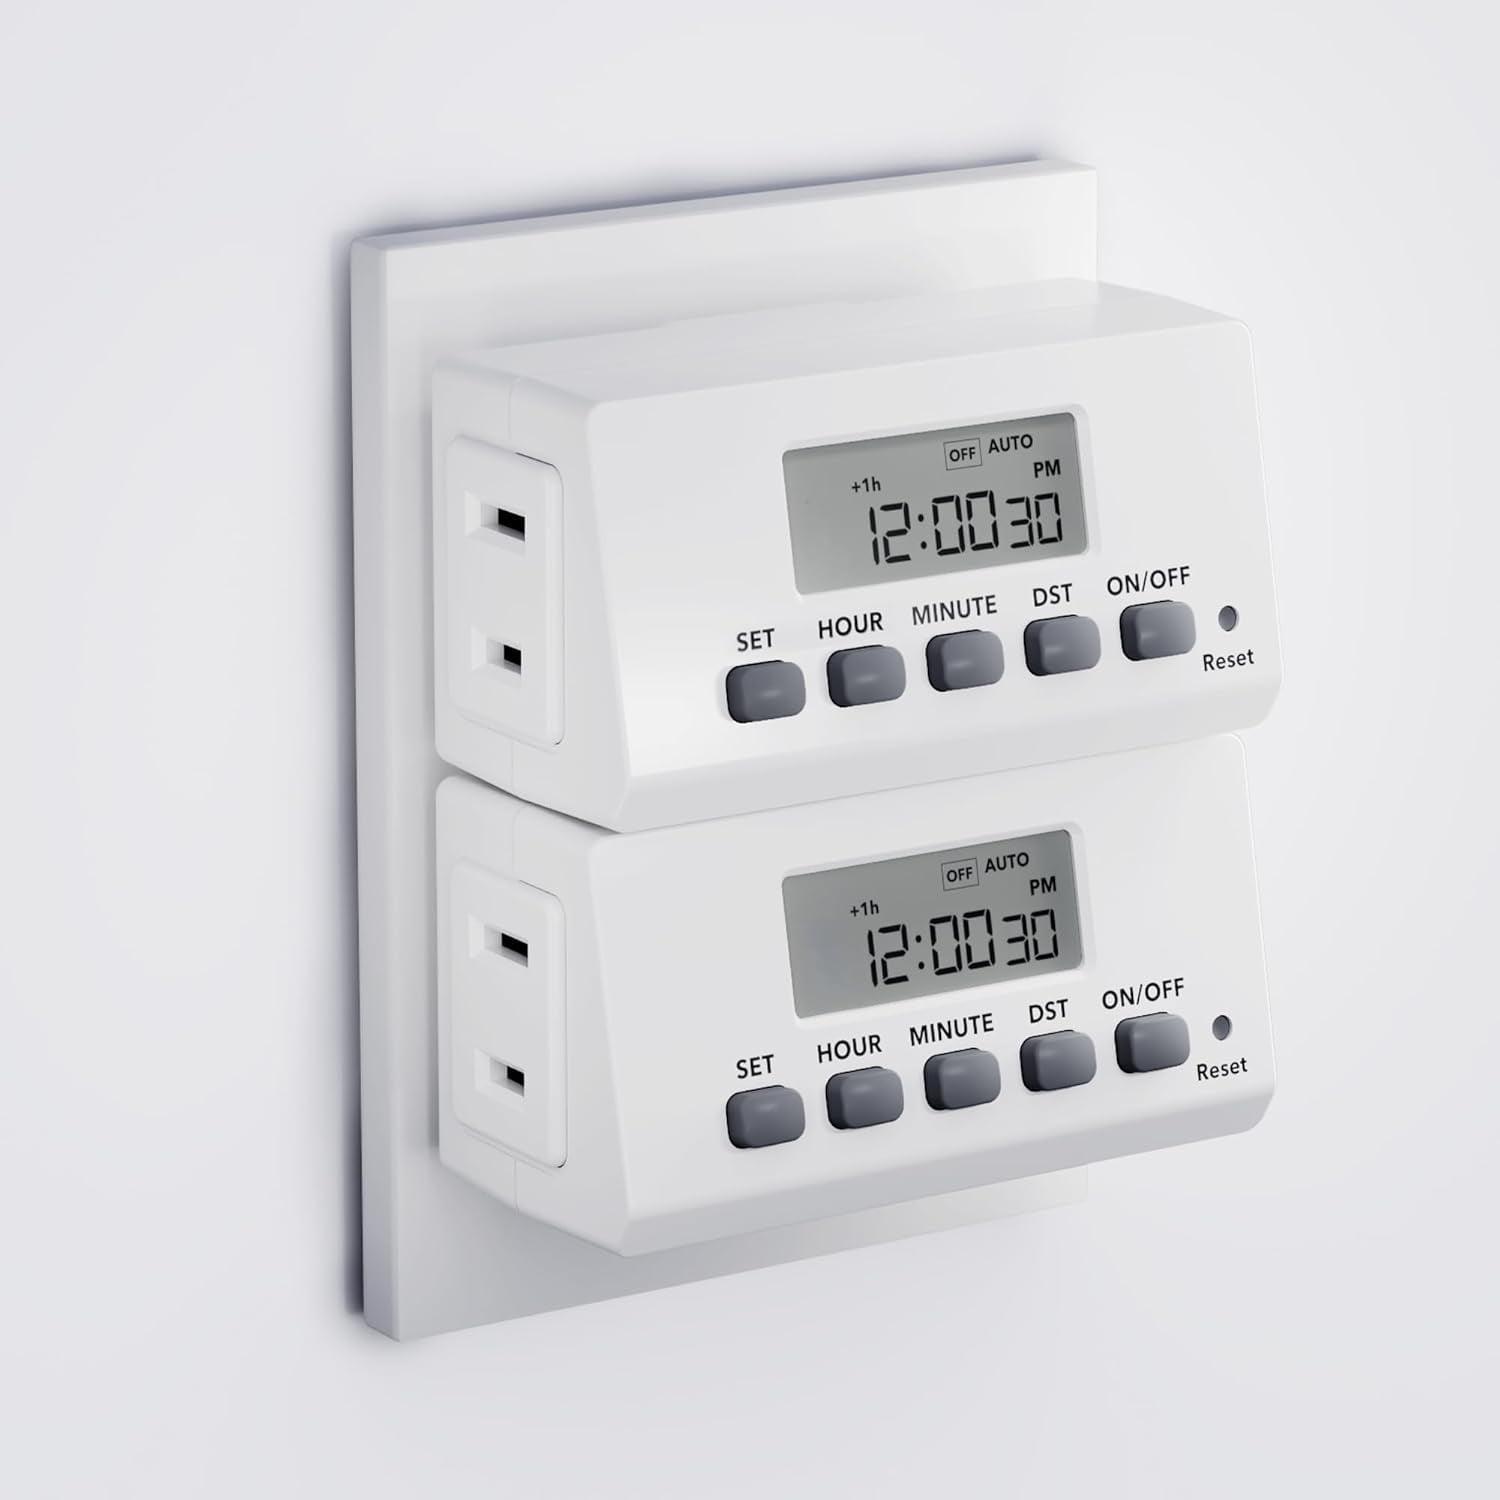
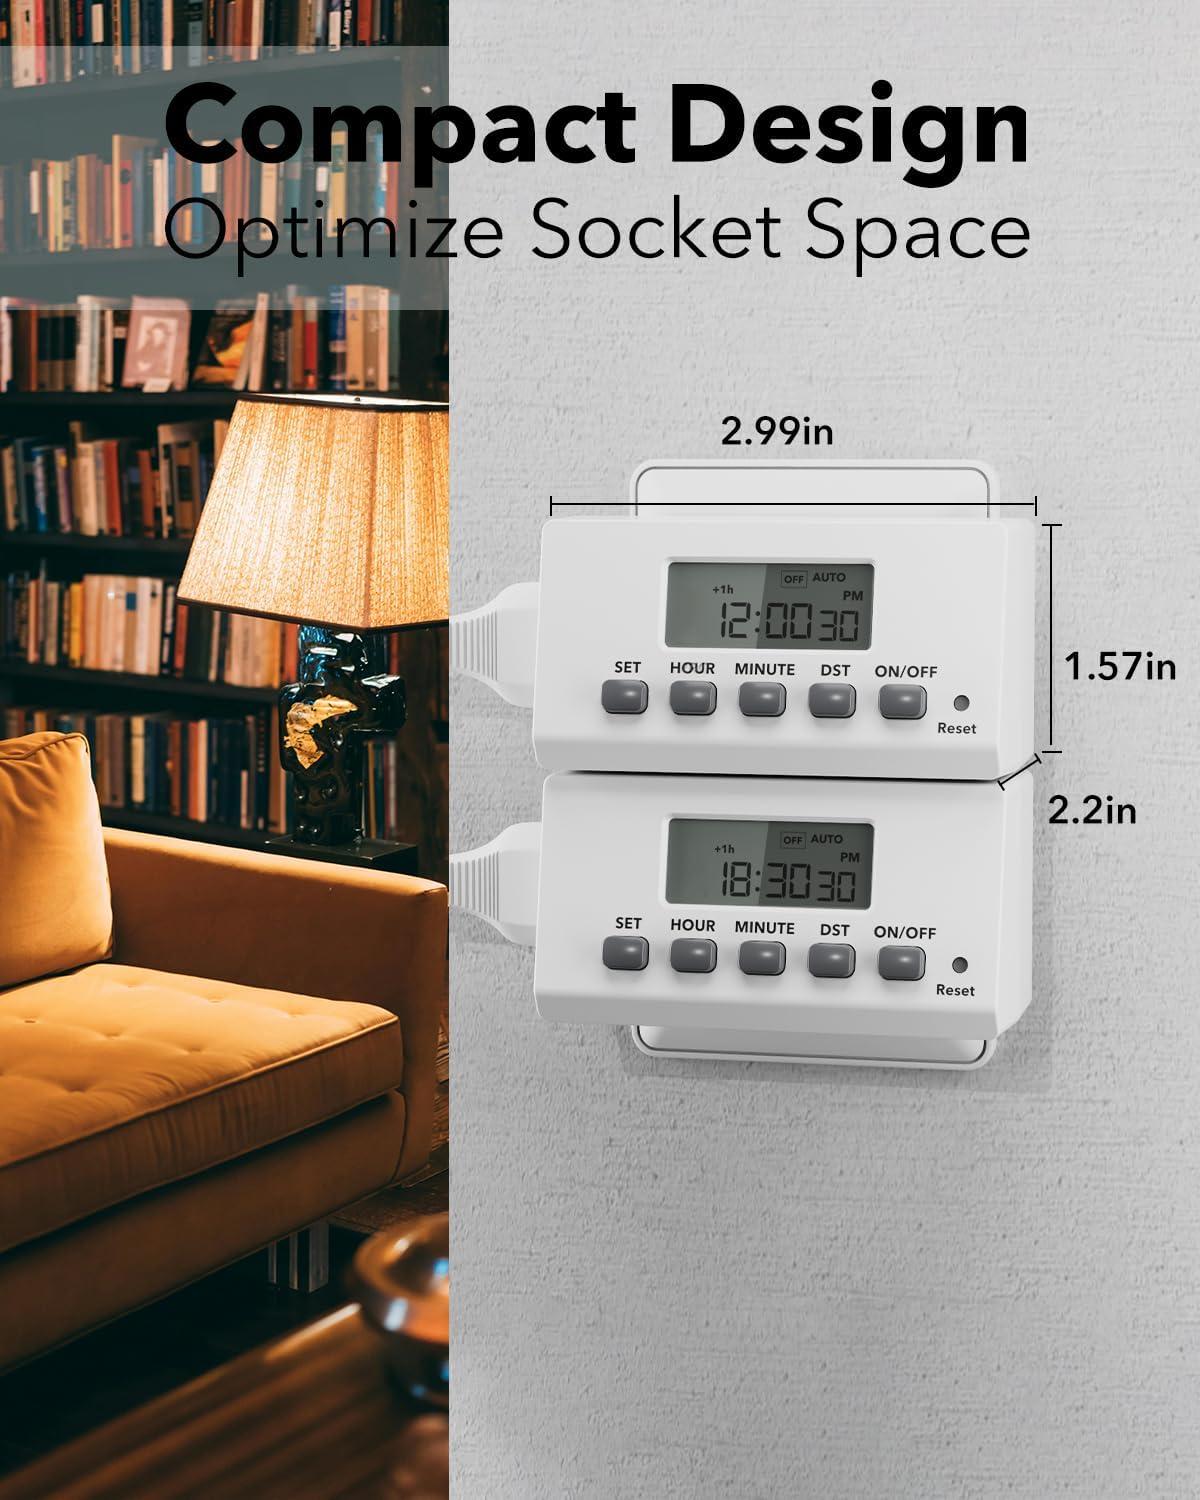
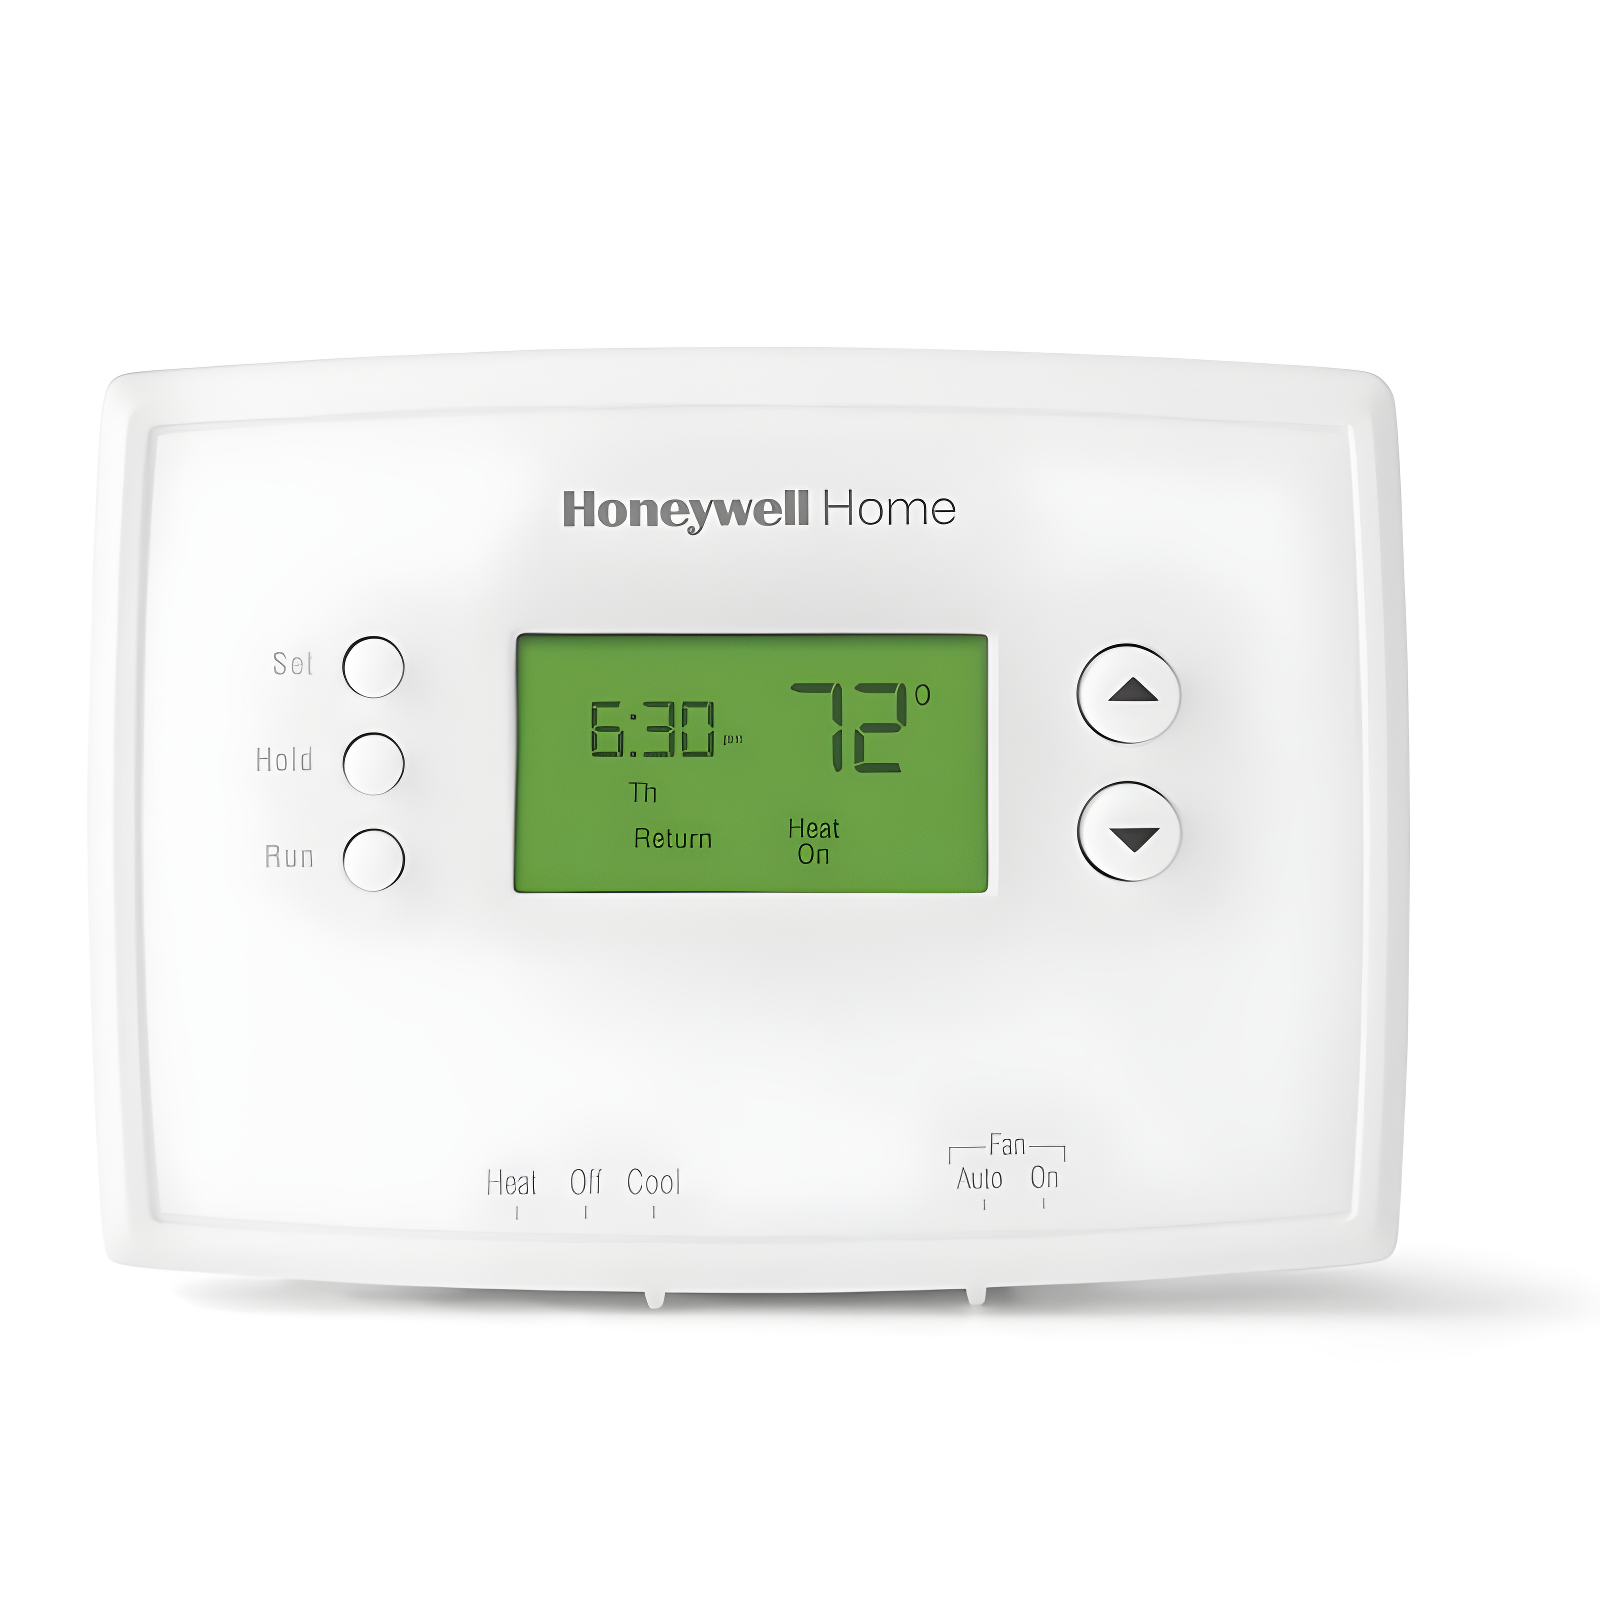
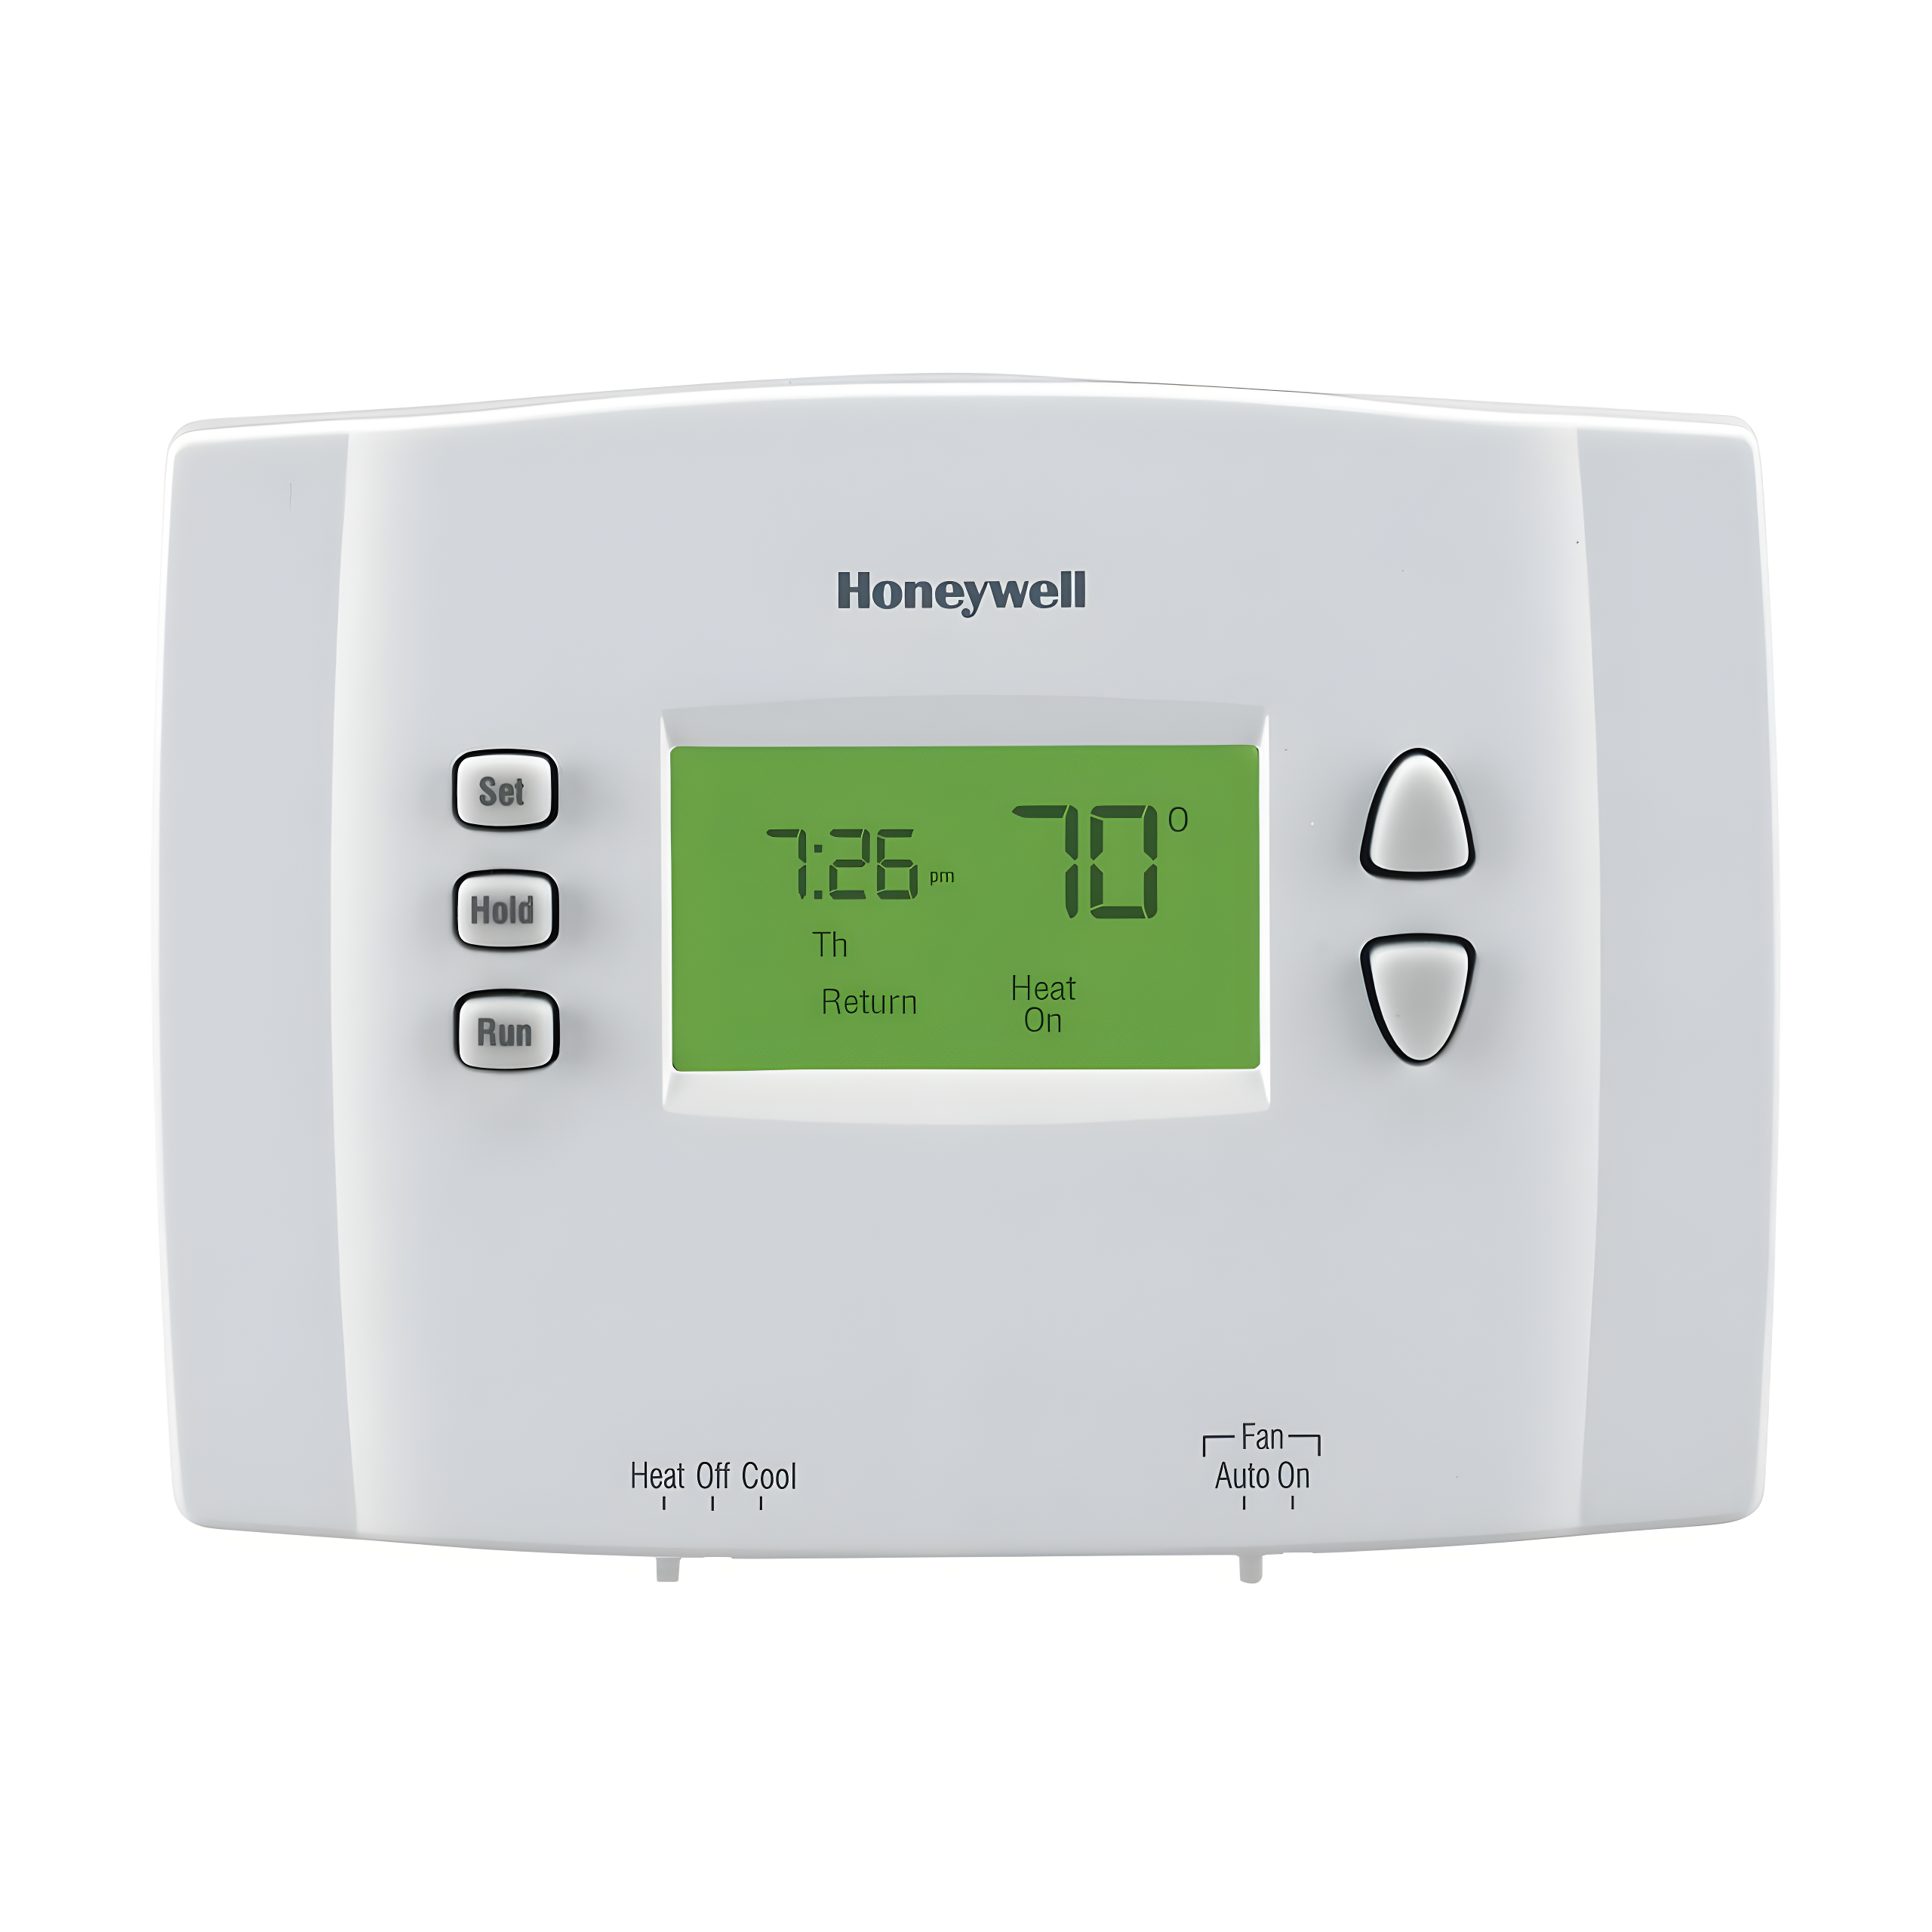
White Digital Programmable Light Switch Timer with LCD Display
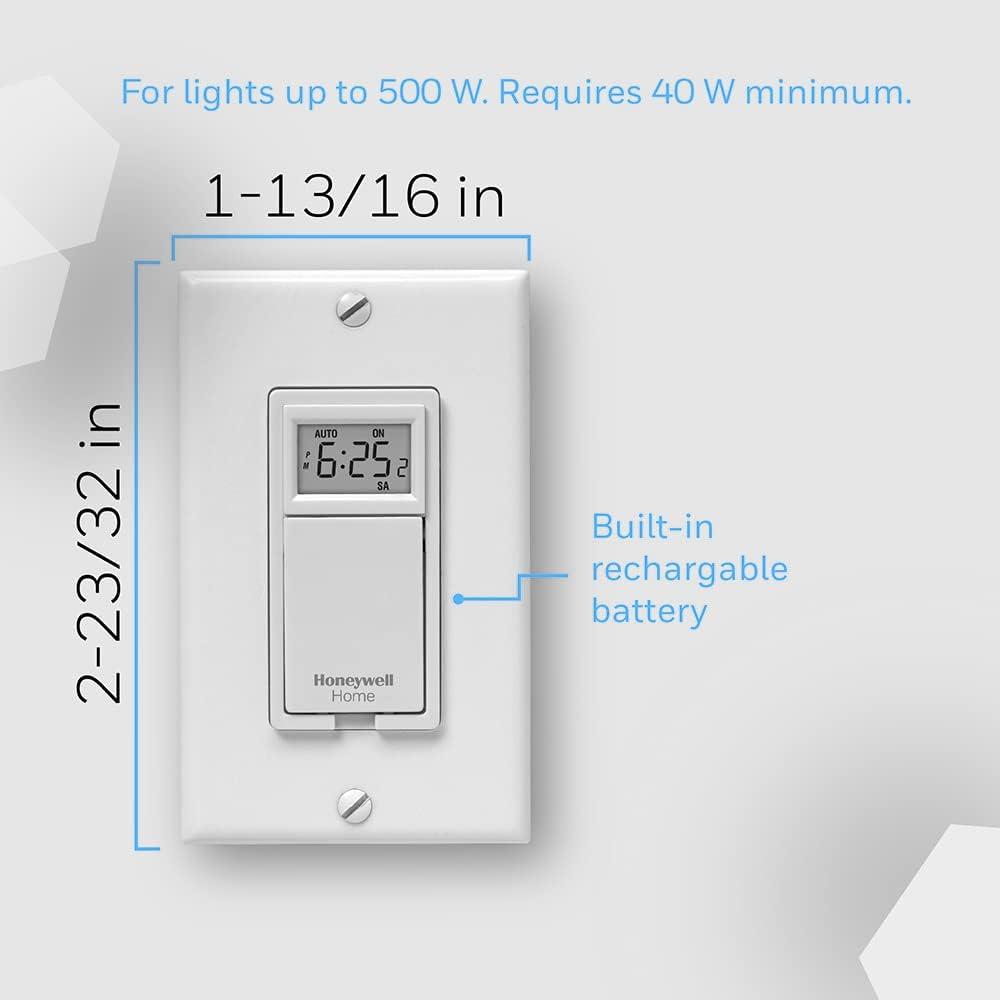
| Height | 4.06 in |
| Depth | 1.5 in |
| Width | 1.69 in |
White Digital Programmable Light Switch Timer with LCD Display
| Store | |
|---|---|
Home Depot 120-Volt 7-Day Programmable Indoor Light Switch Timer | $29.12 |
Amazon Honeywell Home RPLS530A 7 Day Programmable Light Switch, White (Requires 40 W Minimum) | $29.12 (new) $18.10 (used)as of 16:45 12/18 |
Open Tip | $29.34 |
Adorama | $29.99 |
Neobits | $32.35 |
| Height | 4.06 in |
| Depth | 1.5 in |
| Width | 1.69 in |
More like this product
View allMore Washer & Dryer Parts & Accessories
Reviews
I had a similar timer to operate our coach lights in my previous house. I bought this timer for our new house. It turns the coach lights on and off so I don’t come home to a dark house. One nice improvement is you push the flap to manually turn on the lights.
The product instructions and complexity of programing is by far the worse you can find. Had to try it more than five times to finally get it right. Very frustrating considering I am a mechanical engineer that work with machinery for more than forty years. Fire all your programmers. I would if I worked there.
The instructions were fair. The instructions + a video I found online (not a Honeywell video) got the job done. The Phillips head mounting screws that came with it, stripped out so I had to reuse the screws from the switch I was replacing. Once I got it programmed, the switch works great. (Had to watch a video to make this happen too - again, not a Honeywell video)
Bought four of these light switch timers for wall light switches. They are easy to program, but not easy to see what you're doing because these are small. Also cost more than I thought it would to have an electrician install them. Nevertheless, they do what they're programmed to do and work flawlessly.
Timer was a dud
I wanted this type of timer because all my house timers are that brand and model. Got it connected but fidn't work at all except the manual little switch. Major disappointment!
not for LED lights
After reading attached specifications, this timer must be used for 40watt lights or greater. LED lights are only 14 watts. Need to return, but unable to find how from web site page!!
Solved the "only 2 wire" problem
If your switch is like min and only has 2-wires (and no neutral or ground wires) then this programmable switch may be for you. There seems to be a far greater number of programmable switches available for sale that do require a neutral and/or ground wire. I'm using this switch to automatically turn on and off my exterior porch and garage lights, and it's great for that specific purpose. It doesn't have the bells and whistles of some switches like mobile app operation over wifi, etc.
Works like a charm
So easy to install.
Ever since we moved into our new house last December, I always wanted to replace a couple of ligh...
Ever since we moved into our new house last December, I always wanted to replace a couple of light switches for outdoor lights. But it has been quite challenging since the existing switch only has 2 black wires, no neutral, which is a requirement for most wifi controlled switches, no ground either, even a traditional timer switch like the 59020 made by Woods would not work. I bought 2 and had to return. Later I learned that you could buy a pigtail wire and manually add it to the junction box as the ground, but why bother if this Honeywell switch works perfectly well with my 2-wire setup. And the installation was fairly easy though I did have to use a multimeter to figure out which black wire is hot.
My old one died after many years so I purchased this one. The wiring required was not appropriate...
My old one died after many years so I purchased this one. The wiring required was not appropriate as a replacement. The wiring was required was either3 or 4 wired connections and not compatible with the existing device nor were the colored wires. They were otherwise identical. So.......I hired an licensed electrician to do a proper job. Also, I was totally disgusted with programing the previous one that died. It was close to impossible to program it without a microscope. Guess what! The electrician refused to install it since he had past experiences installing these things. He actually talked me into a competitive product. A couple of hundred dollars later I am very happy with his advice. I now can easily reprogram it though a web site, dim, turn off and on the lights in my living room ($10) more) speak to them using Alexa even turn the outside lights on or off through the cellphone or tell Alexa to do it. AND I did not even have to install this switch.......made my day
I bought a couple of these in-wall timers as replacements for a pair of Intermatic units that see...
I bought a couple of these in-wall timers as replacements for a pair of Intermatic units that seem to be prone to failure (possibly after one or more utility outages). Both of the Intermatic timers showed signs of internal heat problems, as the cases were discolored). If you want to take your chances with those, then search for "B003A3WUU2" on Home Essentials Direct. One lasted 5 years, the other 3. FWIW, I've found issues with other Intermatic products as well. OK, enough about Intermatic -- what about the Honeywells? The Honeywell units seem to be well-constructed, and so far they've operated as expected. My application is to control power on a couple of towel warmers (one in each of the two bathrooms). Only time will tell (OK, pun intended) if they are more durable than the Intermatics. I'll let you know. My only relative complaint is that the display on these isn't backlit (unlike the Intermatic unit), but that's a minor inconvenience. I do like that the cover does double-duty as a manual on/off override switch. Nice touch! (there's that pun again -- sorry). Bottom line? If you're in the market for a wall-mounted timer, go for the Honeywells, and pass on the Intermatics (which are a piece of fecal matter).
Exactly what we were looking for to address our outside lights. Unlike some of the others I cons...
Exactly what we were looking for to address our outside lights. Unlike some of the others I considered the installation of these switch timers were much more simplified and instructions on setting up the unit are explained in detail. Very pleased thus far...
Wow, I wish everything was this easy. I'm serious, this came with a simple guide for wiring AND a...
Wow, I wish everything was this easy. I'm serious, this came with a simple guide for wiring AND a more complex guide for wiring and usage. It took me longer to find which breaker to shut off than it did to install and setup! I'm currently using this for my porch lights as I was tired of my old sensor lights going off when a cat walked by. So, I bought none sensored lights and needed a way of automatic on/off. Perfect solution. Really, if you're on the fence about buying this, it really is easy and works fantastic. Also, it has an option for programming that encompasses all 7 days (which I didn't find out until after I programed the entire week).
This was a last minute purchase before I left out of town, I installed it the same day I was leav...
This was a last minute purchase before I left out of town, I installed it the same day I was leaving and crossed my fingers! Installation was not too hard. I followed a You Tube video in the to change all my home wall outlets/switches in the past, so I hoped this would be about the same difficulty level. Just turned off the power to the light switch, removed face plate and existing light switch, then took a LONG look at the existing wires lol. Luckily I already had the white neutral wires, that was easy, but the other 2 wires were both black, so hard to tell which was the "line" & load". I made a guess based on a video I saw explaining which is which. The small caps provided were no good for me, too small, so had to use electrical tape to cover wires. It works, just hope it lasts :)
I am by no means an electrician, and this project would have been outside the scope of my electri...
I am by no means an electrician, and this project would have been outside the scope of my electrical repair skill if 1) I didn't have a digital timer already installed and 2) thank goodness for youtube. Because I already had a GE digital, programmable timer installed, I was able to follow the GE instructions and find the load wire in my wall, etc. (After 10 years, the GE timer was no longer turning the lights on so something inside obviously bit the dust). After that, I watched a couple youtube videos on how to install, how to use wire nuts, etc. You will need those videos if you are a novice like me because the Honeywell instruction manual is fairly worthless. The Honeywell timer works really well. The buttons are tiny, so if you have large hands, you will need to use a toothpick or paperclip on the buttons. The "program" button could be a little more sensitive to the touch. You really need to press hard on it to engage the program's schedule unlike the "hour" and "minute" buttons which are very easy to use. But here is the biggest tip of all, and thank you to other Home Essentials Direct reviewers who explained this to me. To get the timer to switch between Manual mode (MAN) and Automatic Mode (AUTO), you need to shut the door, and hold down the big button (otherwise known as the rectangle that makes up the door) until the timer switches modes. That is not in the instruction manual, and boy was I mad after getting this installed to find out I couldn't switch to AUTO mode. Thank you to the other reviewers who had the same problem and clarified it in their reviews. Overall, this is a good timer, and I am hoping that it will make it 10 years like my previous one did.
I would have given this 5 stars if not for the fact that the screen is very difficult to see, dep...
I would have given this 5 stars if not for the fact that the screen is very difficult to see, depending on the light in the room. AS mentioned in the on line write up and instructions, this does require a neutral wire (usually the white) in the box. Some complained that their box does not contain a neutral wire but that is due to how the old toggle switch being installed as a leg off the main wiring. All house wiring contains a black, white and bare (ground) wire. The switch, in the case of there being no white wire, was run as a leg off just one side of the main line. My toggle had only two black wires attached, but the white wire as inside the box, tied off with additional white wires. So simply follow the instructions to hook up the wiring from the timer, after identifying the source wiring and the wiring leading to the light. The timer needs the white and black wire from the "source" wiring to operate. The blue wire goes to the black wire that goes to the exterior light. IF YOUR BOX ONLY HAS TWO BLACK WIRES, THEN YOUR SOURCE WIRE (FROM BREAKER BOX) IS LOCATED OUTSIDE THE BOX AND THE TOGGLE IS USED TO BREAK ONE SIDE OF THE CIRCUIT. Don't know why a competent electrician would have trouble knowing this. Programming was simple and to adjust the program, although not explained in the instructions is simple: push the program button to get to the desired program, the just push the hour or minute buttons to adjust, then close the cover to save. Just wish it was easier to read the screen but with the number of purchasers, good switch.
Great buy for the money
This Honeywell light switch timer is this best timer on the market, it is easy to install and very simple to set up and works flawlessly. I installed and set timer in 30 minutes. The only setback is the cover, No cover, but the cover only cost 2 dollars at Home Depot. I highly recommend this product. Honeywell always make great products.
Horrible experience. This switch only accommodates incandescent bulbs greater than...
Horrible experience. This switch only accommodates incandescent bulbs greater than 40W. Who uses incandescent bulbs who wants to save energy. Home Depot could not order me a switch with timer that could handle LED bulbs. Booo!
I installed this timer to control the exhaust fan in a walk-in closet. This walk-in closet has no...
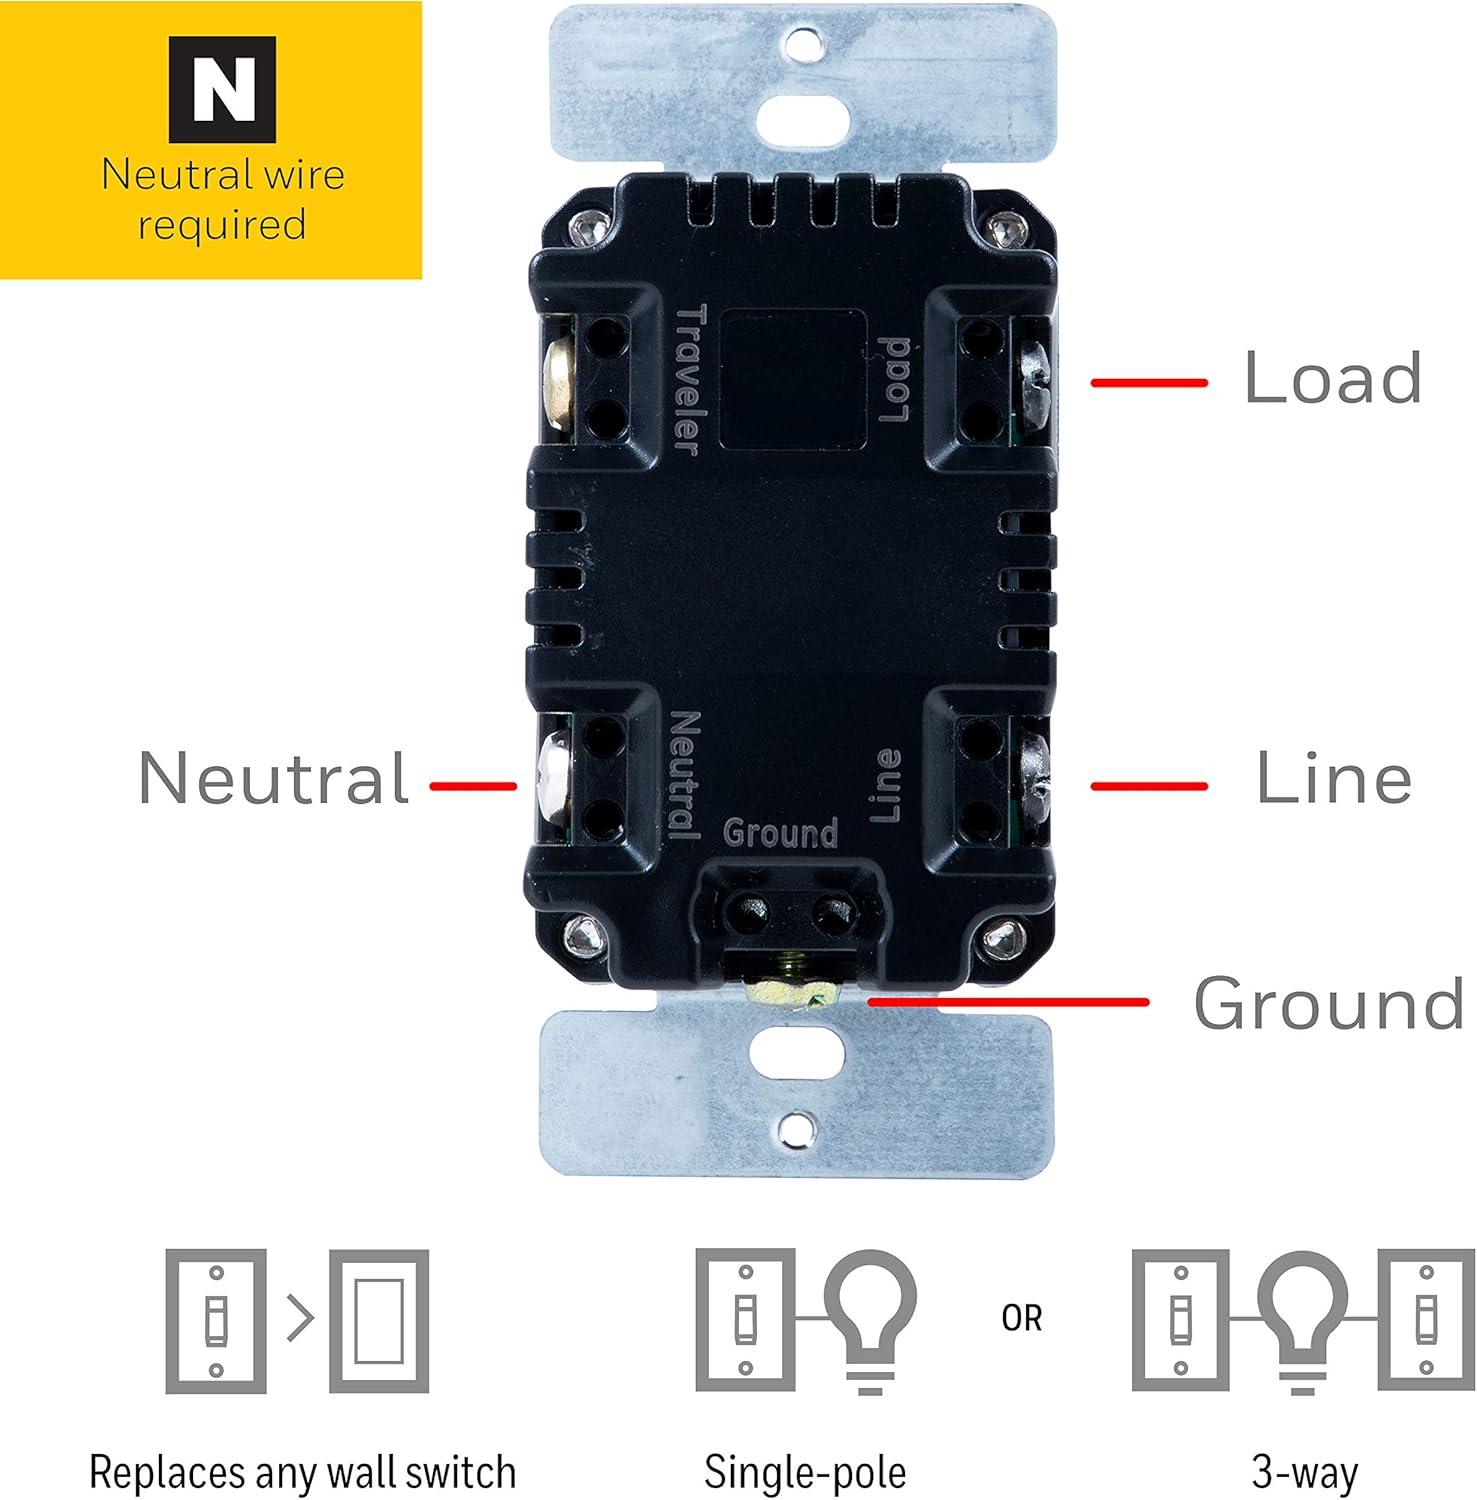
I installed this timer to control the exhaust fan in a walk-in closet. This walk-in closet has no windows and we are concerned about musty odors building up, and, the possibility of mold due to no air circulation. Our builder installed an exhaust fan with an on-off switch. We wanted to automate the fan and have it turn for several hours daily. We run it a few hours every day but sometimes forget to turn it off or on. This timer is exactly what we wanted. I installed it a few days ago and it's turning the fan on and off at the appointed times (7 AM - 5 PM). We can turn it on/off by pressing the cover, which activates switches in the timer. Here are some comments. MUST USE A TIMER THAT'S RATED FOR A MOTOR. There are a lot of timers out there, most of them control lights. A motor is different because, when the motor first starts, it draws a lot of current -- the startup surge -- then it draws only the amount of current needed to run. Lamp timers may not handle the startup surge. In fact, the first timer I bought (sent it back) said NOT FOR USE WITH MOTOR -- the warning was not in the description. WHICH IS THE LOAD, WHICH IS THE LINE? This timer has three wires that must be connected to NEUTRAL, LOAD (the motor, the light, whatever is being controlled) and LINE (the wire coming from the breaker, carrying current). the box where the switch being replaced was located were two cables, each with white (neutral), black (hot), and ground wires. I could not tell which cable came from the breaker box (line) and which went to the fan (load). SO -- this is what I did. -- Turn off power at the breaker. -- Remove the switch from the box. -- There I found: (1) two white wires tied together with a wire nut; (2) two black wires, one going to one switch terminal, one to another switch terminal. -- I disconnected the black wires from the switch and removed the wire nut from the white wires but left them twisted together. -- MAKE CERTAIN NONE OF THE WIRES IS TOUCHING ANYTHING -- pulled them out of the switch box so I could get to them. -- Went back to the circuit breaker box and turned the breaker on. CAREFUL -- THE WIRES HANGING OUT OF THE SWITCH BOX ARE NOw HOT. -- Used my volt meter -- set it on the 200volts AC scale. Hold one voltmeter lead onto the white wires, then touched the other lead to one of the black wires. -- One black wire will show voltage, the other will show no voltage. The one that shows voltage is the LINE lead because it's carrying voltage from the breaker. The black lead that shows no voltage is the LOAD, going to the fan, light, etc. -- Remember which black lead is which. -- TURN TO BREAKER OFF. Check to make certain there is no voltage on the leads -- voltmeter between white wires and one black wire, then, the other black lead . . . should show zero volts -- Label the LINE and LOAD leads. I used a small piece of duct tape for each with LINE and LOAD written on the tape. -- Wire the timer. (1) Tie the timer's white wire to the two white wires, using the wire nut that's already there. (2) Connect the BLUE wire coming from the timer to the LINE and the BLACK wire from the timer to the LOAD, using the two wire nuts supplied with the timer. (3) If your house has metal electrical boxes, ground the ground wire to the box. If plastic box, just push the ground wires out of the way. Hope this helps.
Worked as described for the money a great little timer. The only thing it's missing is a Dusk to ...
Worked as described for the money a great little timer. The only thing it's missing is a Dusk to Dawn or Dawn to Dusk setting. But you can set up to seven different timers for each day of the week. I would recommend this product if your looking for a inexpensive, easy to install and set up timer.
Customer pictures
Overview
Prices are currently typical for this product, ranging from $27 to $41, and the lowest price we've seen is $19.95.
120-Volt 7-Day Programmable Indoor Light Switch Timer at Home Depot
,Honeywell Home RPLS530A 7 Day Programmable Light Switch, White (Requires 40 W Minimum) at Amazon
.Description
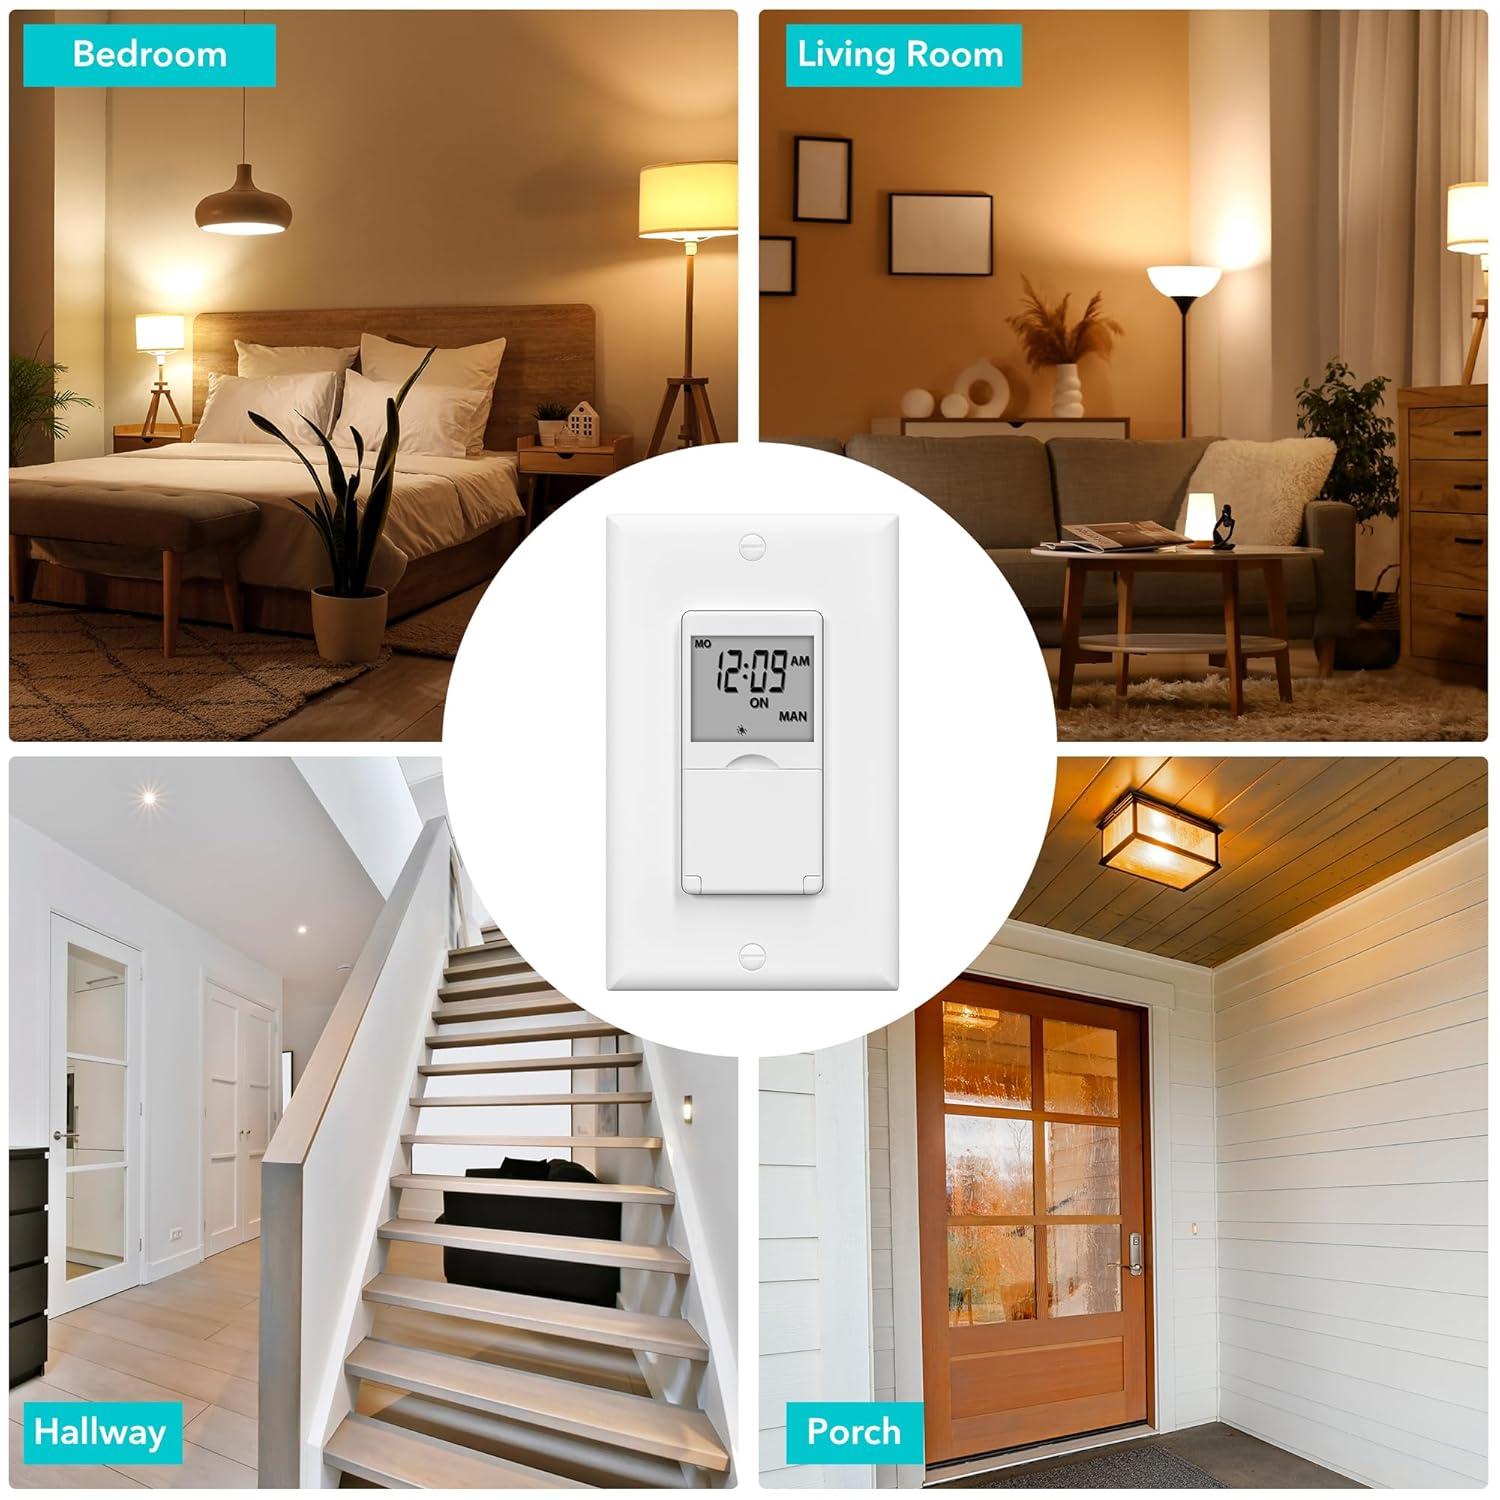
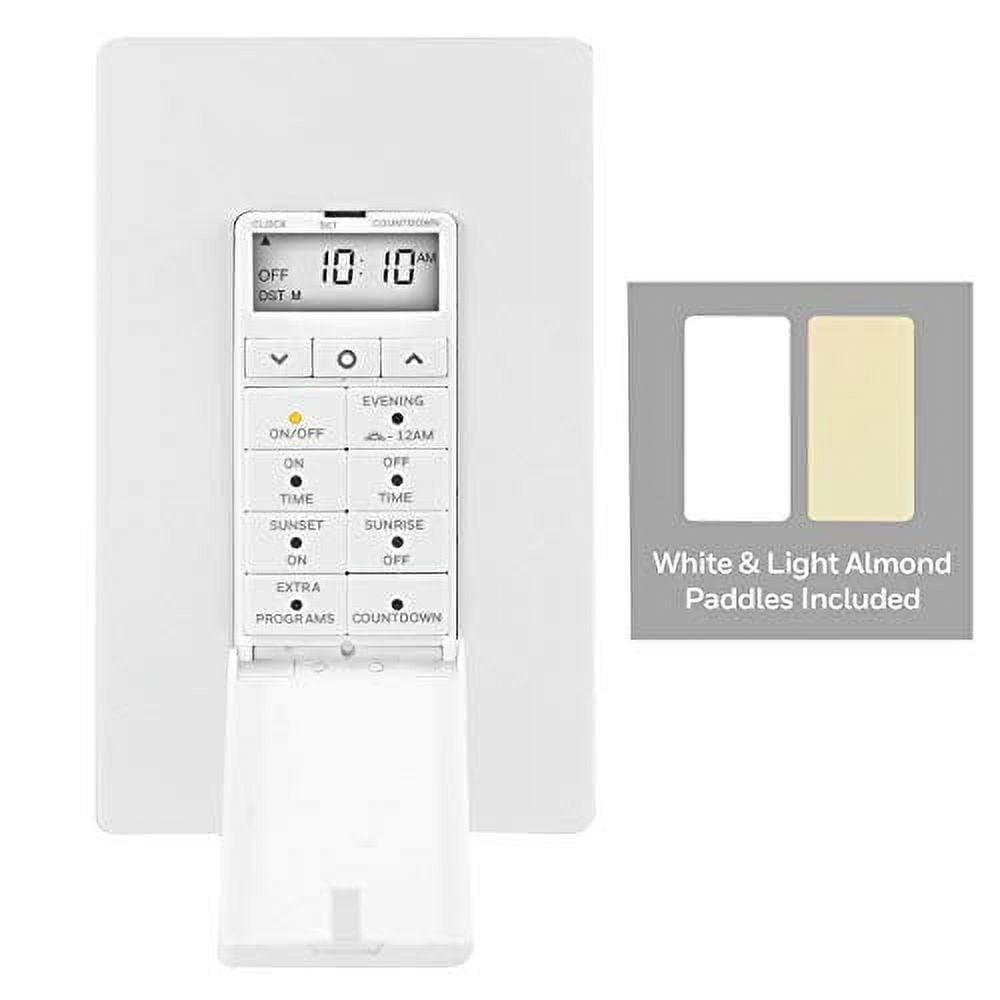
Enhance your home with this sleek, white digital programmable light switch timer. Featuring an easy-to-read LCD display, it allows you to set up to seven programs per week, saving energy and adding convenience. Compatible with incandescent and halogen lights, it offers both manual and automatic modes for versatile use.


